Use A Button Maker
This tool is great! It definitely saves a lot of time searching for the most suitable button for the project you are doing.
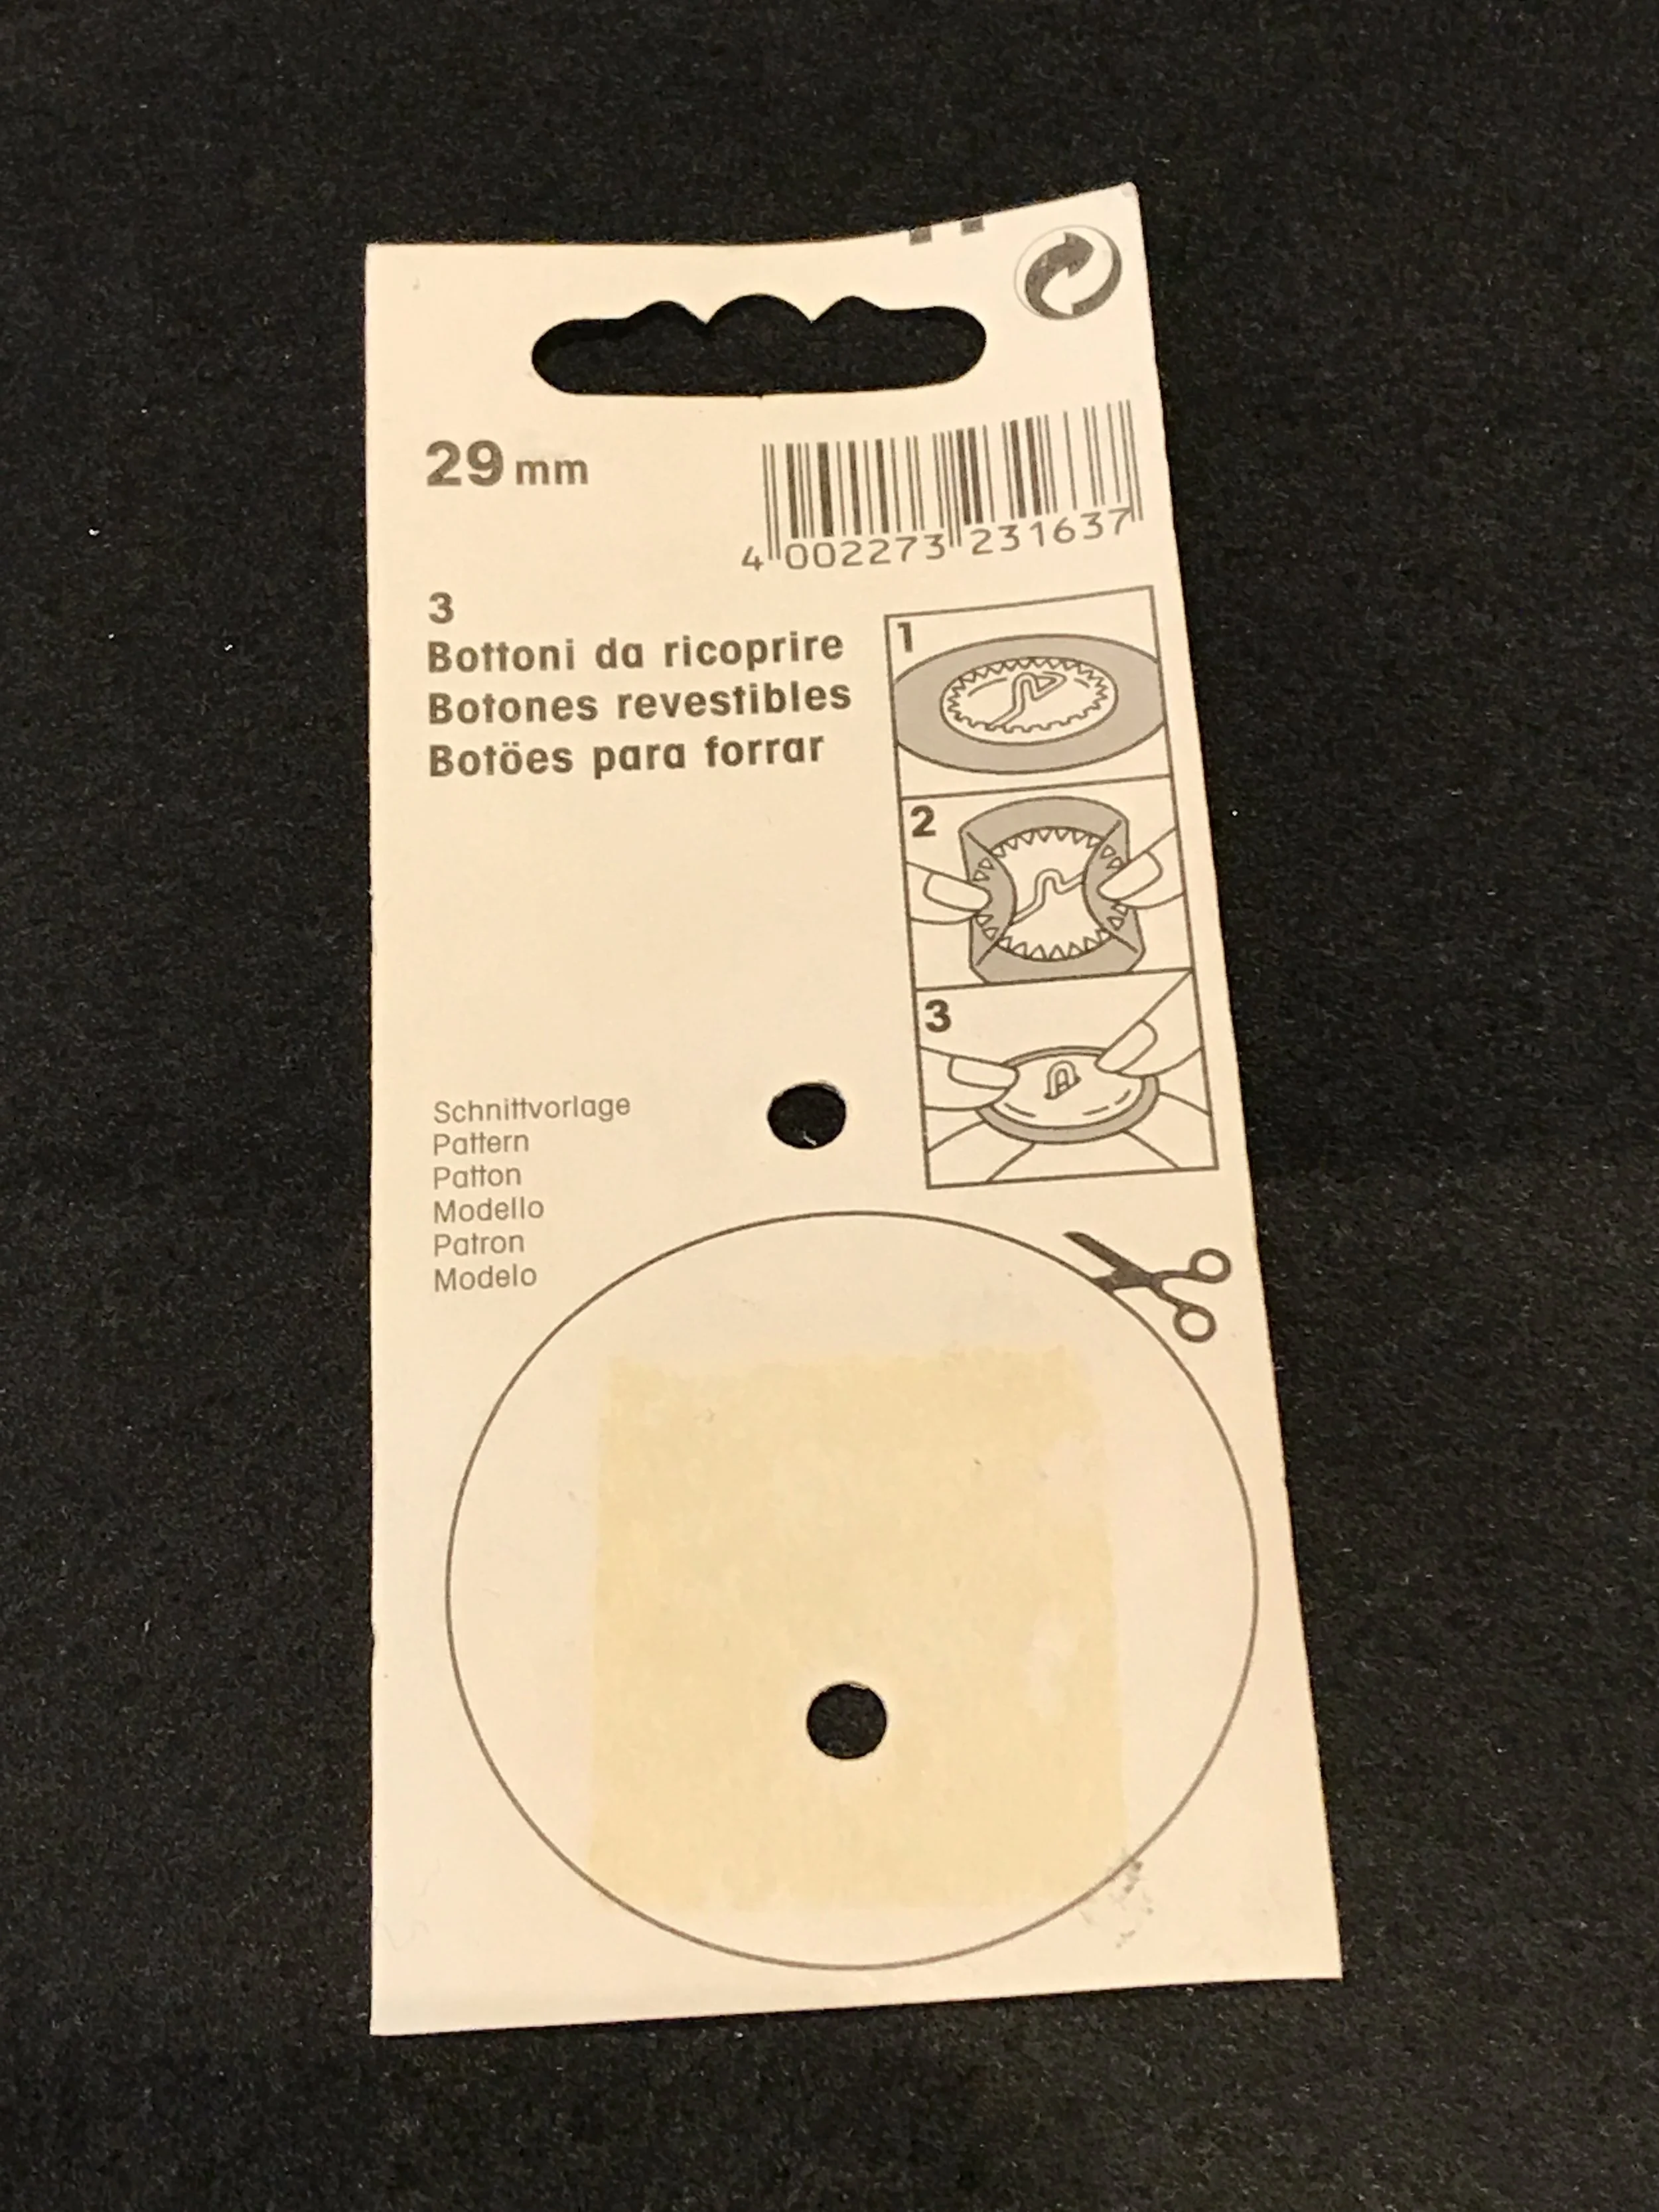
You will need metal self-cover buttons (which comes in various sizes) and fabric to use this tool.
- The self-cover buttons pack should include a fabric template at the back together with the instructions to assemble the button cover. Cut the paper template out as indicated.
- Cut your chosen fabric following the template. Please note that every button cover would have a different template according to the size of the button.
- The button cover tool has different sizes indicated on it as shown below. There are also 2 parts to the tool; the bottom grey is rubber, and the top black part is of strong plastic for pressing.
- Place the cut fabric on the selected button size on the grey rubber part of the tool. It is important to always check that both the grey and black parts match.
- There are 2 parts to the metal self-cover buttons, the slightly concave front with a loop and the flat back as shown.
- Place the concave part on top of the fabric with the loop facing up. Press down firmly into the mould.
- Please ensure that the fabric is tucked completely in the mould. Please do not cut any fabric as the template would have ensured it’s exact measurement.
- There are 2 sides to the flat metal self-cover buttons too. A concave an convex parts. Position the concave side upwards with the loop through the middle rectangular opening of the flat metal back.
- Position the black plastic part of the tool ensuring that the size is correct, and press down firmly until you hear a “click” sound snapping both button parts in place.
- Your personalised button cover is done!


