Quilted Messenger Bag
Since my kids and I are planning to have a table at the school bazaar we have been busy trying to come up with projects to make. One of the conditions for the vendors is that we have to donate an item for charity.
Since this is a school event I thought to use the school gingham fabric for this messenger bag which I plan to donate.
Materials
BAG
29 x 13 inches (74 x 33 cm) Larger Print Gingham
29 x 13 inches (74 x 33 cm) plain fabric
29 x 13 inches (74 x 33 cm) Thin Batting
12 x 3 inches (30 x 8 cm) Smaller print Gingham
10 inches (25 cm) velcro
STRAP
46 x 2 1/2 inches (117 x 6 cm) Smaller print Gingham
46 x 3 inches (117 x 8 cm) Smaller print Gingham
46 x 2 1/2 inches (117 x 6 cm) Thin Batting
DECORATION
Strips of fabric remnants knotted in the centre to look like ribbons
Steps
Place the larger gingham, batting and plain fabrics together with the batting in the centre for quilting.
Please don’t worry if the 3 materials don’t align exactly for now, as long as they are all about the same size.
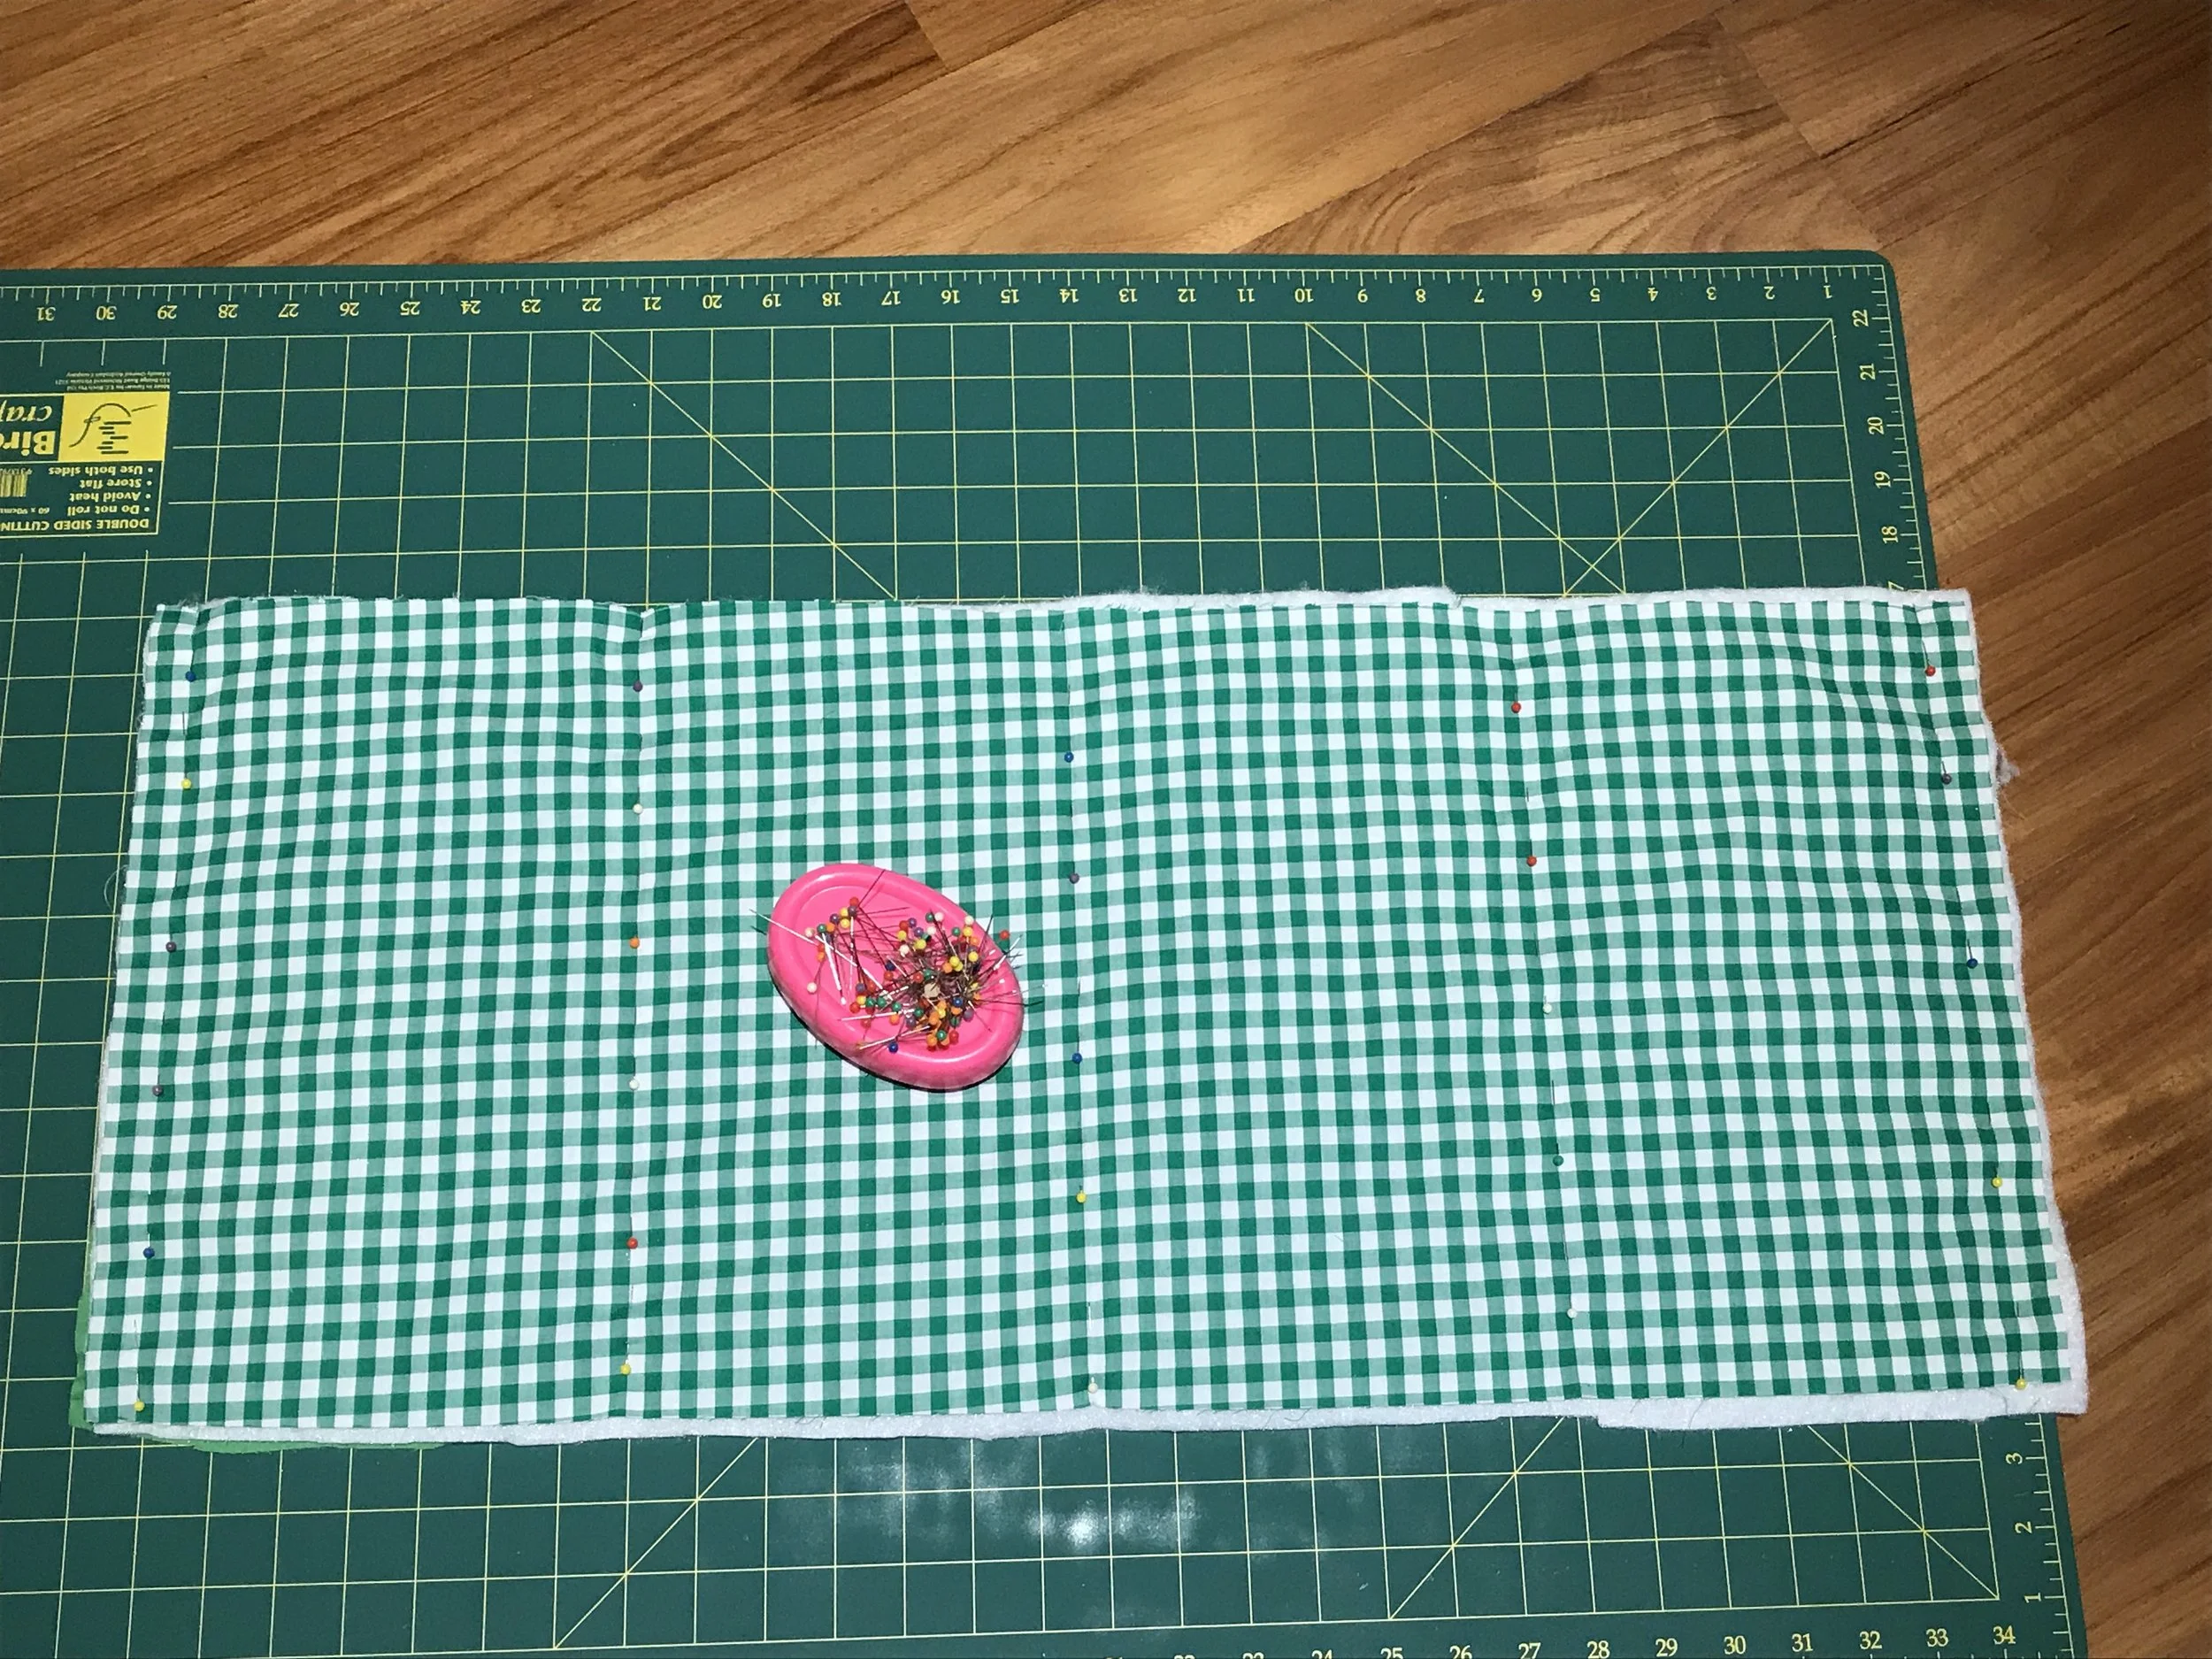
Pin all materials together starting from the centre of the fabric gradually working outwards. This is to avoid any accumulation of fabric around the centre for a smoother finish.
Pin to form a diamond-shaped pattern as shown below. Please ensure they are all about equal in size. Working on a fabric cutting mat makes measuring and cutting (later) much easier.
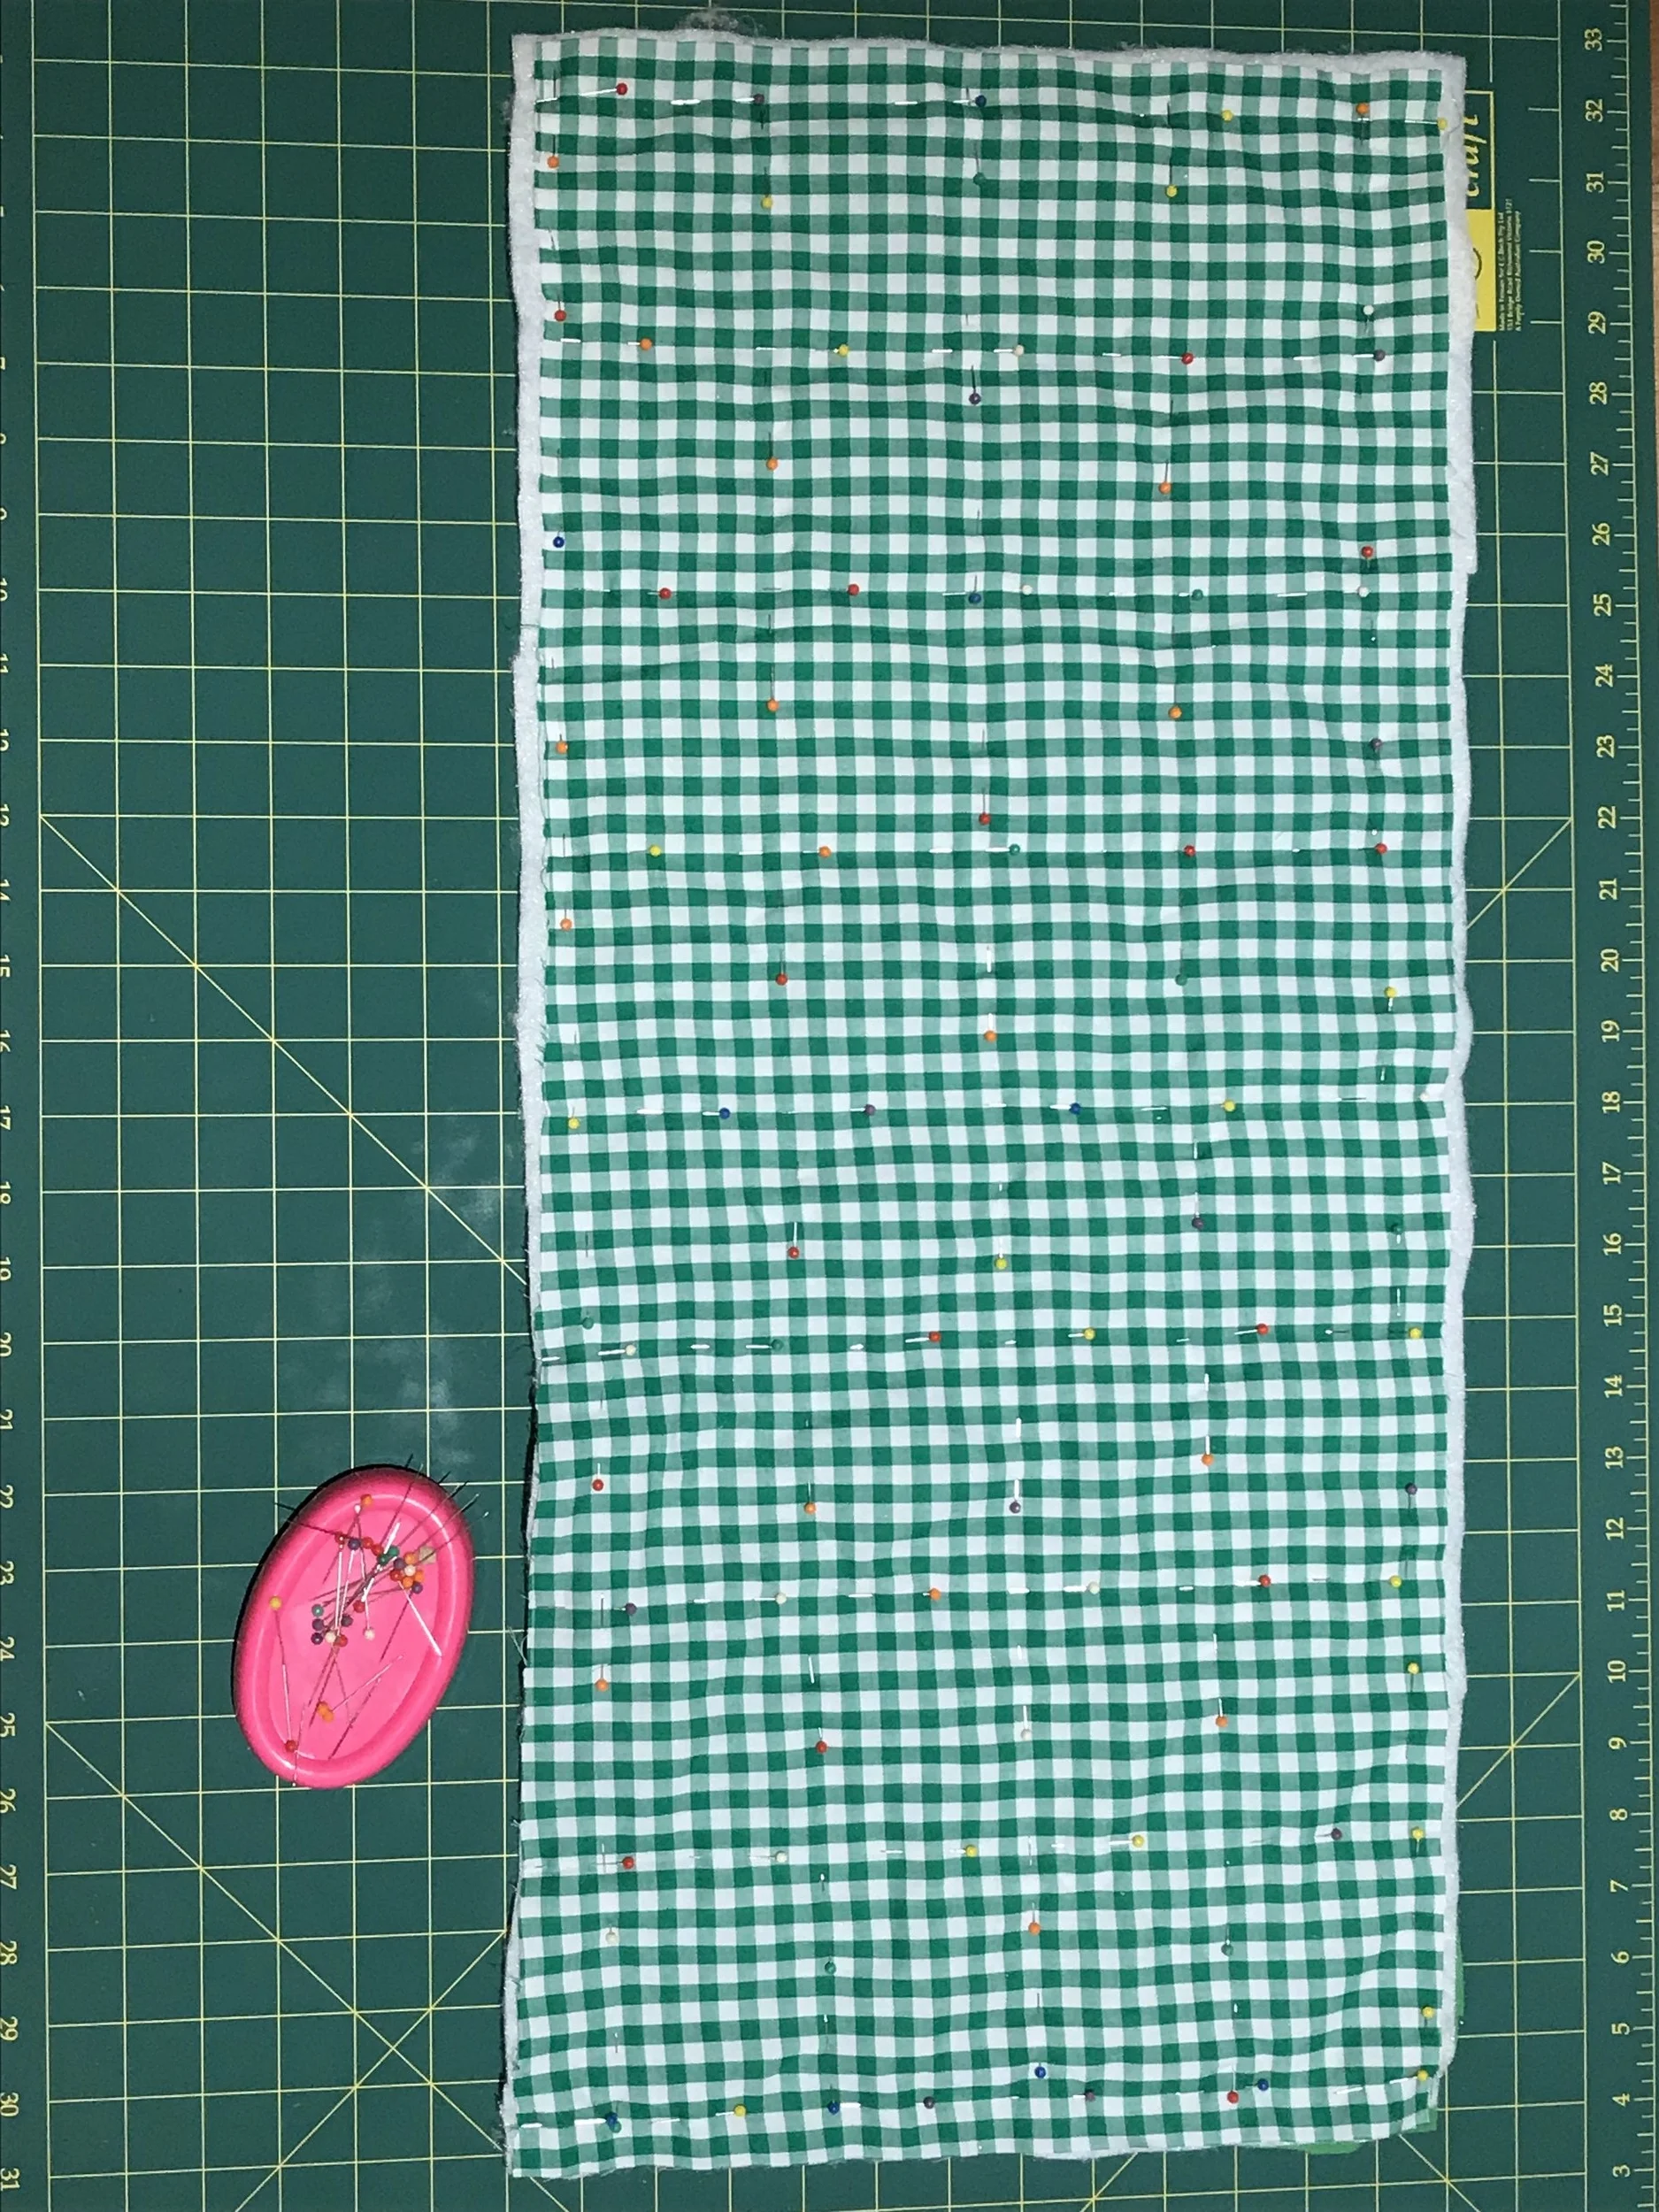
Use a contrasting thread and hand sew a running stitch to tack or baste the materials together. Don’t forget to stitch all around the fabric. It is important not to skip this step when quilting.
Machine sew slowly following the stitches. Please remember to always start from the centre of the fabric. Remember to sew all around the fabric too.
Once done trim the edges ensuring that the piece is straight and balanced. Remove all the temporary stitches.
The piece should now appear as the photos below from the front and back.
To make the bag strap, align the 3 materials together for quilting , as before. However, for the strap place the slightly wider gingham to the bottom. Pin along the centre and sew a running stitch with a contrasting thread as before. Machine sew along the centre.
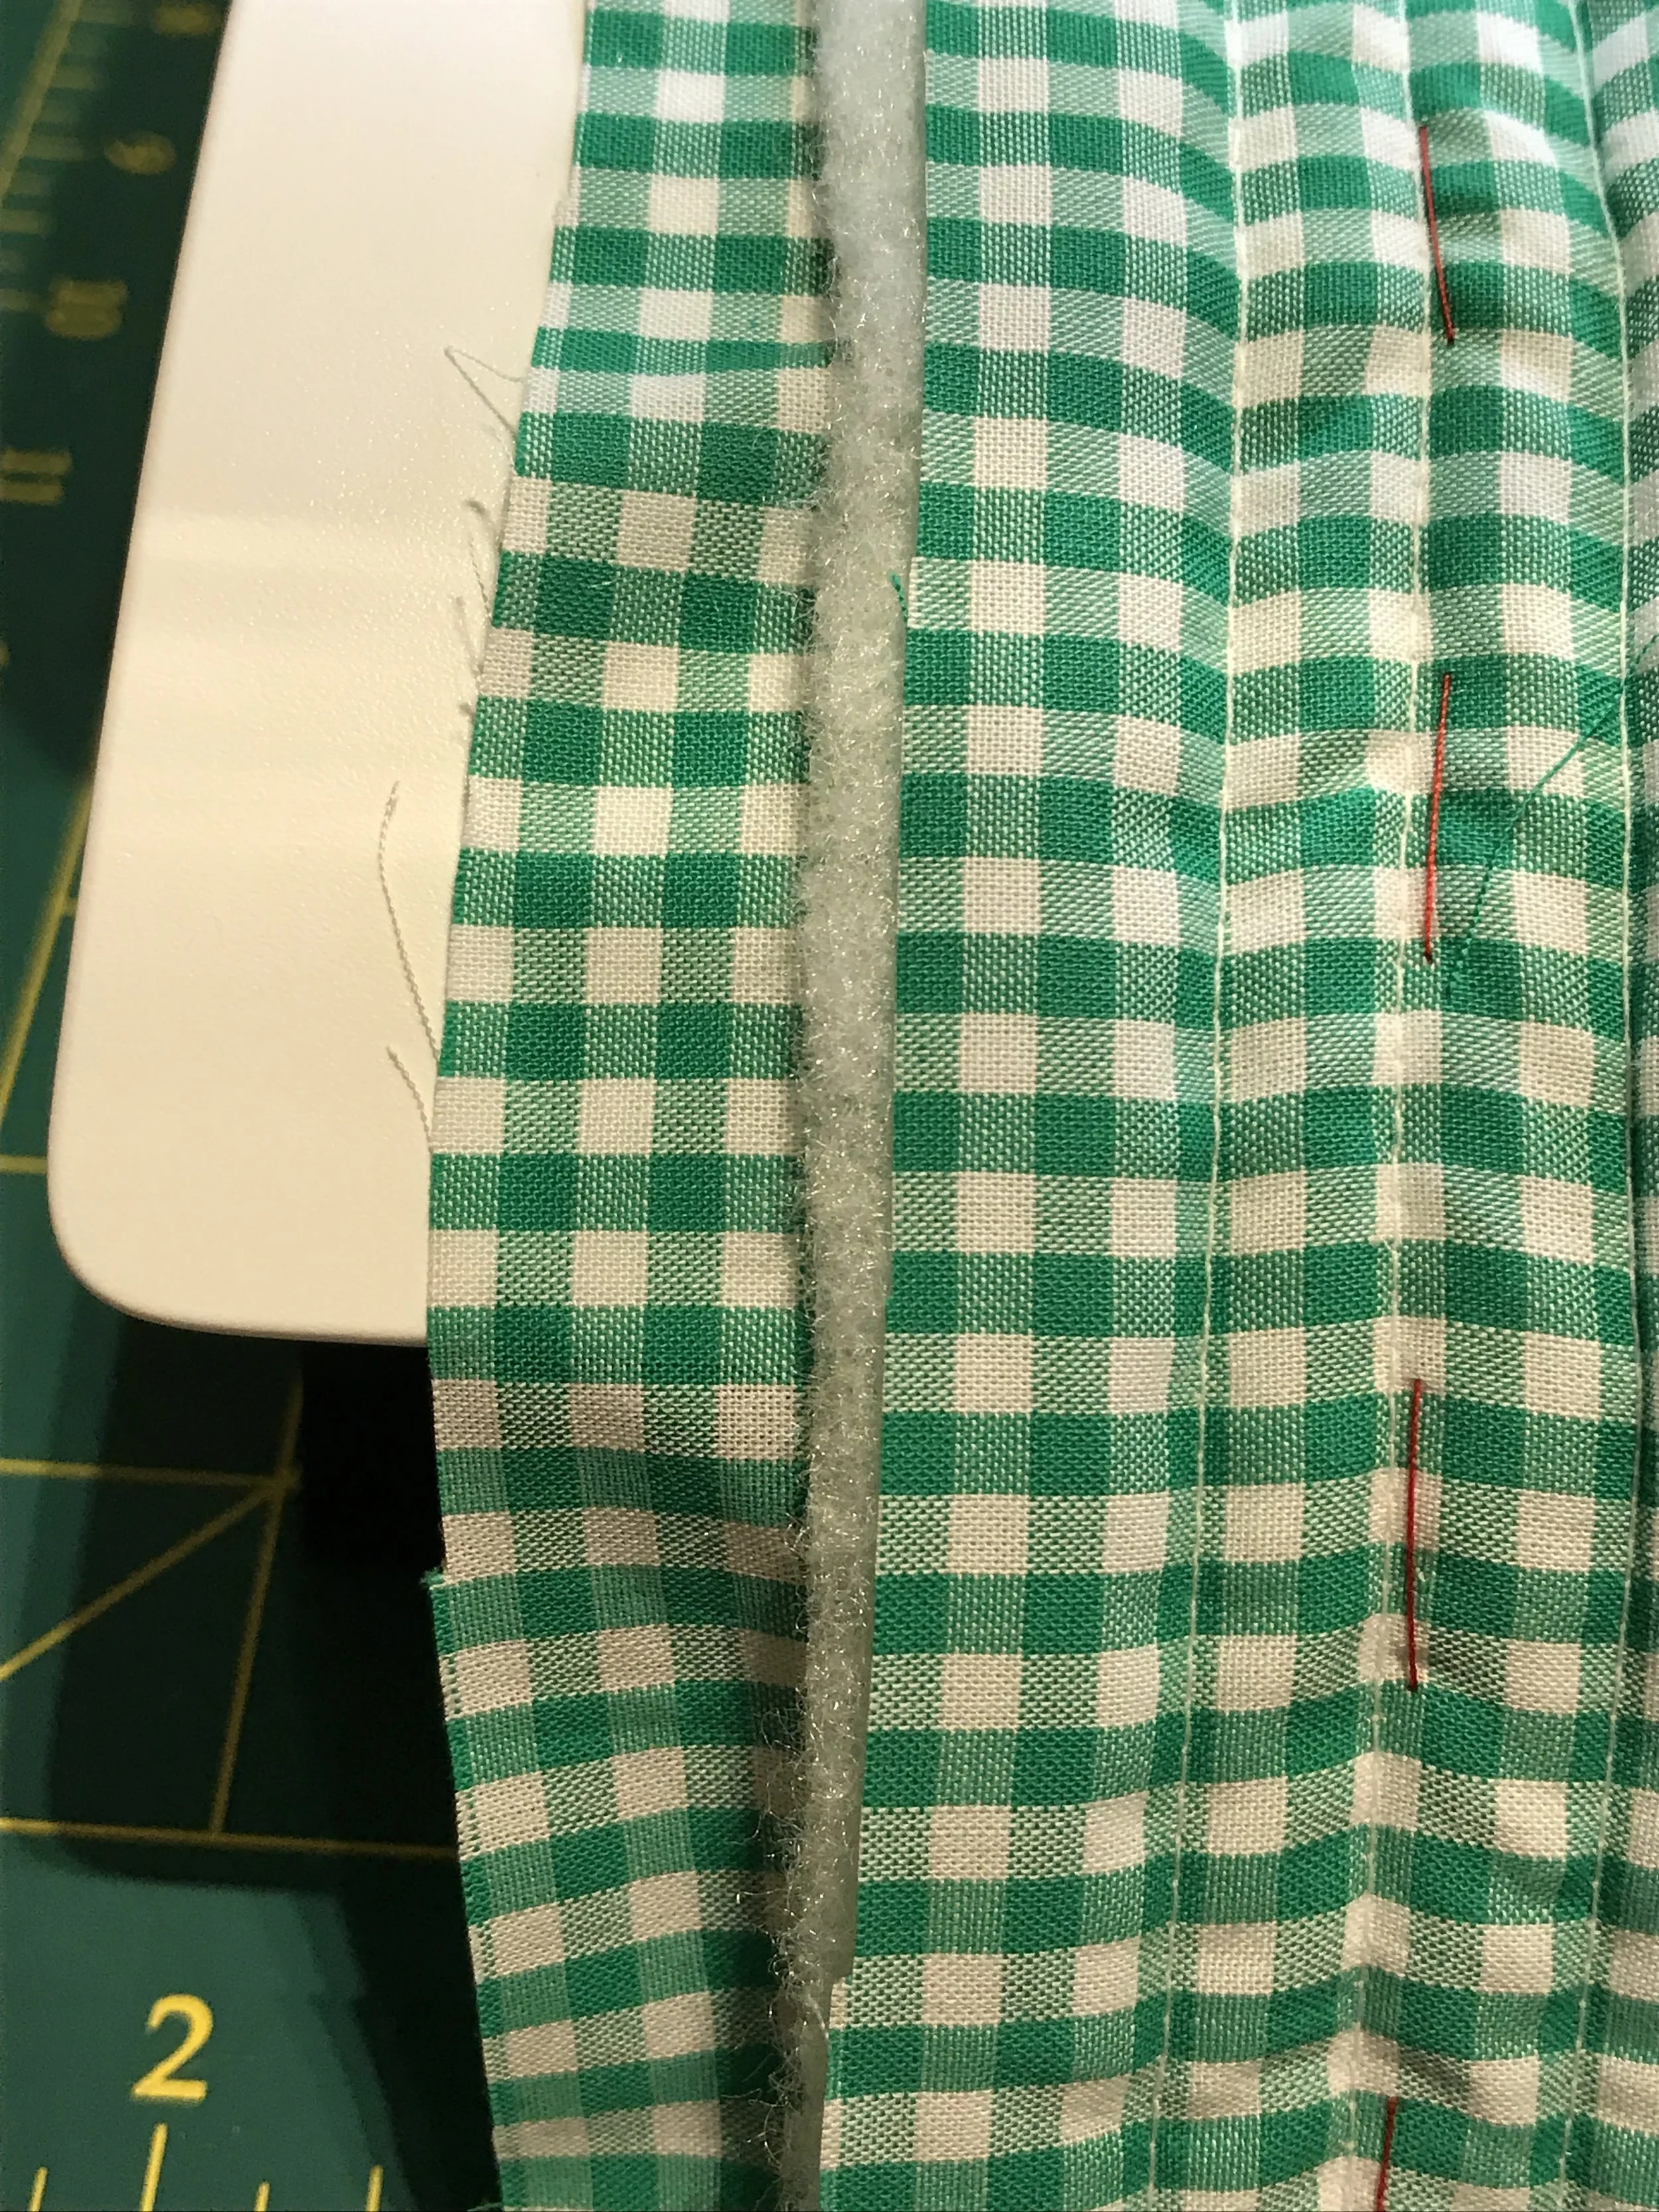
Once done , continue to machine sew 1/4 inch (0.6 cm) from the centre on both sides.
Fold in the length of the strap twice and pin to secure. Repeat on other side. Machine sew the fold in place with a running or any joining stitch you prefer.
Position the smaller print gingham wrong side to the width of the back (or plain fabric) of piece. Pin to the edge as shown with the selvage facing downwards. Machine sew as close to the edge as possible attaching the pieces together. Repeat for both sides.
Fold the length of the fabric over to the front (or right side) of the piece. Pin and machine sew close to the selvage . Repeat for the other side as well.
Position the strap on the bag as shown.
Fold the ends of the strap inwards 1/2 inch (1.3 cm) and pin them on one side of the bag. This will now be the back of the bag.
It should be about 1 inch (2.5 cm) from the top and 3/4 inch (2 cm) from both ends. Machine sew.
Place the decorations on the front of bag. Pin and machine sew in place.
Place the velcro with the hook to the back and the loop to the front of the bag about 1/2 inch (1.3 cm) from the top. Pin securely and machine sew.
Turn the bag inside out. Pin 1/2 inch (1.3 cm) from both ends and machine sew. Finish with a machine overcast as shown.
Turn the bag inside out and you are done!
I made another messenger bag using the same method but styled it differently.
By just using a different fabric, decoration and quilting style your bag will give you a totally different look!
A pencil case will look great with diamond quilting too. Quilting gives the case more texture and also makes it more durable.
I have also used a zip instead of velcro. The possibilities are endless!
