Sleeping Bag with Matching Duffle Bag
When my kids were younger, they never seemed to have enough sleeping bags.
They actually had several types to suit the occasion. Comfortable, although heavier fabric sleeping bags when they slept over at friends and relatives houses, waterproof lighter ones when they go to outdoor camps, thinner, thicker ones and the list goes on!
I made these fabric sleeping bag with a matching duffle bag for an 8 year old and her Mum wanted it to be a larger adult size so that she can use it for longer. I also chose to use bamboo batting as although heavier, it falls better, breathable and great no matter the weather. You can of course choose any kind of batting you prefer.
Materials
Sleeping Bag
40 x 83 inches (102 x 211 cm) x 2 Colourful Polka Dot Cotton for Outer Fabric
40 x 83 inches (102 x 211 cm) x 2 Striped Cotton for Inner Fabric
40 x 83 inches (102 x 211 cm) x 2 Bamboo Batting
26 inches (66 cm) Strong two-way Zip
160 x 2 inches (406 x 5 cm) Outer fabric Bias Binding
80 x 2 inches (203 x 5 cm) Inner fabric Bias Binding
Drawstring Bag
21 x 39 inches (53 x 99 cm) Outer Fabric for Main Body
12 inches (30 cm) diameter Outer fabric for Base
56 x 2 inches (142 x 5 cm) Inner Fabric for Drawstring
Steps
Sleeping Bag
Lay one set of the Outer and Inner fabrics, right sides facing out, with the batting in between as shown.
Pin all around. Machine sew together 1 inch (2.5 cm) from the edges joining the materials together.
Repeat the steps for the other set of fabrics and batting.
You will now have 2 identical pieces for your sleeping bag.
Now place both outer fabric sides facing each other. Keep these layers together with quilt clips as shown below.
Place zip approximately 2 inches (5 cm) from the top of one length of the joined pieces as shown. The width of the sleeping bag closest to the top of the zip is now the opening for the sleeping bag, as indicated below.
Mark 1 inch (2.5 cm) from the bottom of the zip, as shown. In this case, at about 30 inches ( 76 cm) from the top length of the pieces. Remove zip.
Begin to machine sew both pieces together with a 1 inch (2.5 cm) seam from this marked position all around to the length of the opposite side of the sleeping bag.
Please leave the opening width and the position marked for zip unsewn.
This unsewn width will now be the top of the sleeping bag.
Next, trim edges all around.
Position zip back on the sleeping bag. Pin in place.
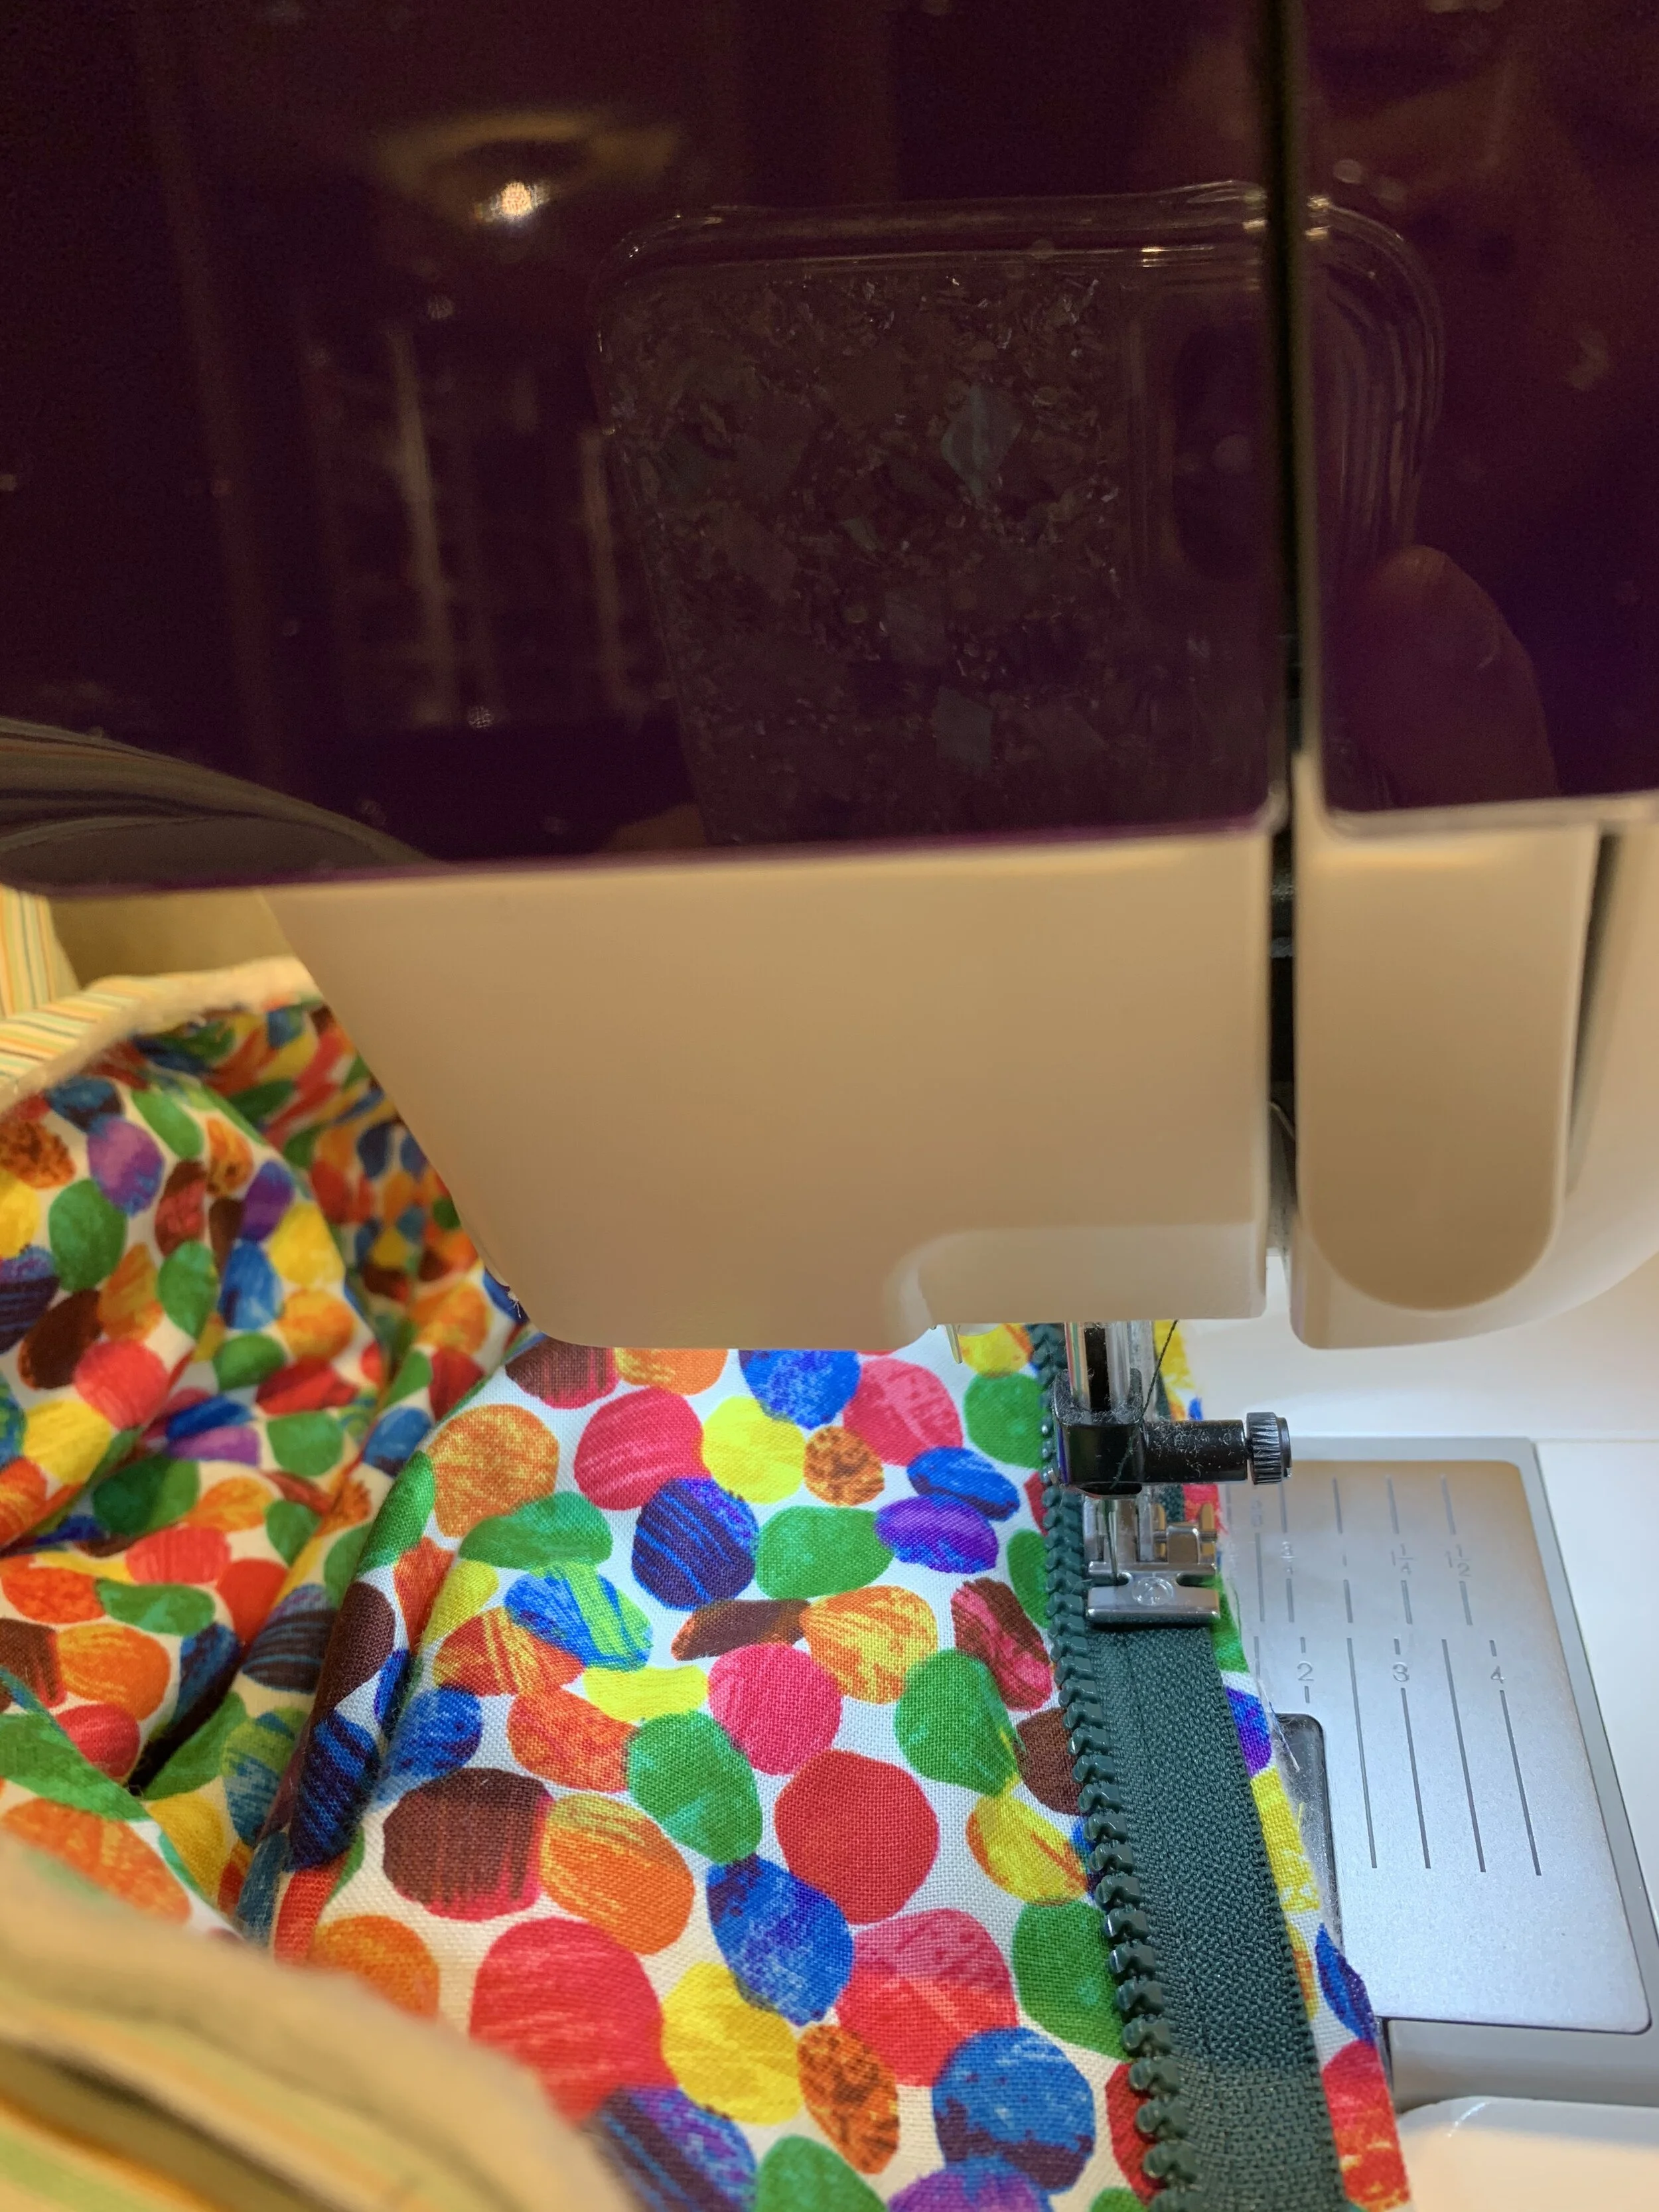
Machine sew zip using the zip foot combining both the sleeping bag pieces together.
Next zigzag the edges of the zip making it neater as shown.
Once done, cover the top small part of the zip with the outer fabric as shown, This step is completely optional.
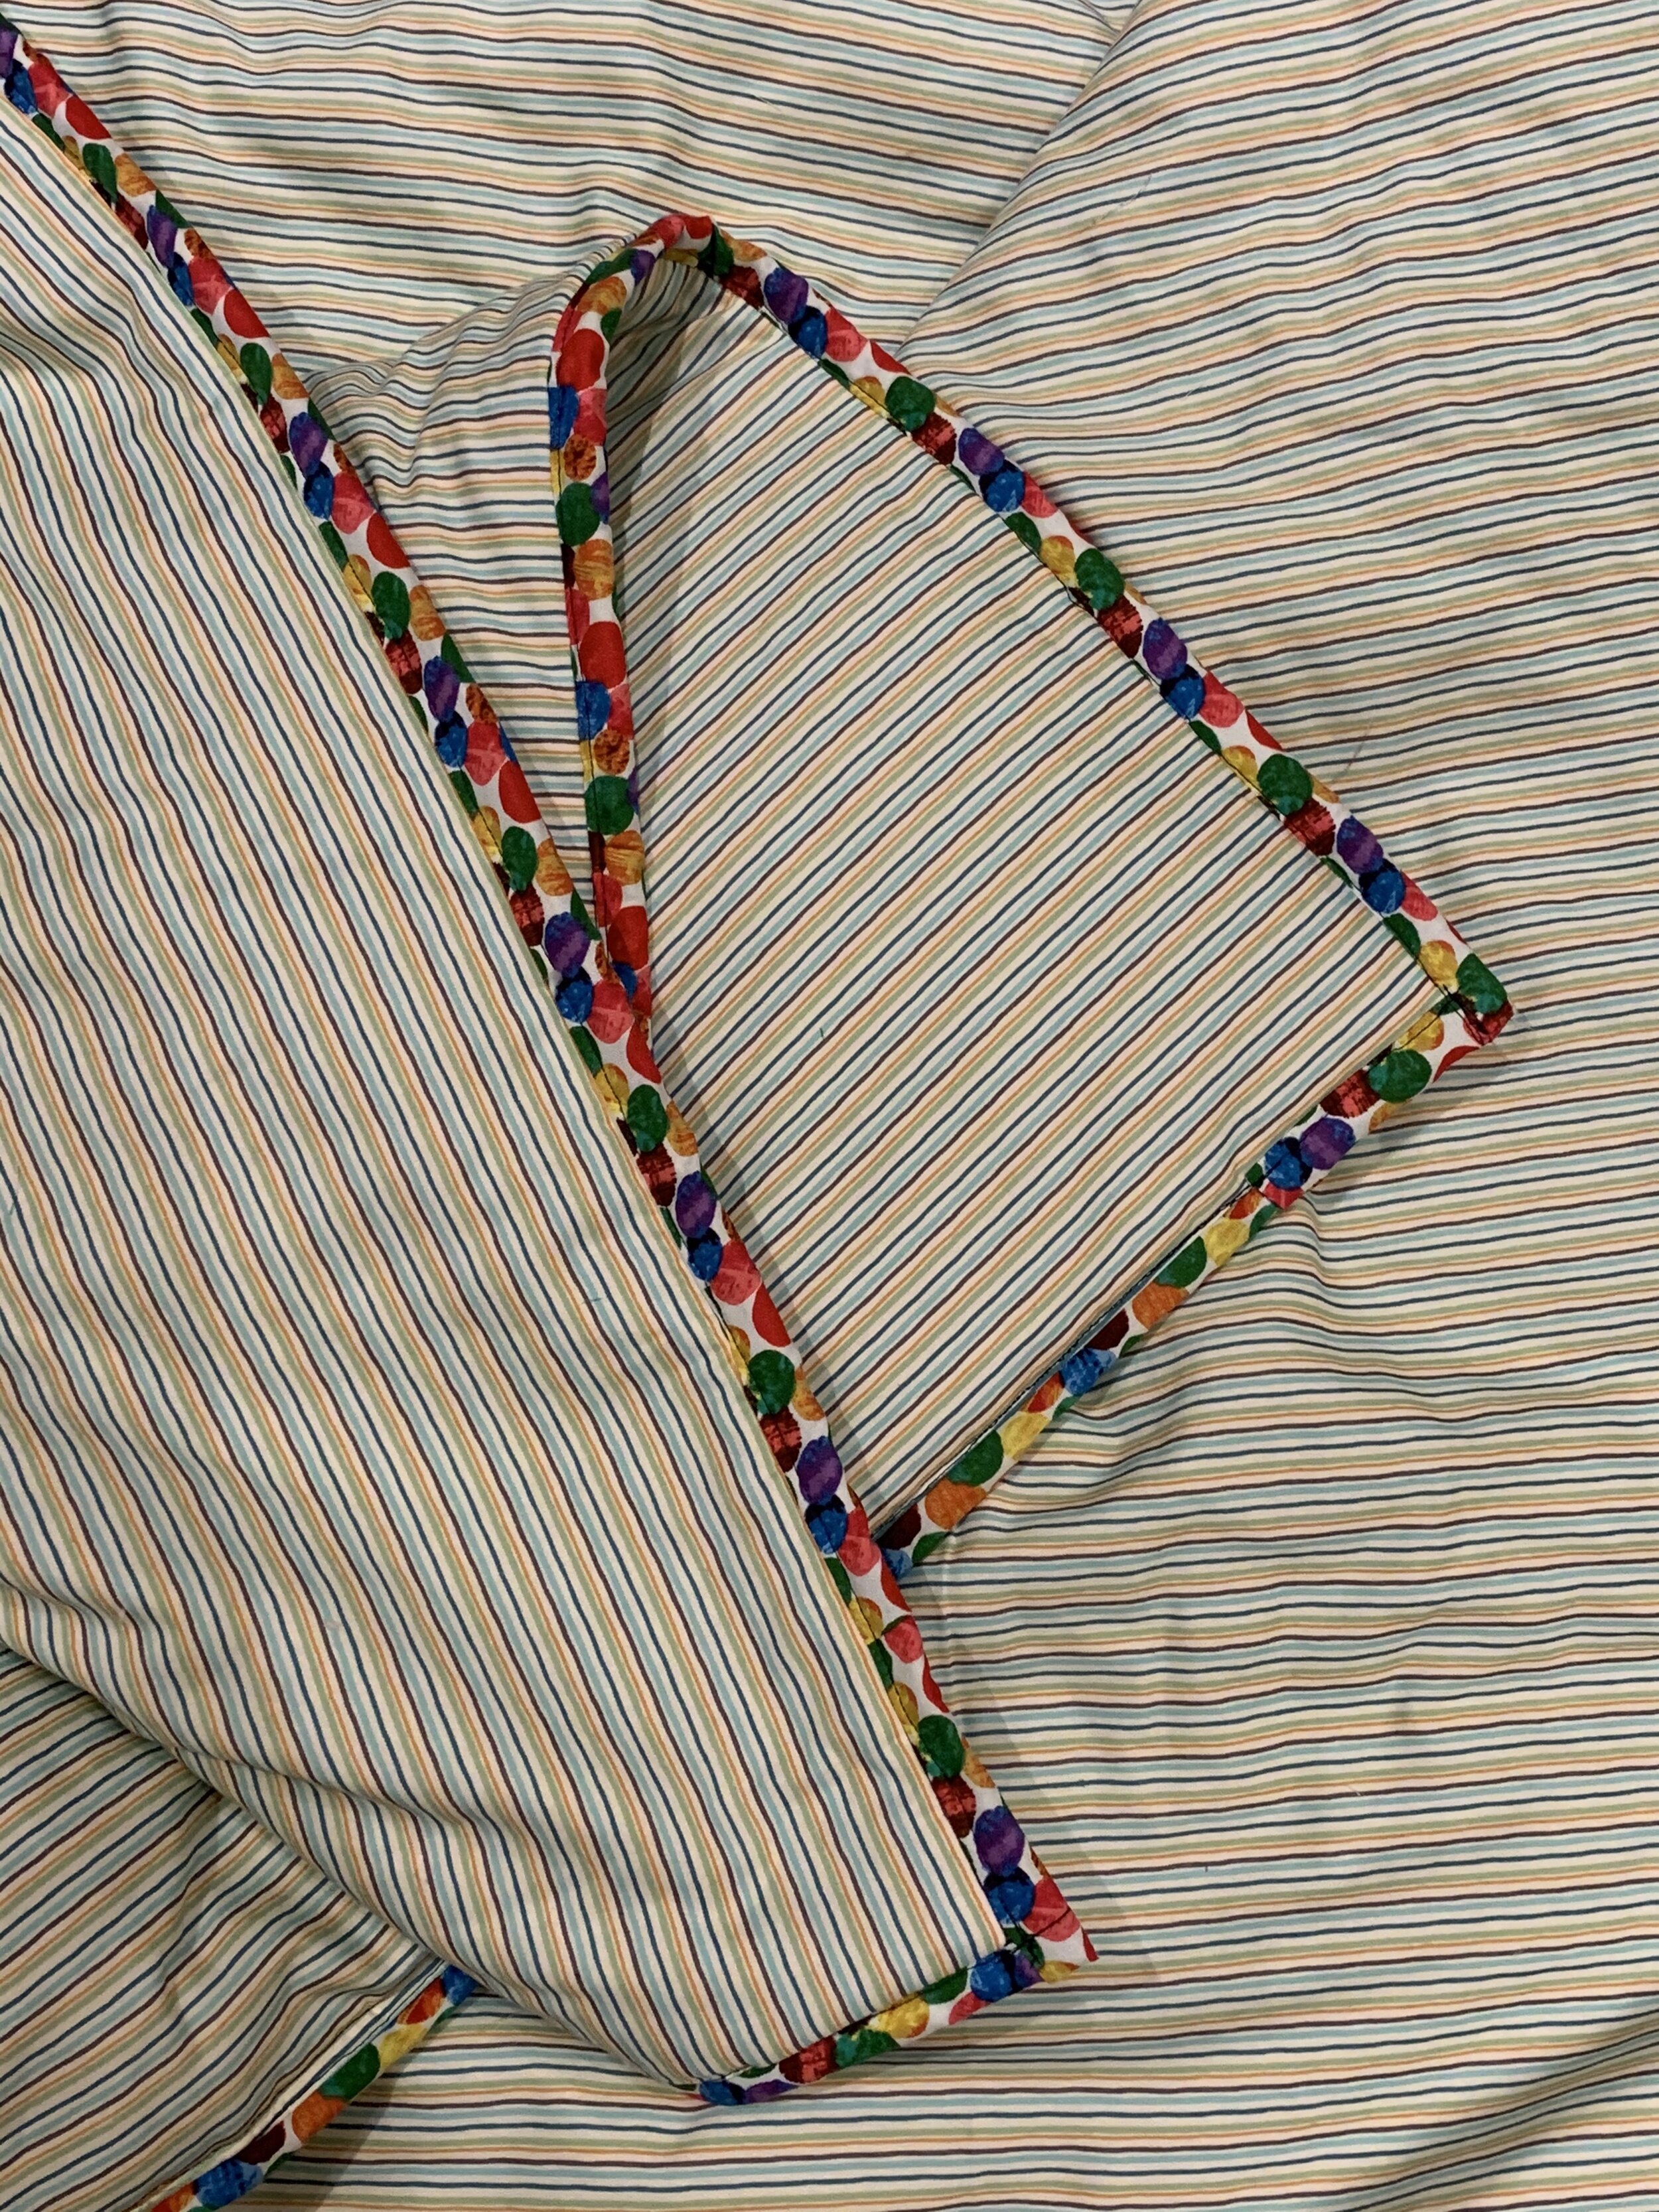
Now wrap and secure , with quilt clips, the outer fabric bias binding around the edges of the inside of sleeping bag with a 1/2 inch (1.3 cm) seam. This will cover the frayed edges completely.
Machine sew in place.
Please remember NOT to sew the top width or the opening of the sleeping bag.
Wrap the inner fabric bias binding to the remaining unfinished edge at the top width opening of the sleeping bag.
Please remember to sew the top and bottom pieces of the sleeping bag separately.
It should look as photo once completed.
Turn your sleeping bag inside out and you are done.
The two-way zip makes it possible for you to use the sleeping bag on both sides. One striped with contrasting fun edges and the other colourful polka dots , to suit your mood at the time!
Optional
Drawstring Bag
Cut a 12 inches (30 cm) diameter circle on the outer fabric as shown.
Fold 1 inch (2.5 cm) with wrong sides together at both widths of the bias binding for drawstring casing outer fabric. Machine sew in place.
Next fold in half lengthwise right sides together.
Machine sew the length as close to the edge as possible, leaving the width unsewn.
Turn the drawstring casing inside out with a rouleau loop as shown. Iron.
Set aside.
Fold in at width of main body fabric twice for a 1/2 inch (1.3 cm) seam. Pin and sew.
Now place the casing for the strap 1/4 inch ( 0.6 cm) on and at centre of fold with approximately 1 inch (2.5 cm) from the edges as shown.
Sew the length of casing with the main body fabric attaching both pieces together.
Next , take the inner fabric to make the drawstring for the duffle bag. This step is the same as the casing.
Fold in 1 inch (2.5 cm) with wrong sides together at both widths and machine sew.
Now fold in half lengthwise right sides together and sew as close as possible to the edge leaving both widths unsewn.
Turn inside out with rouleau loop and iron.
Insert the drawstring through one opening of the casing. Pull the drawstring out until both ends are of equal length when extended.
Fold the new piece in half, mark as shown.
Sew, as shown, on the casing together with the drawstring inside at this middle point. This is to secure and ensure that the drawstring will stay attached to the duffle bag.
This position is at the top of the bag.
Now put both lengths of the piece right sides together, pin and sew a french seam for a neat finish.
Place the circular fabric base carefully to the bottom of the piece right sides together. Pin and baste to secure. Remove pins, machine sew and finish the edges.
Turn your drawstring bag right sides out.
Knot the drawstrings ends as shown.
Now put your sleeping bag in the duffle bag and you are done!
You can also personalise your sleeping bag with a name tag, add a mini pillow, soft toy or anything else you prefer. It is also a fantastic idea for a gift!
This is definitely a fun and practical project to make. Enjoy!


