Zipped Pouch
We have all needed to use pouches for various needs. I found some leftover neoprene from my previ-ous projects and thought to use it for this pouch.
Materials
2 x 10 inches (5 x 25 cm ) printed fabric x2
6 x 10 inches ( 15 x 25 cm) plain fabric x2
2.5 x 10 inches (6 x 25 cm) neoprene x2
8 x 10 inches (20 x 25 cm ) plain fabric x2
Making the Pouch
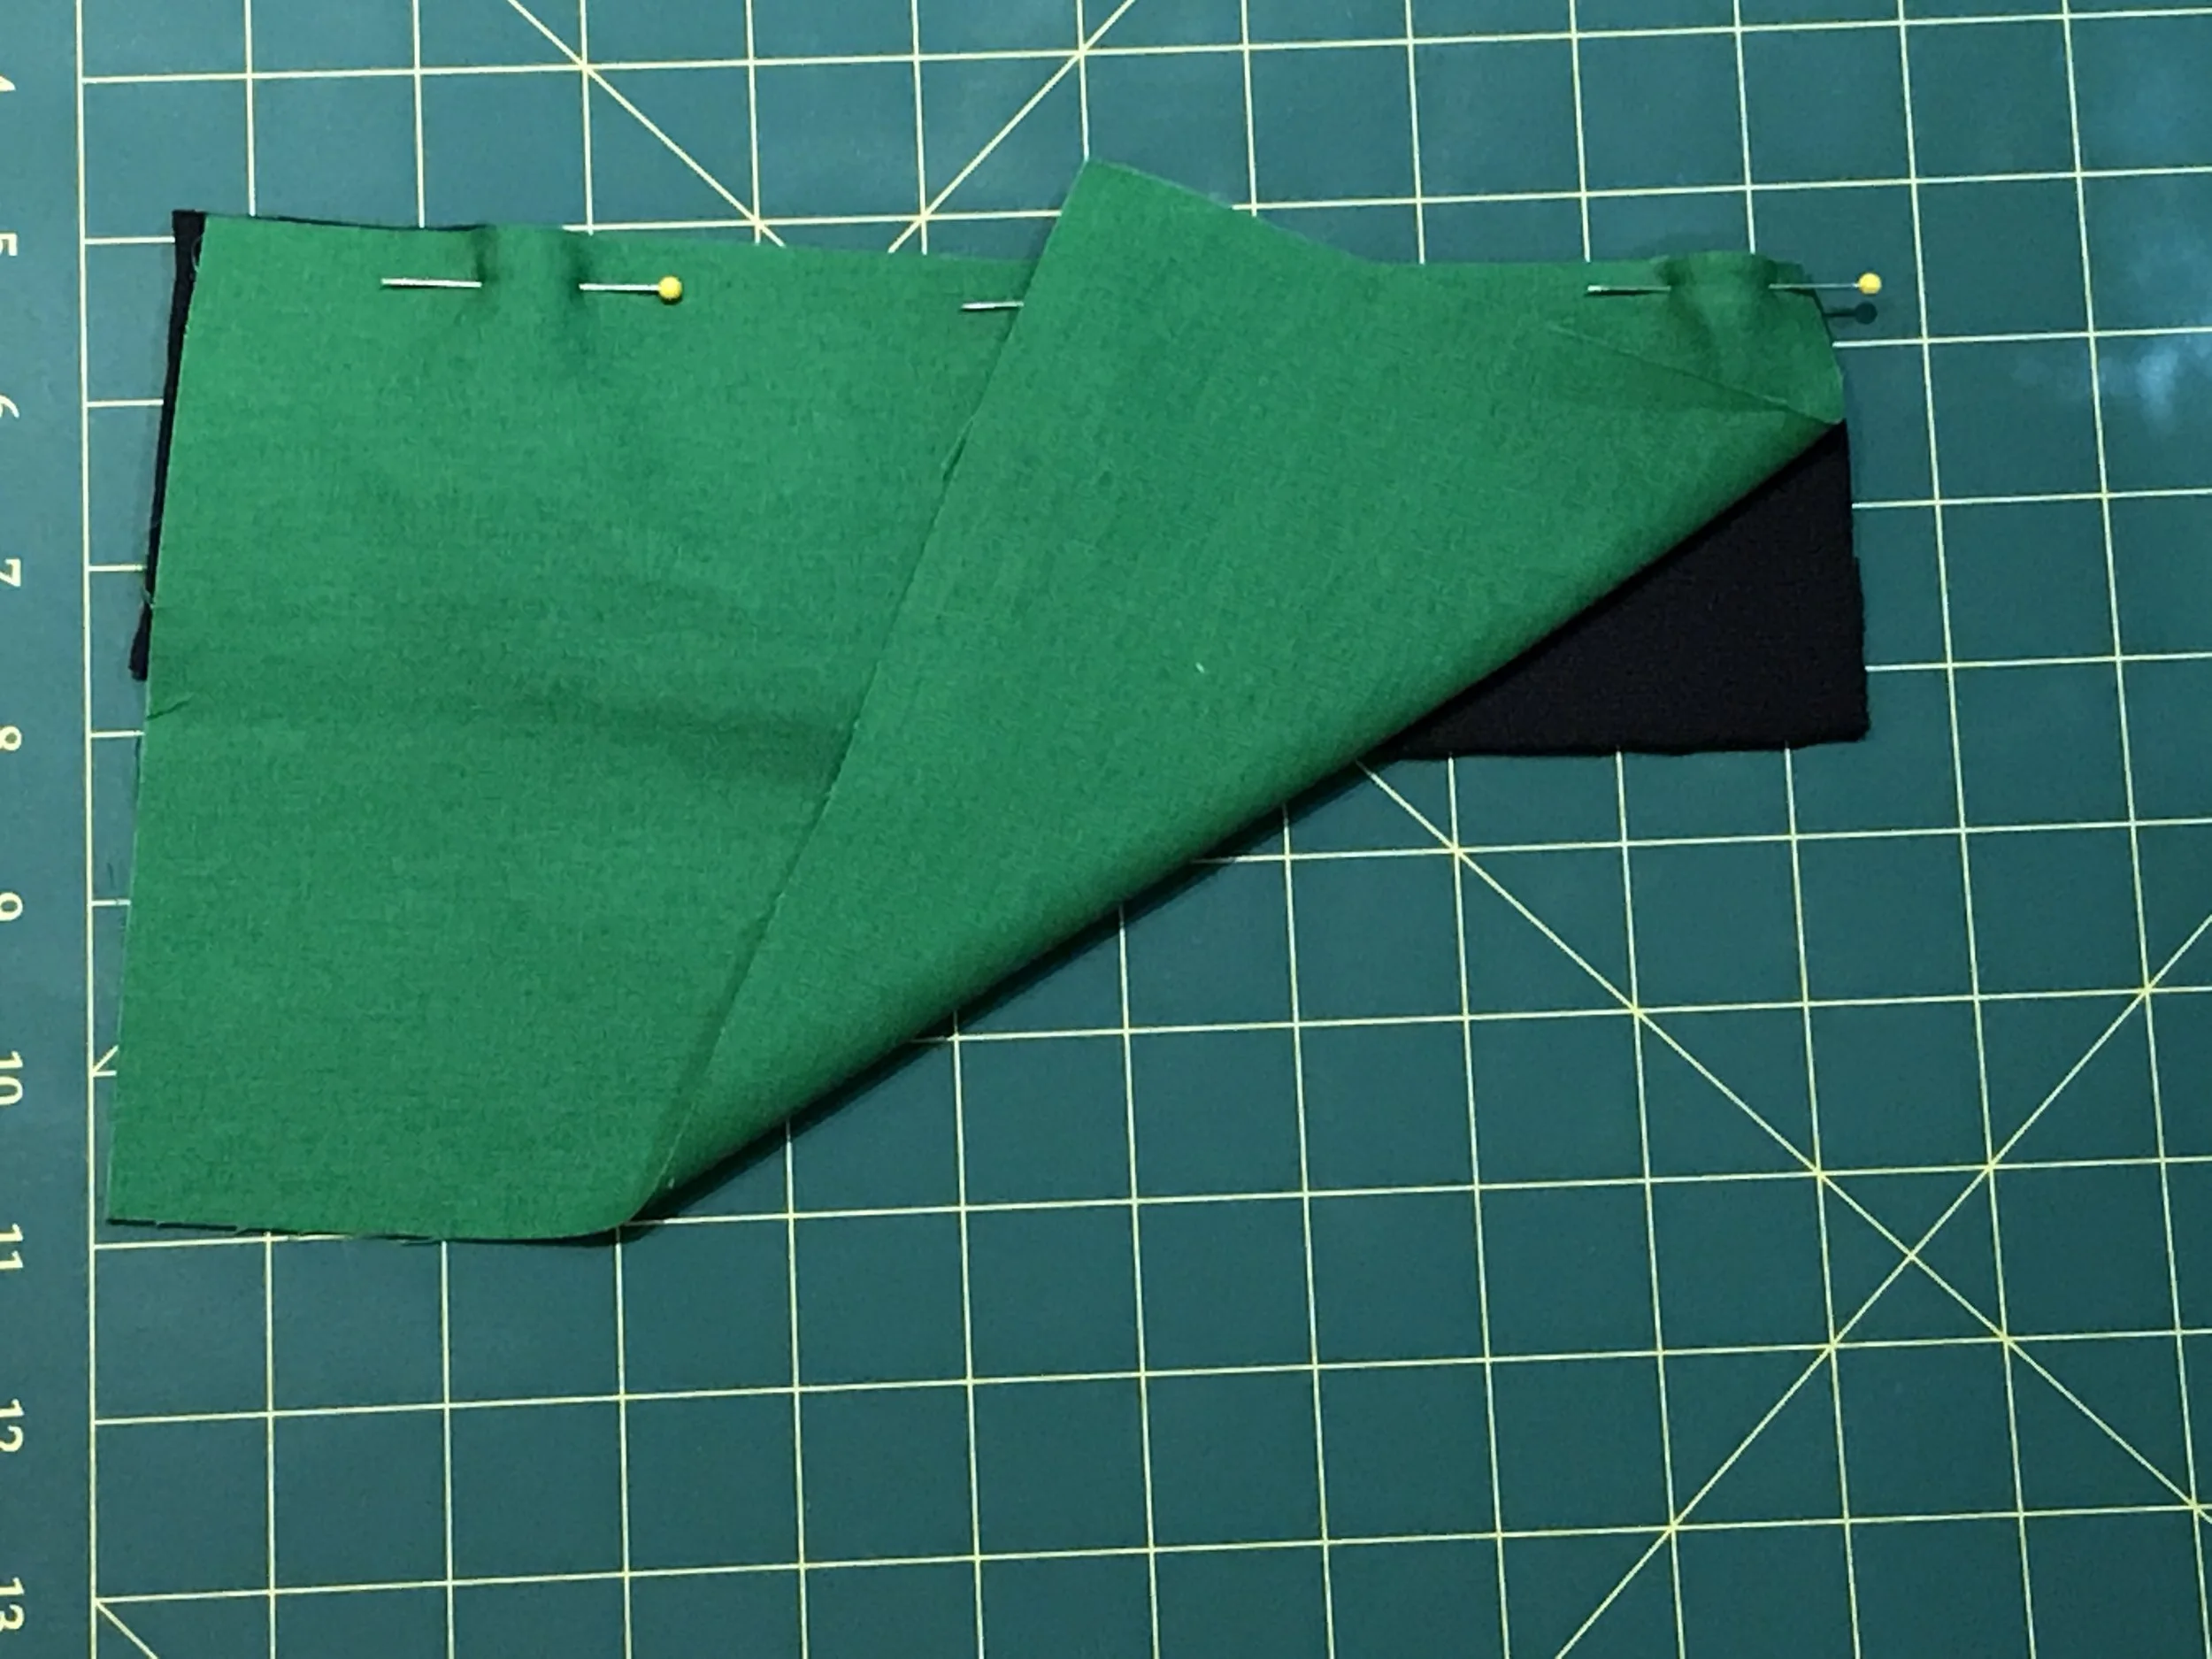
The first step is to pin the smaller plain fabric right sides together to the neoprene, lengthwise. Neoprene doesn't usually have a right or wrong side so either side is ok. It is a perfect material to use for reversible projects.
Machine sew together.
Now pin the printed fabric right side down as well on the other length of the neoprene. Machine sew and repeat the process for the other duplicate fabrics.
Place the 2 larger plain fabrics on each of the joined fabrics, right sides together, as shown, Pin and machine sew all around leaving a 2-inch gap at the middle of the length of the printed fabric. This will be the top where the zipper will be.
Snip the corners as shown for easy turning and sharper edges. Turn both the pieces inside out from the 2-inch gap.
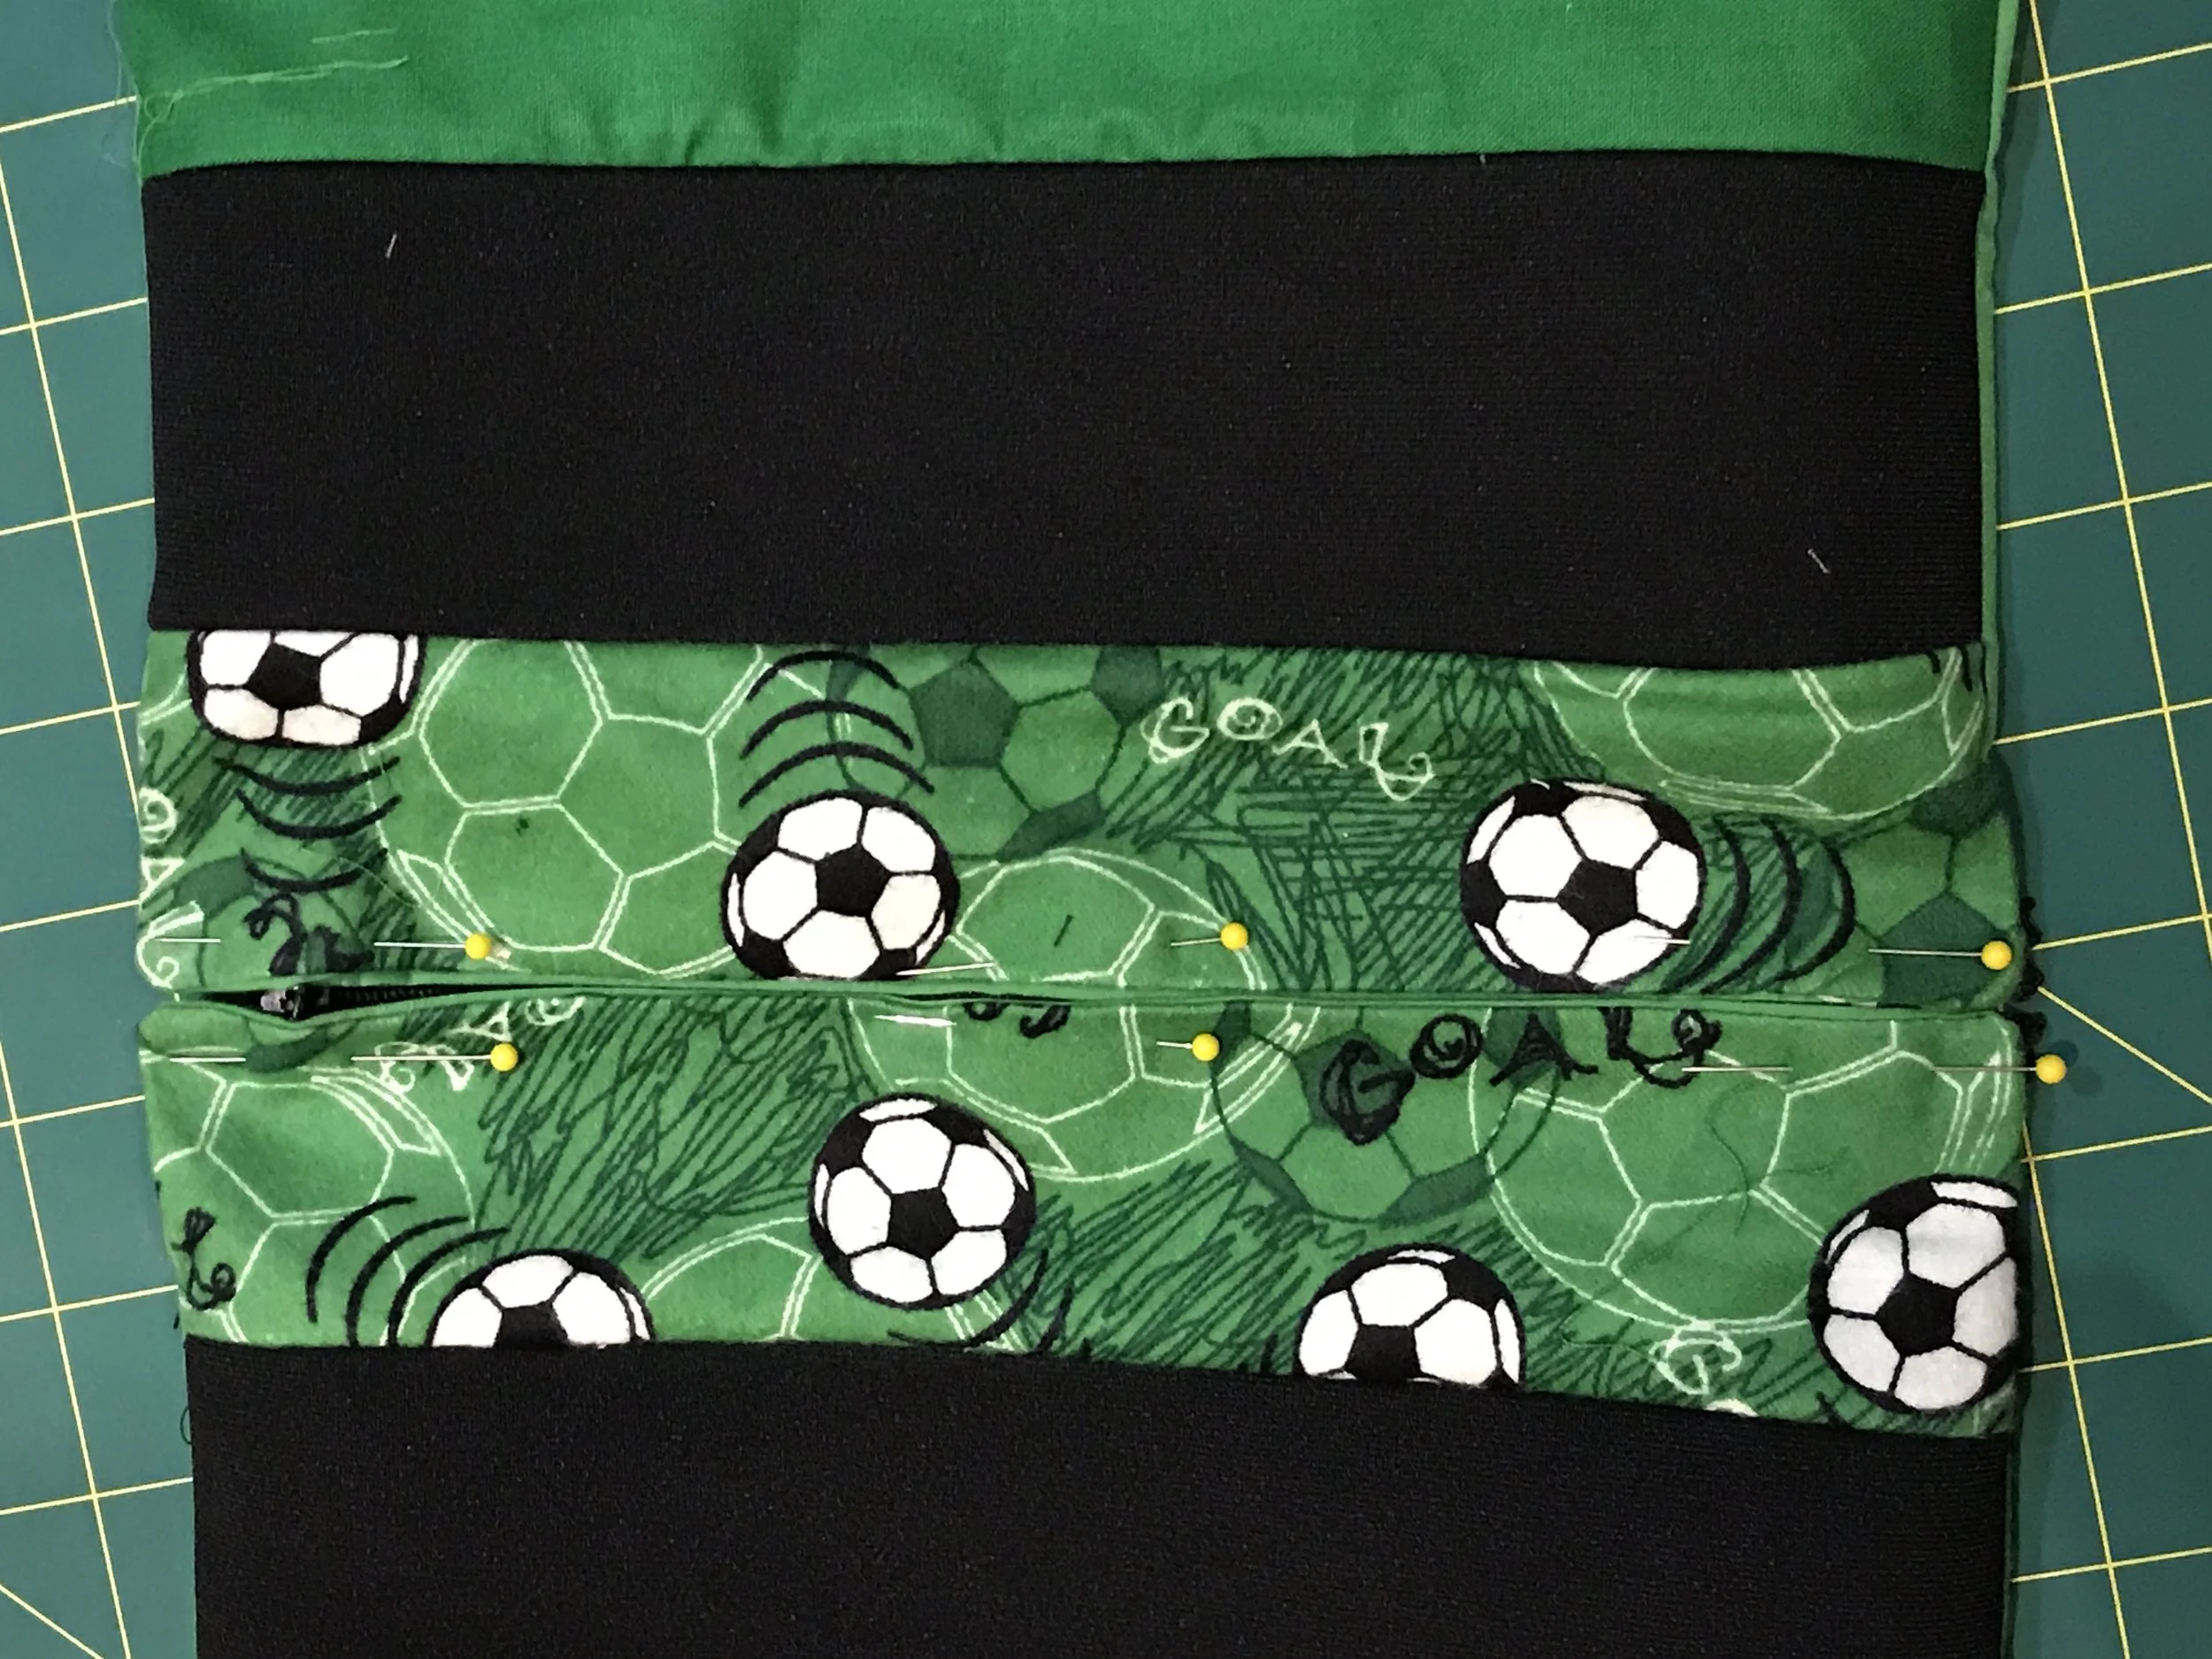
Position the zipper between the printed fabrics. Place the fabrics over the zipper covering it and pin securely.
Machine sew using the Zipper Foot as close to the centre of the seam as possible. This should also close the 2-inch gap from earlier.
Please see the photos below.
Open the zipper halfway. Fold the piece in half at the zipper and pin the 3 sides as shown.
Machine sew the 3 sides together.
Turn the pouch inside out through the halfway opened zipper. The corners can be pushed out with the blunt of a pair of closed scissors.
Put the small elastic through the zipper handle. Tie a knot close to the zipper handle and another about an inch (2.5 cm) away as shown. And you are done!
You can play around with a variety of fabrics, materials, sizes, etc. It will all give you a different look as shown with the pouches below. The possibilities are endless. Enjoy making and using them!


