Drawstring Bags
Both my kids go to a school that has always made the children aware about giving to charity , which is wonderful . Over the years they have been involved in various charity school events to raise money for those in need.
Both my kids, with their friends, have organised games, baking cakes and cookies and even selling homemade slime , among others , for charity.
There is a bazaar coming up in a few months and I thought that maybe this year I can contribute! They have decided to have a stall and I am hoping to add some of my projects for them to sell too. Thats the plan!
Drawstring bags was their first suggestion!
Materials
32 x 12,5 inches (81 x 32 cm) neoprene
18 x 7 inches (46 x 18 cm) printed fabric x2
18 x 7 inches (46 x 18 cm) plain fabric x2
60 inches (152 cm ) cotton black strap x2
14 inches (36 cm) cotton black strap
1 Small pouch (see Zipped Pouch project)
Making the Drawstring Bag
Face the right sides of the printed and plain fabrics together, for all four fabrics. Pin all around. Machine sew leaving a 2 inch (5 cm ) gap in the centre at the length of both fabrics. You should now have 2 fabric pieces as shown below. Snip at the edges as shown for easy turning.
Turn both the pieces inside out through the gap and push the corners out with the blunt of your scissors.
Machine overcast one length of the fabric where the gap is , hence closing it. Repeat for the other fabric piece as well.
Fold this length inwards as shown. Measure that it is big enough for the width of your strap to go through. In this case, it is about 2 inches (5 cm). Pin and machine sew preferably on the same position as the machine overcast as it will make this stitch not so visible on this side and just a straight line on the front (opposite side). This is now the strap holder. Repeat the process for the other piece.
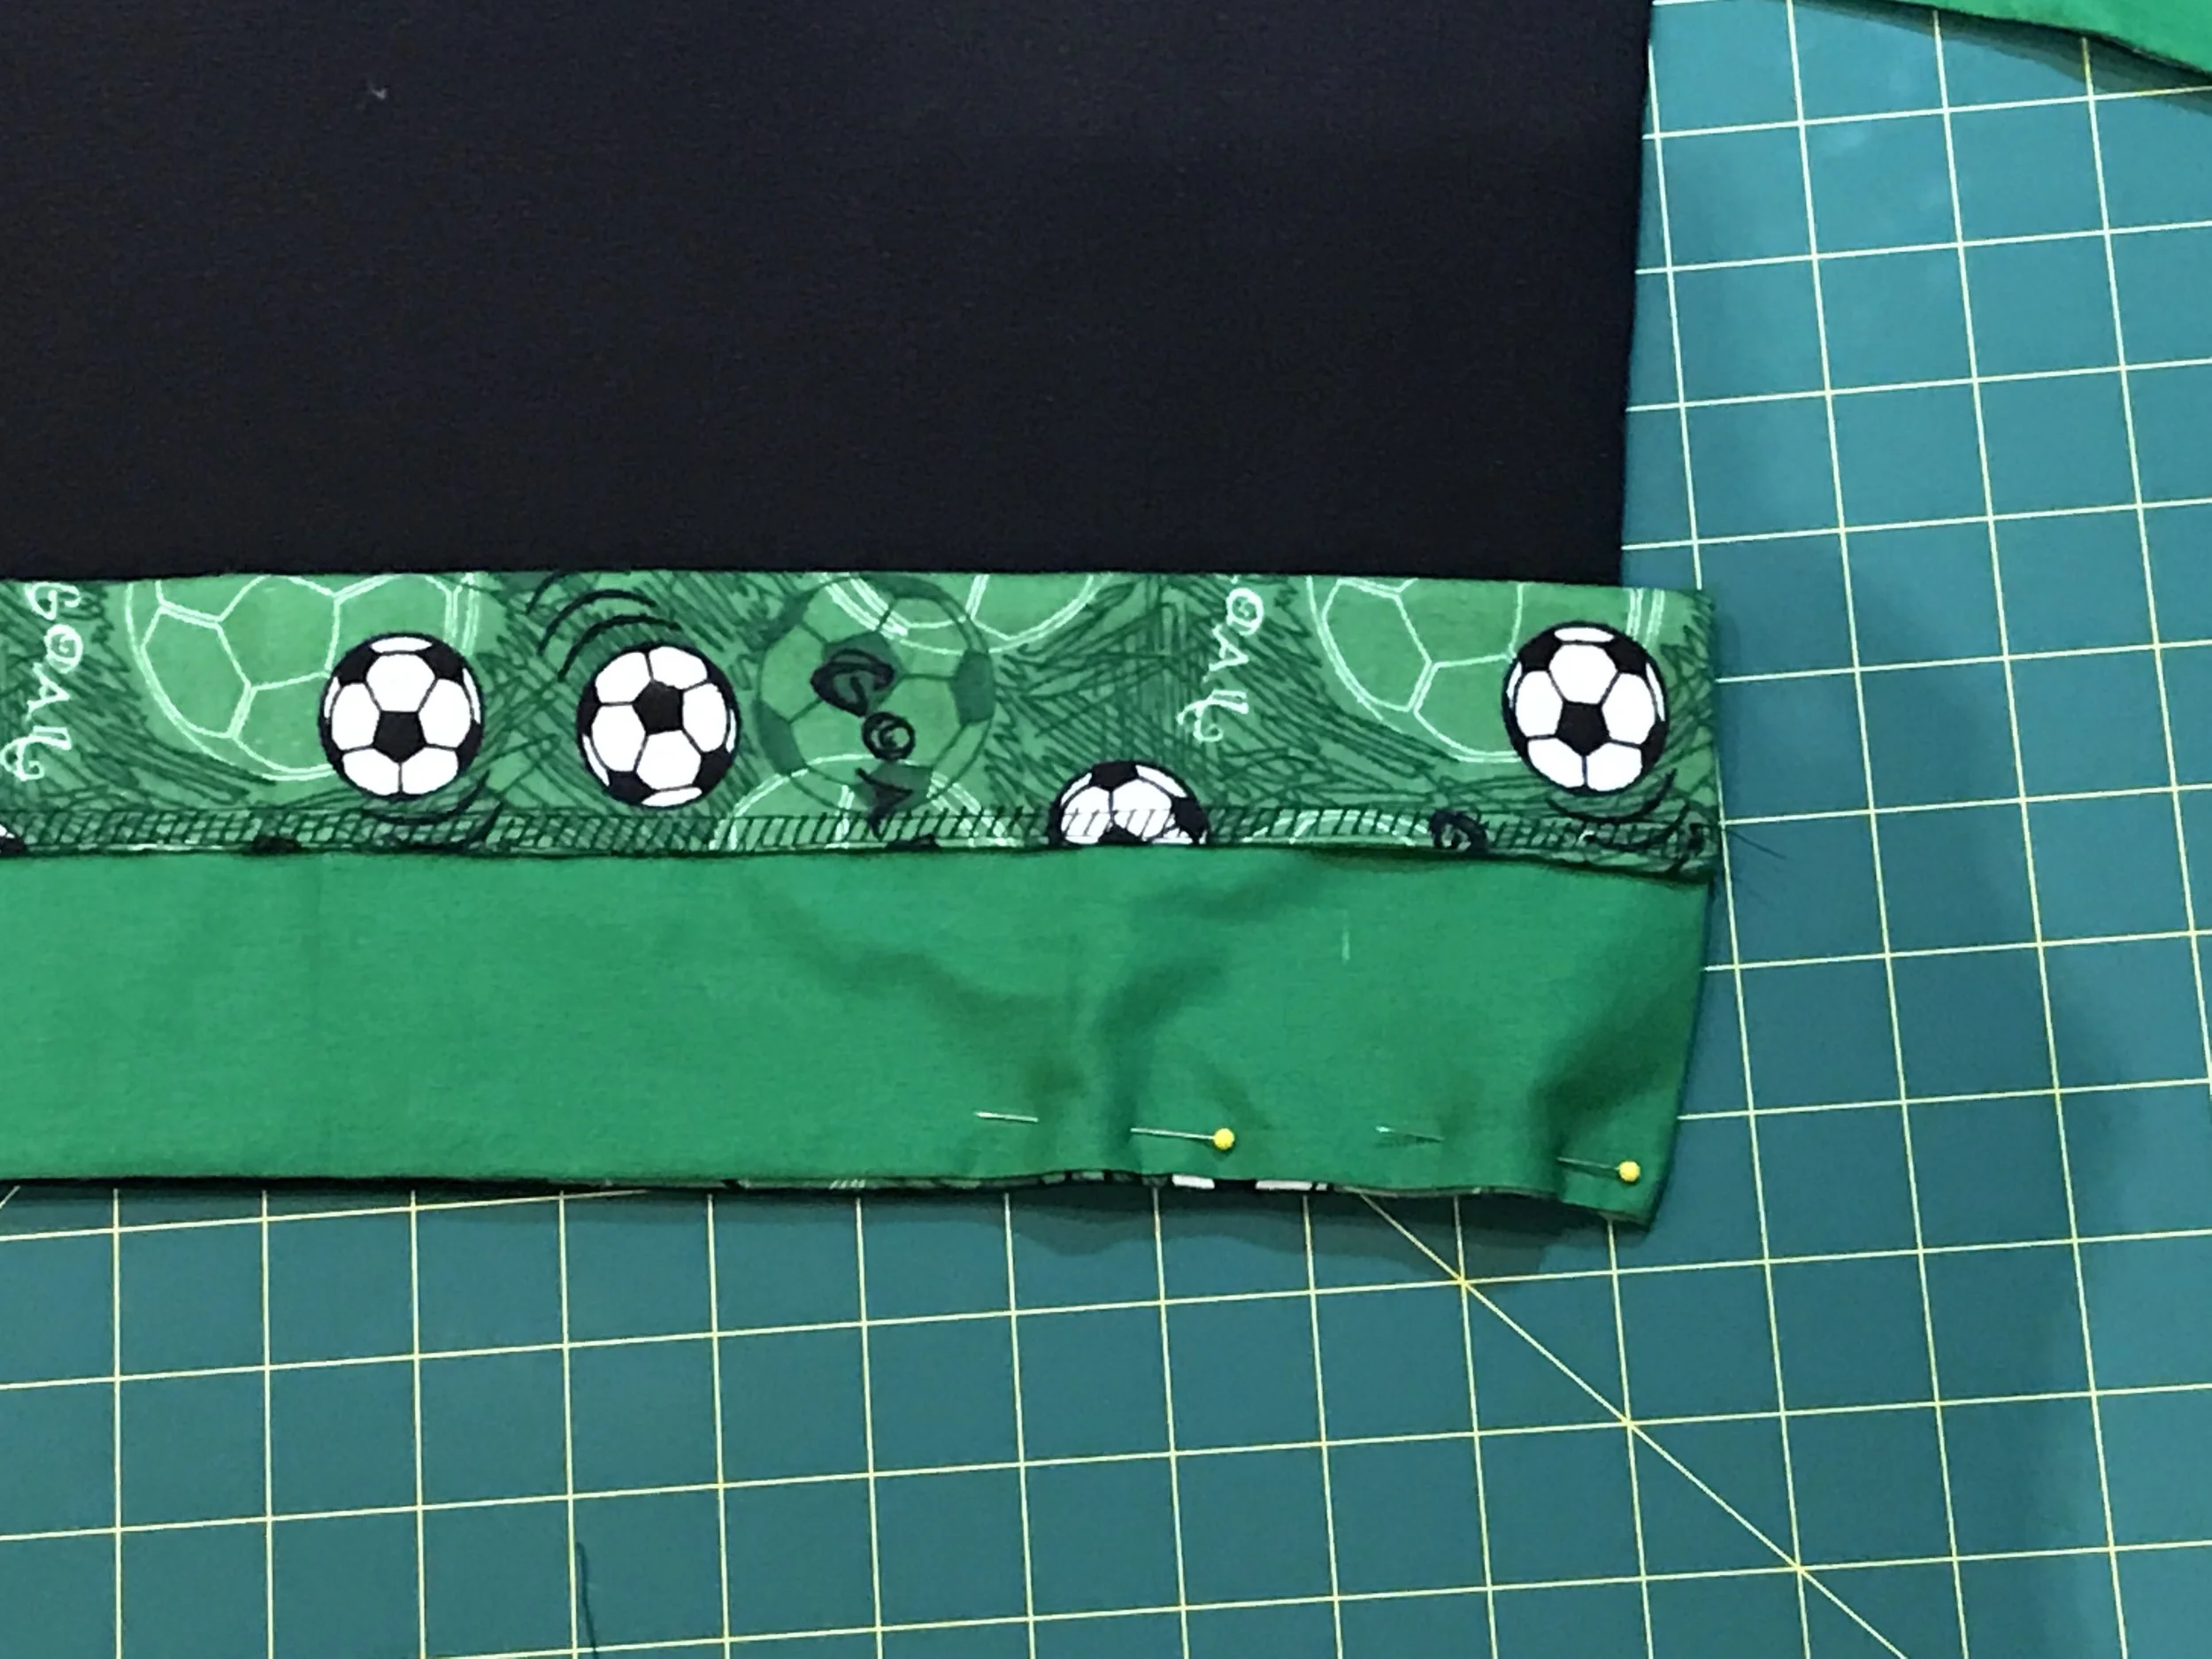
Now place the opposite side of one of the pieces right side to the width of the neoprene. The strap holder should be facing down from the seam of the neoprene, as shown in the photo below. Neoprene has no right or wrong sides so it doesn’t matter which side you attach the piece to. Pin and repeat for the other fabric piece to the other width of the neoprene.
The attached fabrics should look as the photo below.
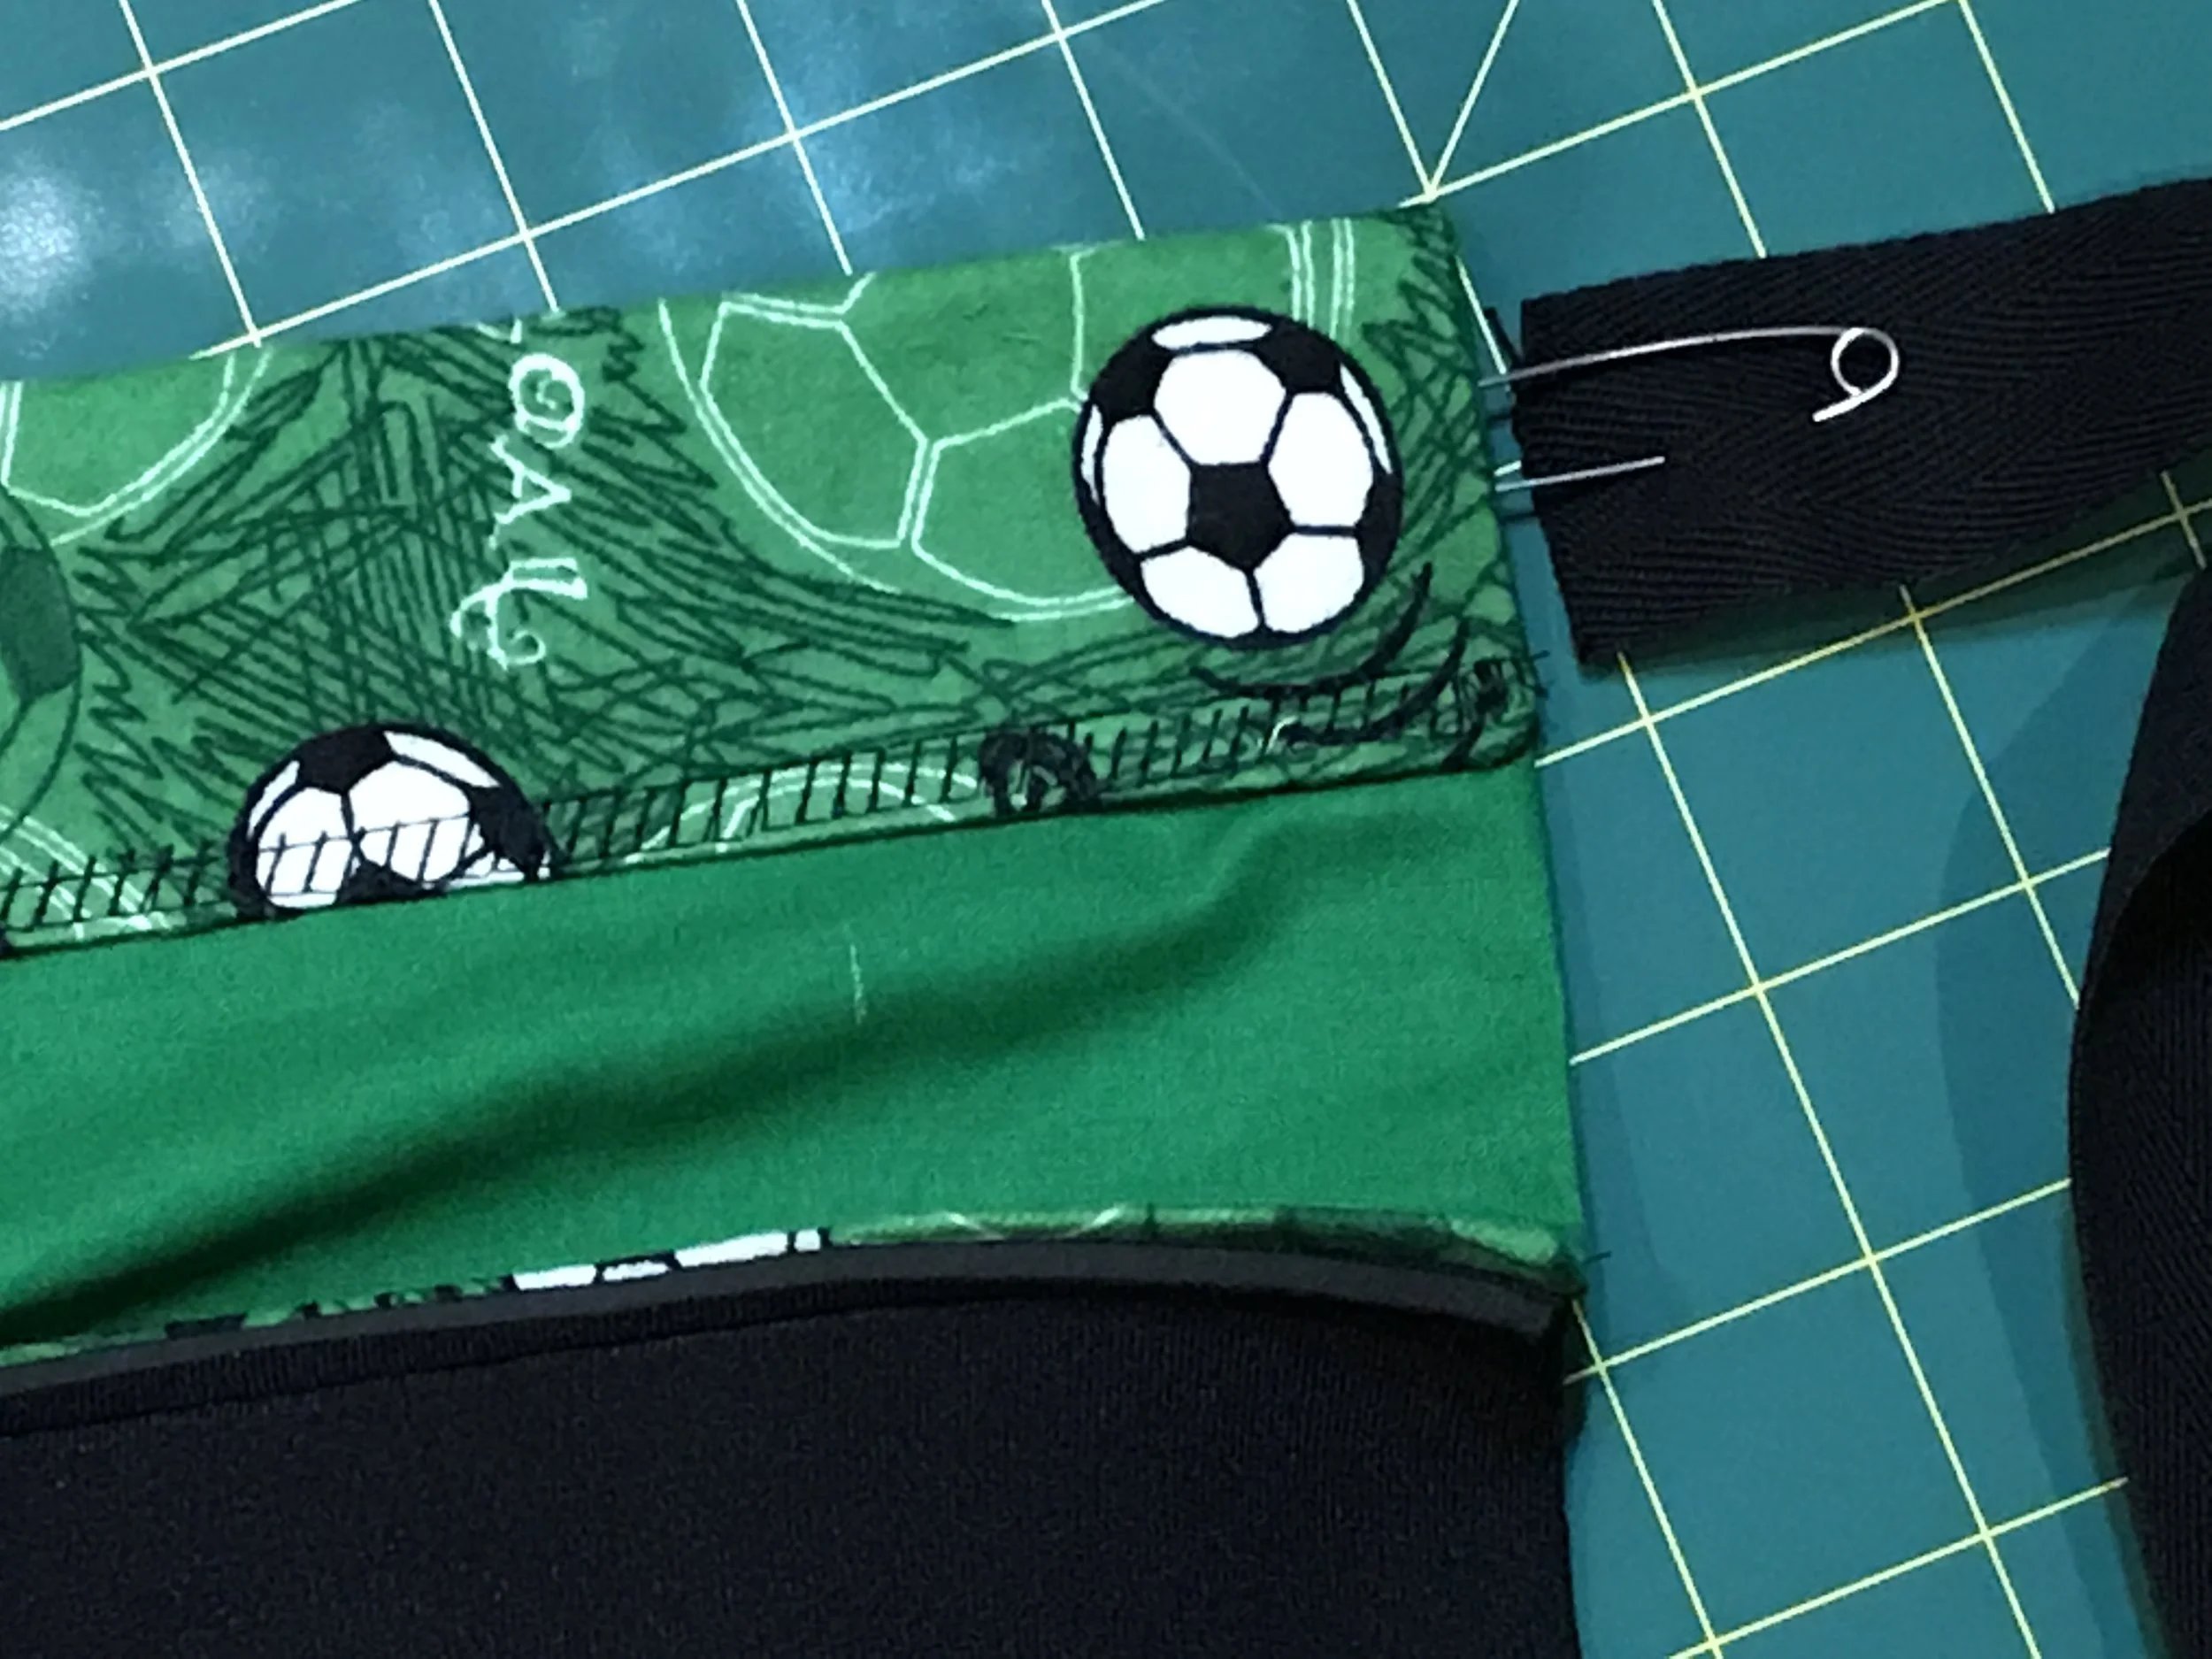
Use a large safety pin ( I usually use a baby’s diaper pin) and pin on one end of the longer straps. Insert the strap through the strap holder as shown.
When the strap is out continue by inserting it through the other strap holder. Once done it should look like the photo shown, with the ends of the strap on one side of the bag.
Repeat the process for the other strap but begin on the opposite end of the strap holder instead. You should end with ends of each strap on each side of the bag.
Fold the bag in half with the right sides facing each other. Remember to tuck the straps in the bag. Position the ends of each strap to the corner edges of each corner of the bag.
Please ensure that the ends of strap that comes out from the right strap holders are placed on the edge of the right corner of the neoprene and the strap ends from the left stays left. Its ok if it protrudes out a little.
Pin the sides of the neoprene. Machine sew together including the ends of the straps positioned earlier.
Turn the bag inside out to check that the bag is ok. Tug the straps to ensure that they are secure and strong, and to also help get the pointed corners.
The main drawstring bag is ready!
Now we need to attach the matching zipped pouch to the main bag. It might be easier to sew with the bag turned inside out again.
Fold the shorter strap twice at one end. Pin and machine sew at the bottom section of the strap holder. As before, sewing on the same position on the machine overcast would be best. See photo.
Now fold the other end of the strap twice as well, pin and machine sew to the chosen position on the pouch. Please ensure that you are only sewing on one side of the pouch. It's best to sew through the opening of the pouch zip.
Now turn the bag inside out again. The drawstring bag with a matching attached pouch is now complete and ready to use!
Since I was hoping for my kids to sell the bag at the bazaar, I made a few more drawstring bags with minor changes in each.
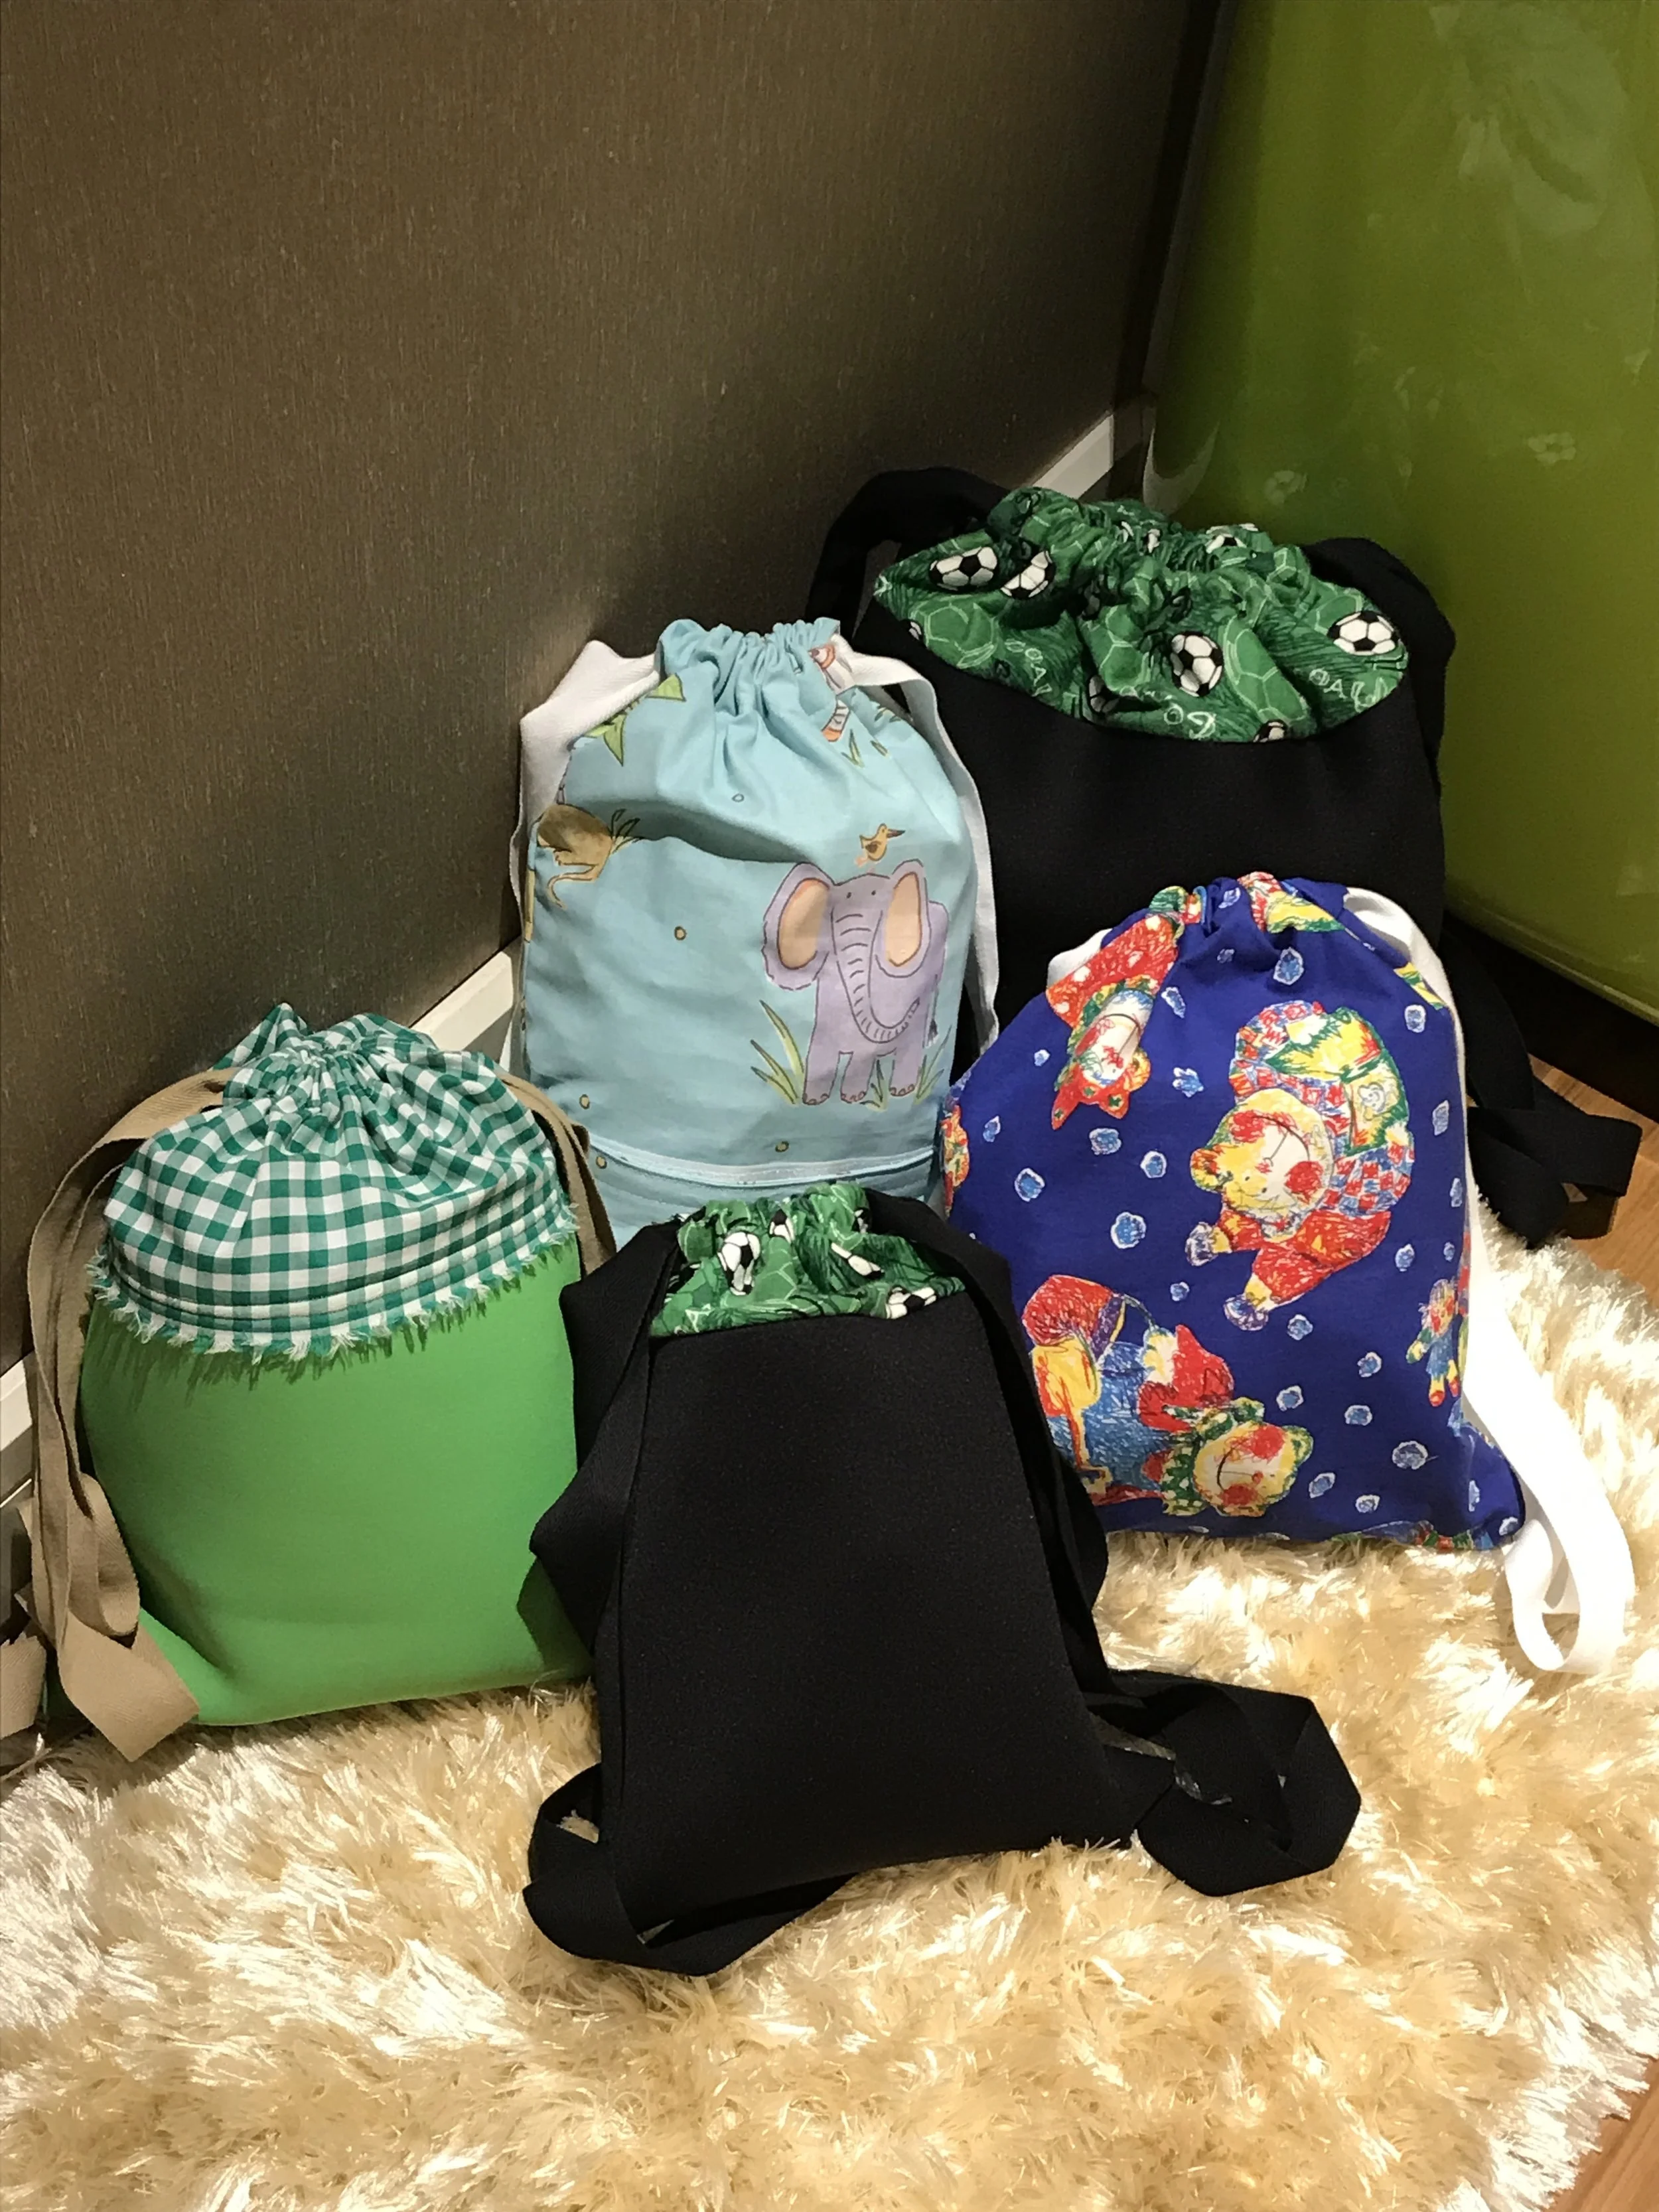
On the right, is the bigger football drawstring bag with a pouch, that was just made. Next to it is a smaller football bag, possibly for a younger child.
The difference with the smaller football bag is instead of a pouch, I have inserted a small pocket on the inside of the bag.
The next bag made was using gingham and green neoprene. I saw that the selvedge of the gingham was interesting and decided to use it decoratively to separate the two materials used for this bag.
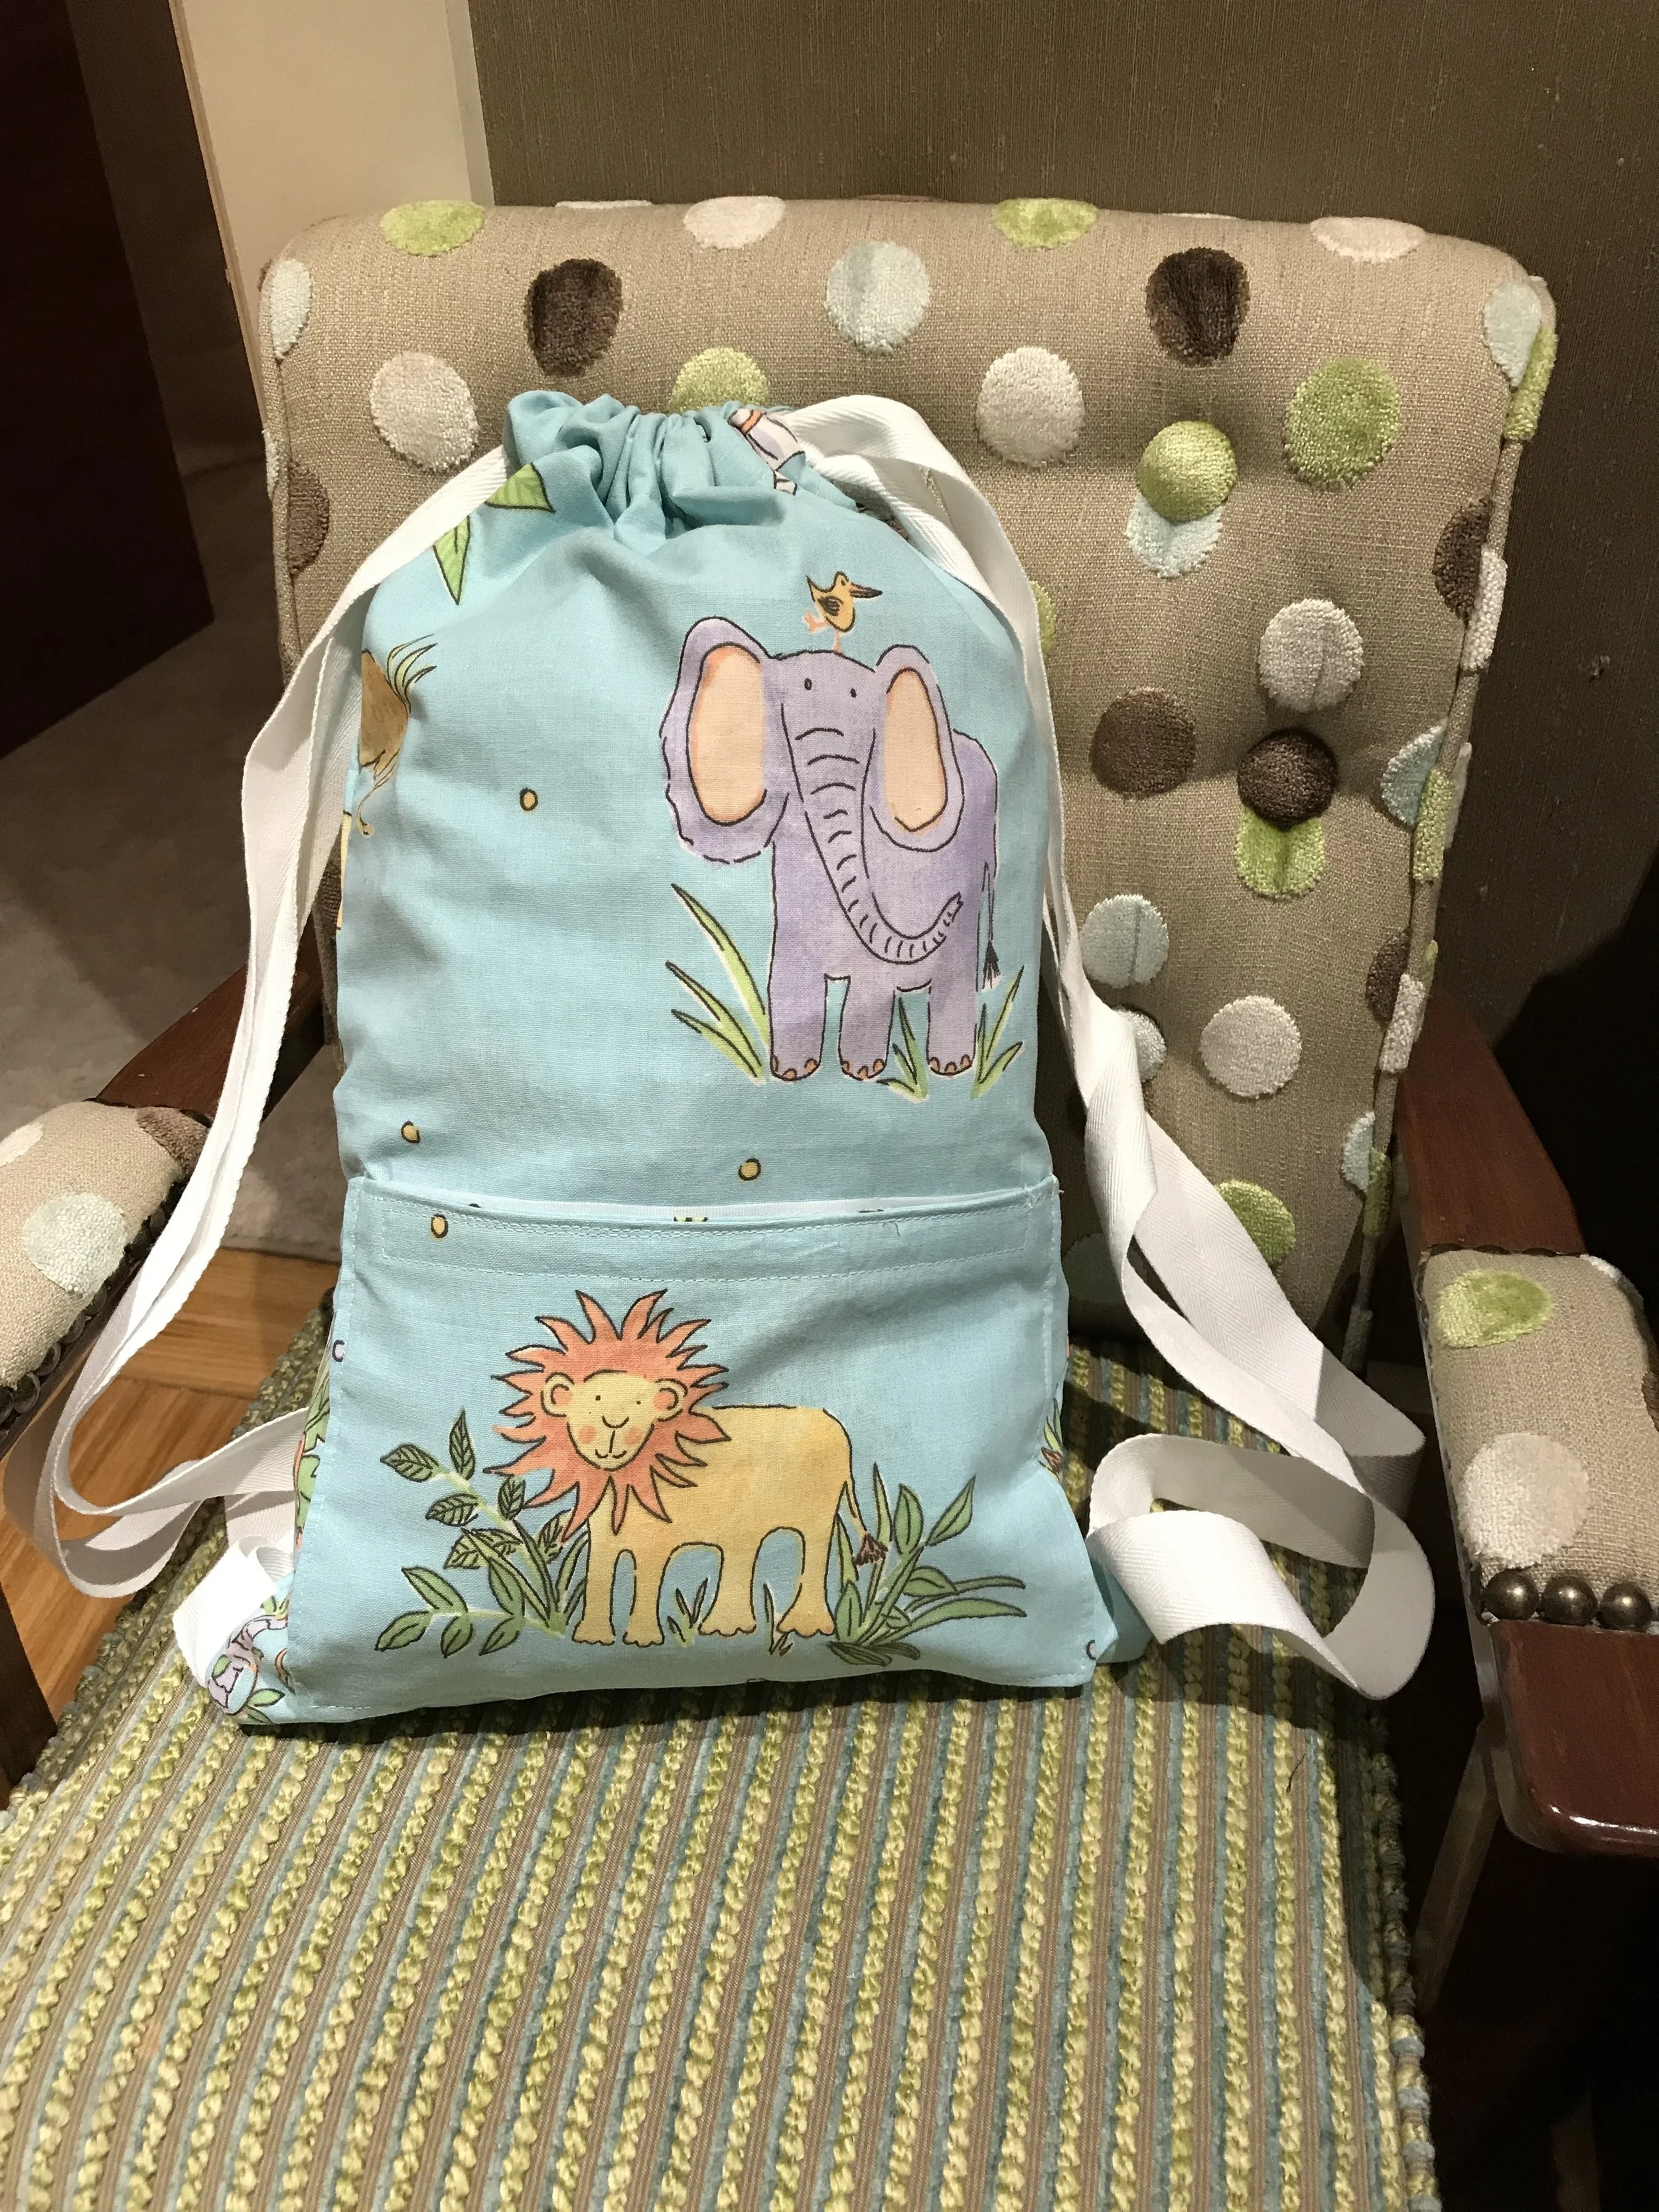
In this following bag, I made it for someone younger in mind. Only one type of fabric was used for the whole bag. I added a pocket on the outside with velcro instead of a zip to open and close it.
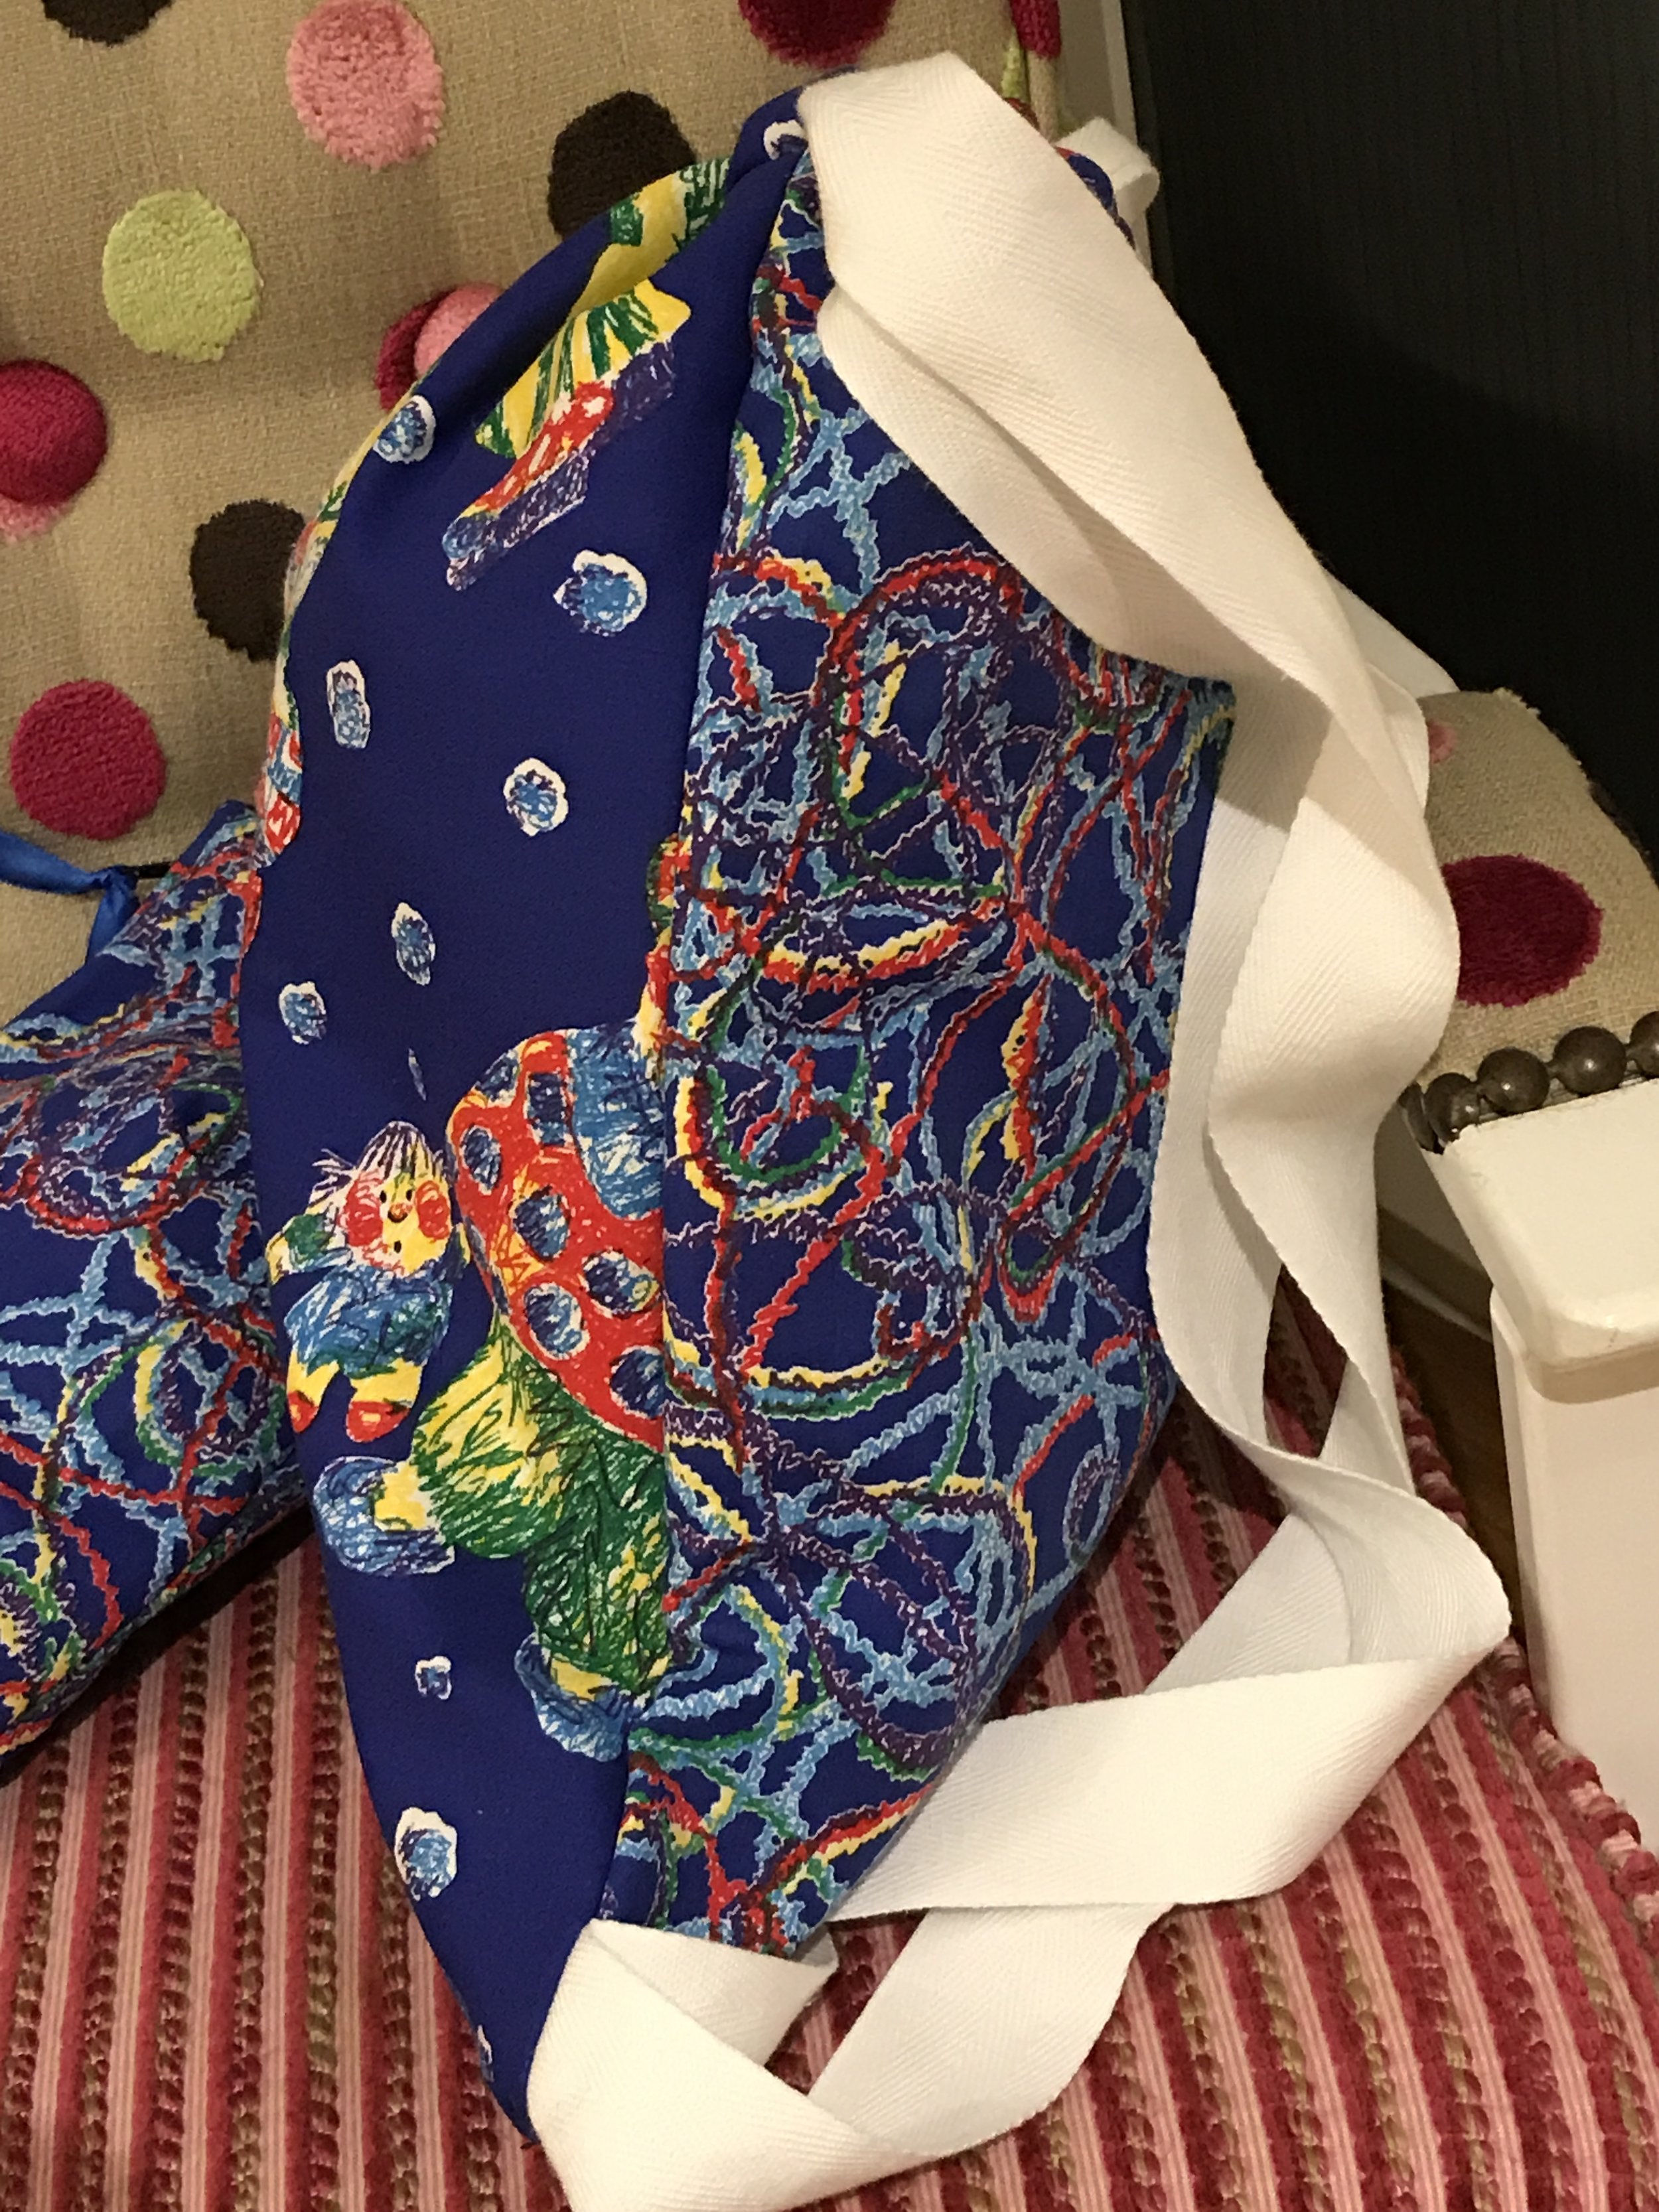
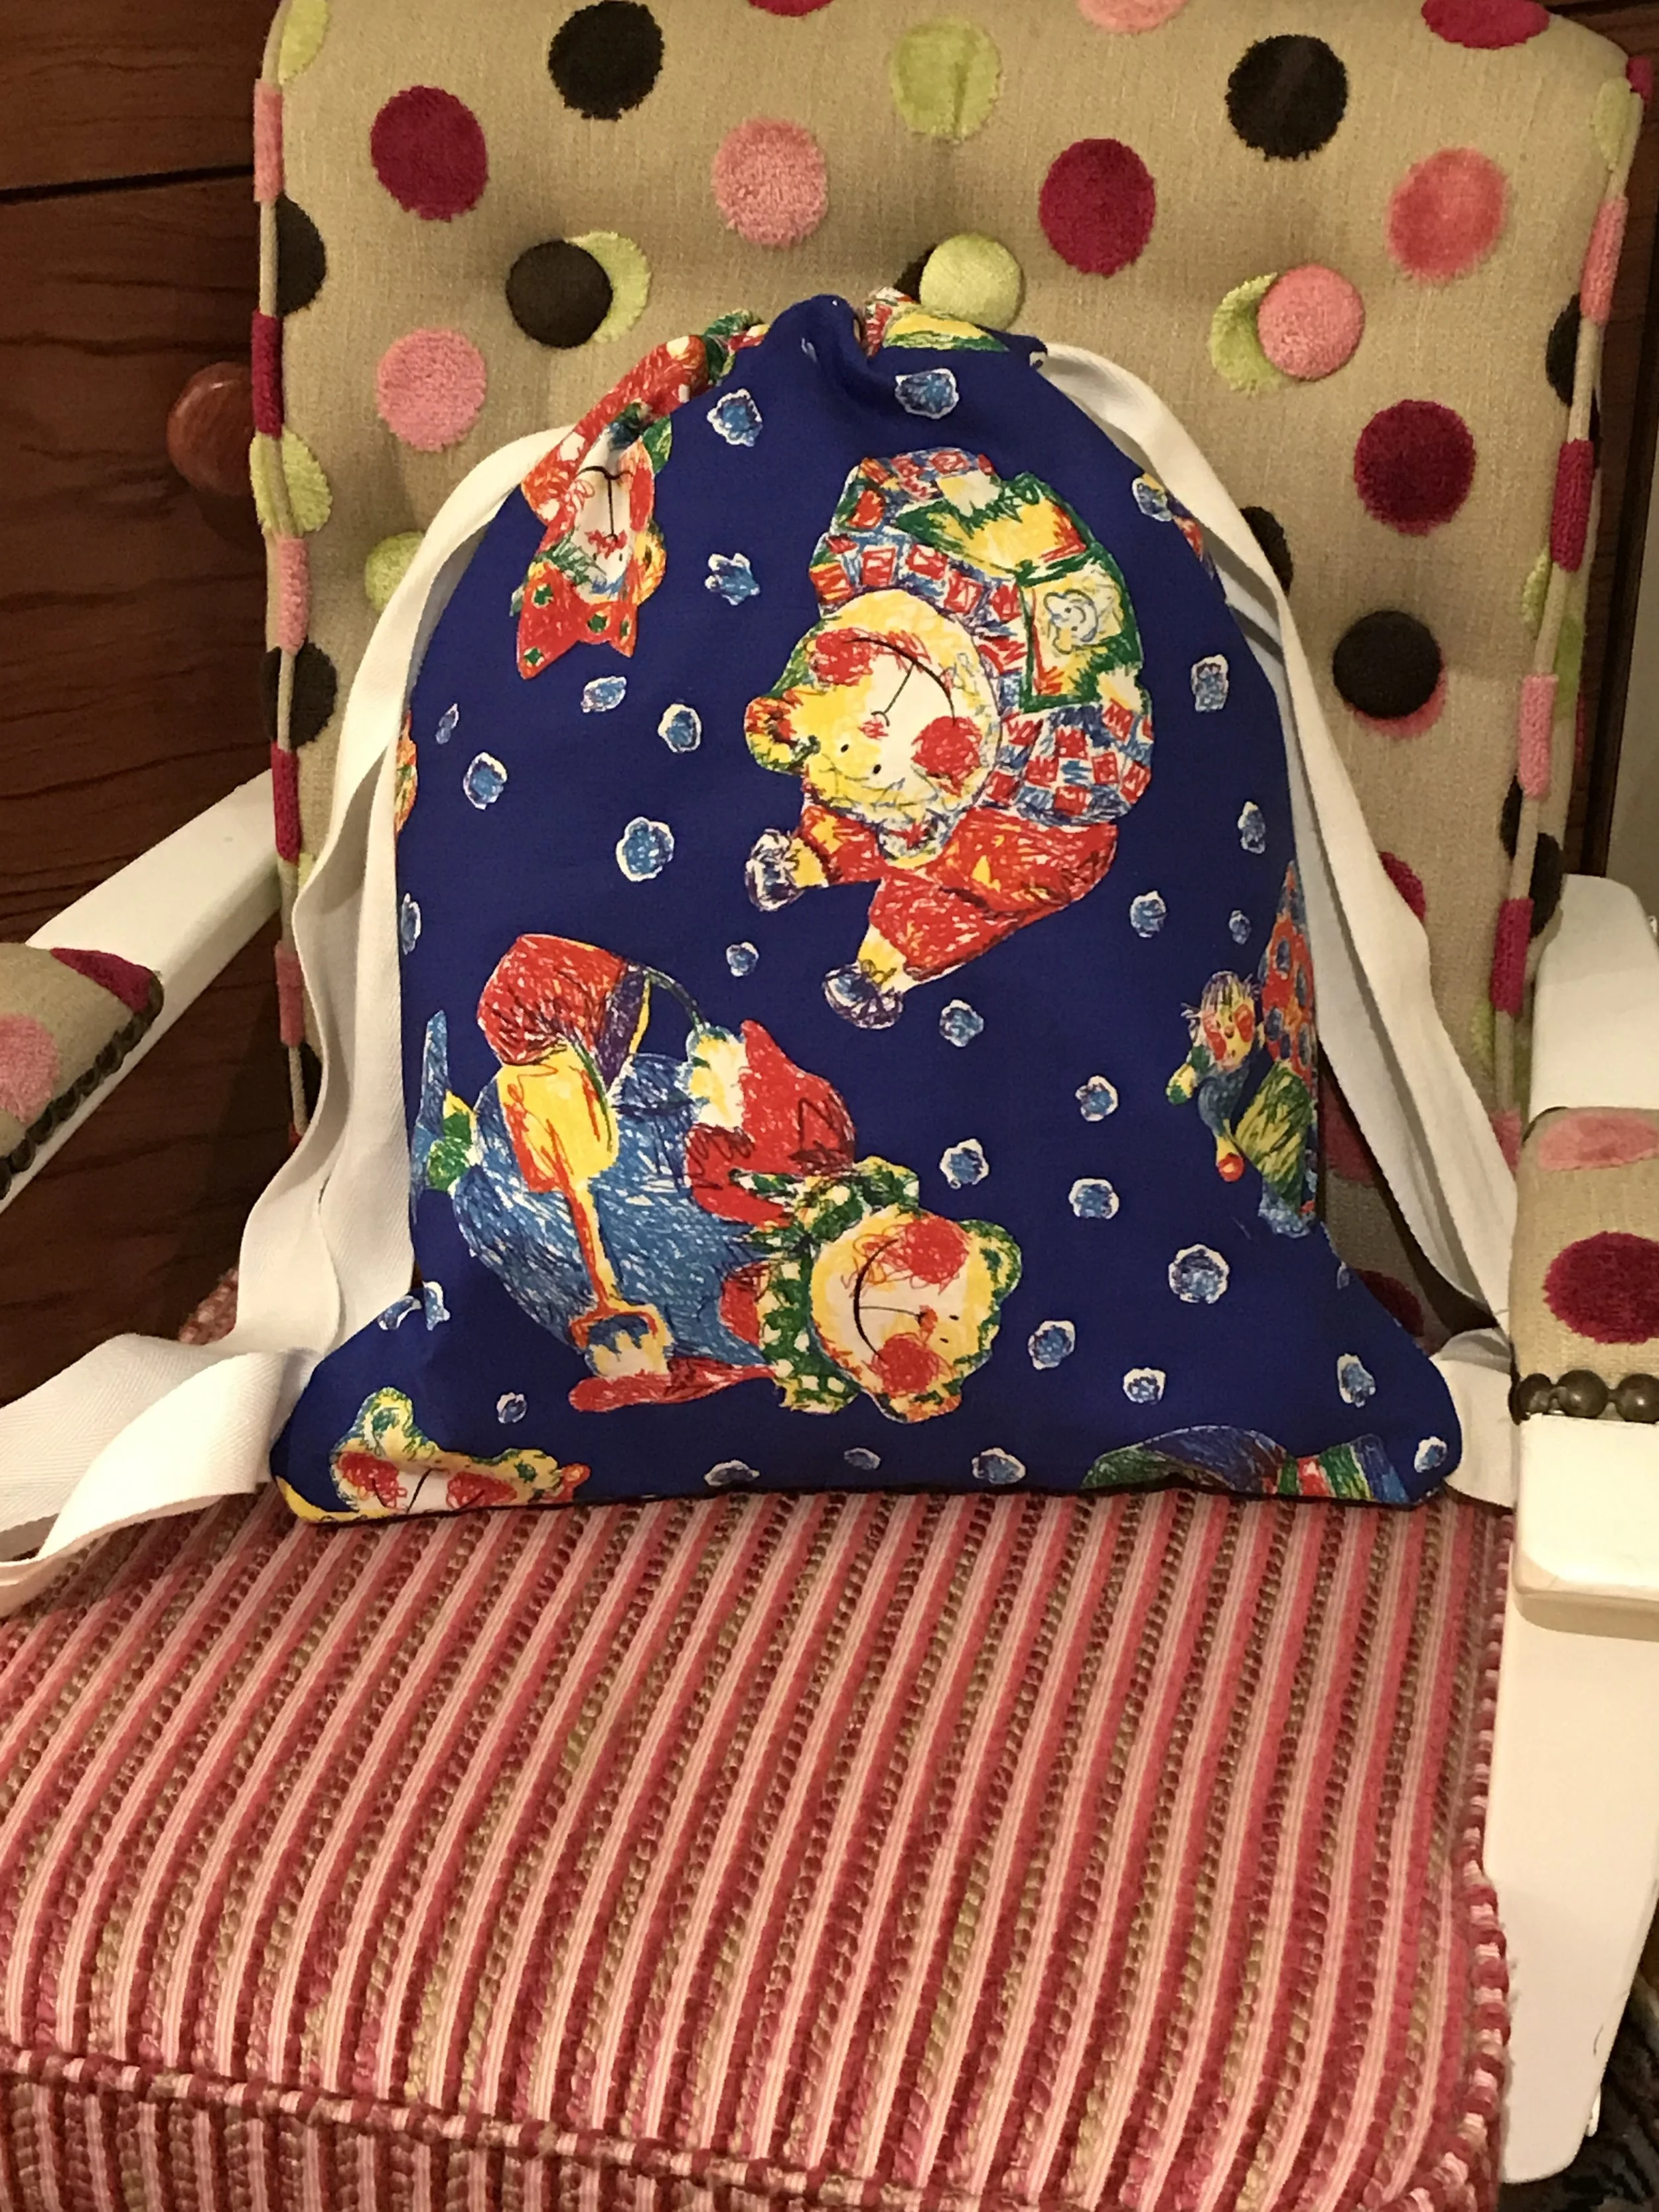
This last drawstring bag uses one type of fabric but with 2 similar prints. The front and back fabrics of the bag are different . I have also made a pouch for this bag. The strap connecting the bag to the pouch was also attached differently. One end of the strap was sewn under the strap holder. The other end was attached to the width of the pouch. The strap was sewn together when sewing the seam of the pouch.
The basic method of making a drawstring bags is the same... but the possibilities of making different types of drawstring bags are endless!
I hope you enjoy creating your own drawstring bags as much as I did. Have fun!
