Burlap Shopping Bag
Burlap is a strong, coarse fabric made from hemp, flax or jute. It is made with a loose weave and tends to stretch. Burlap has always been used to make sacks and very popular in gardens. However, it is gaining popularity for crafts and home decor ideas.
I was shopping for fabric one day when I noticed some really nice printed burlaps and thought it would look great as a reversible shopping bag!
Strap
20 x 3 inches (51 x 8 cm) polka dot burlap
20 x 3 inches (51 x 8 cm) striped burlap
20 x 3 inches (51 x 8 cm) light fusible interfacing x 2
Materials
20 x 15 inches (51 x 38 cm) polka dot burlap x 2
20 x 15 inches (51 x 38 cm) striped burlap x 2
20 x 15 inches light fusible interfacing x 4
Steps
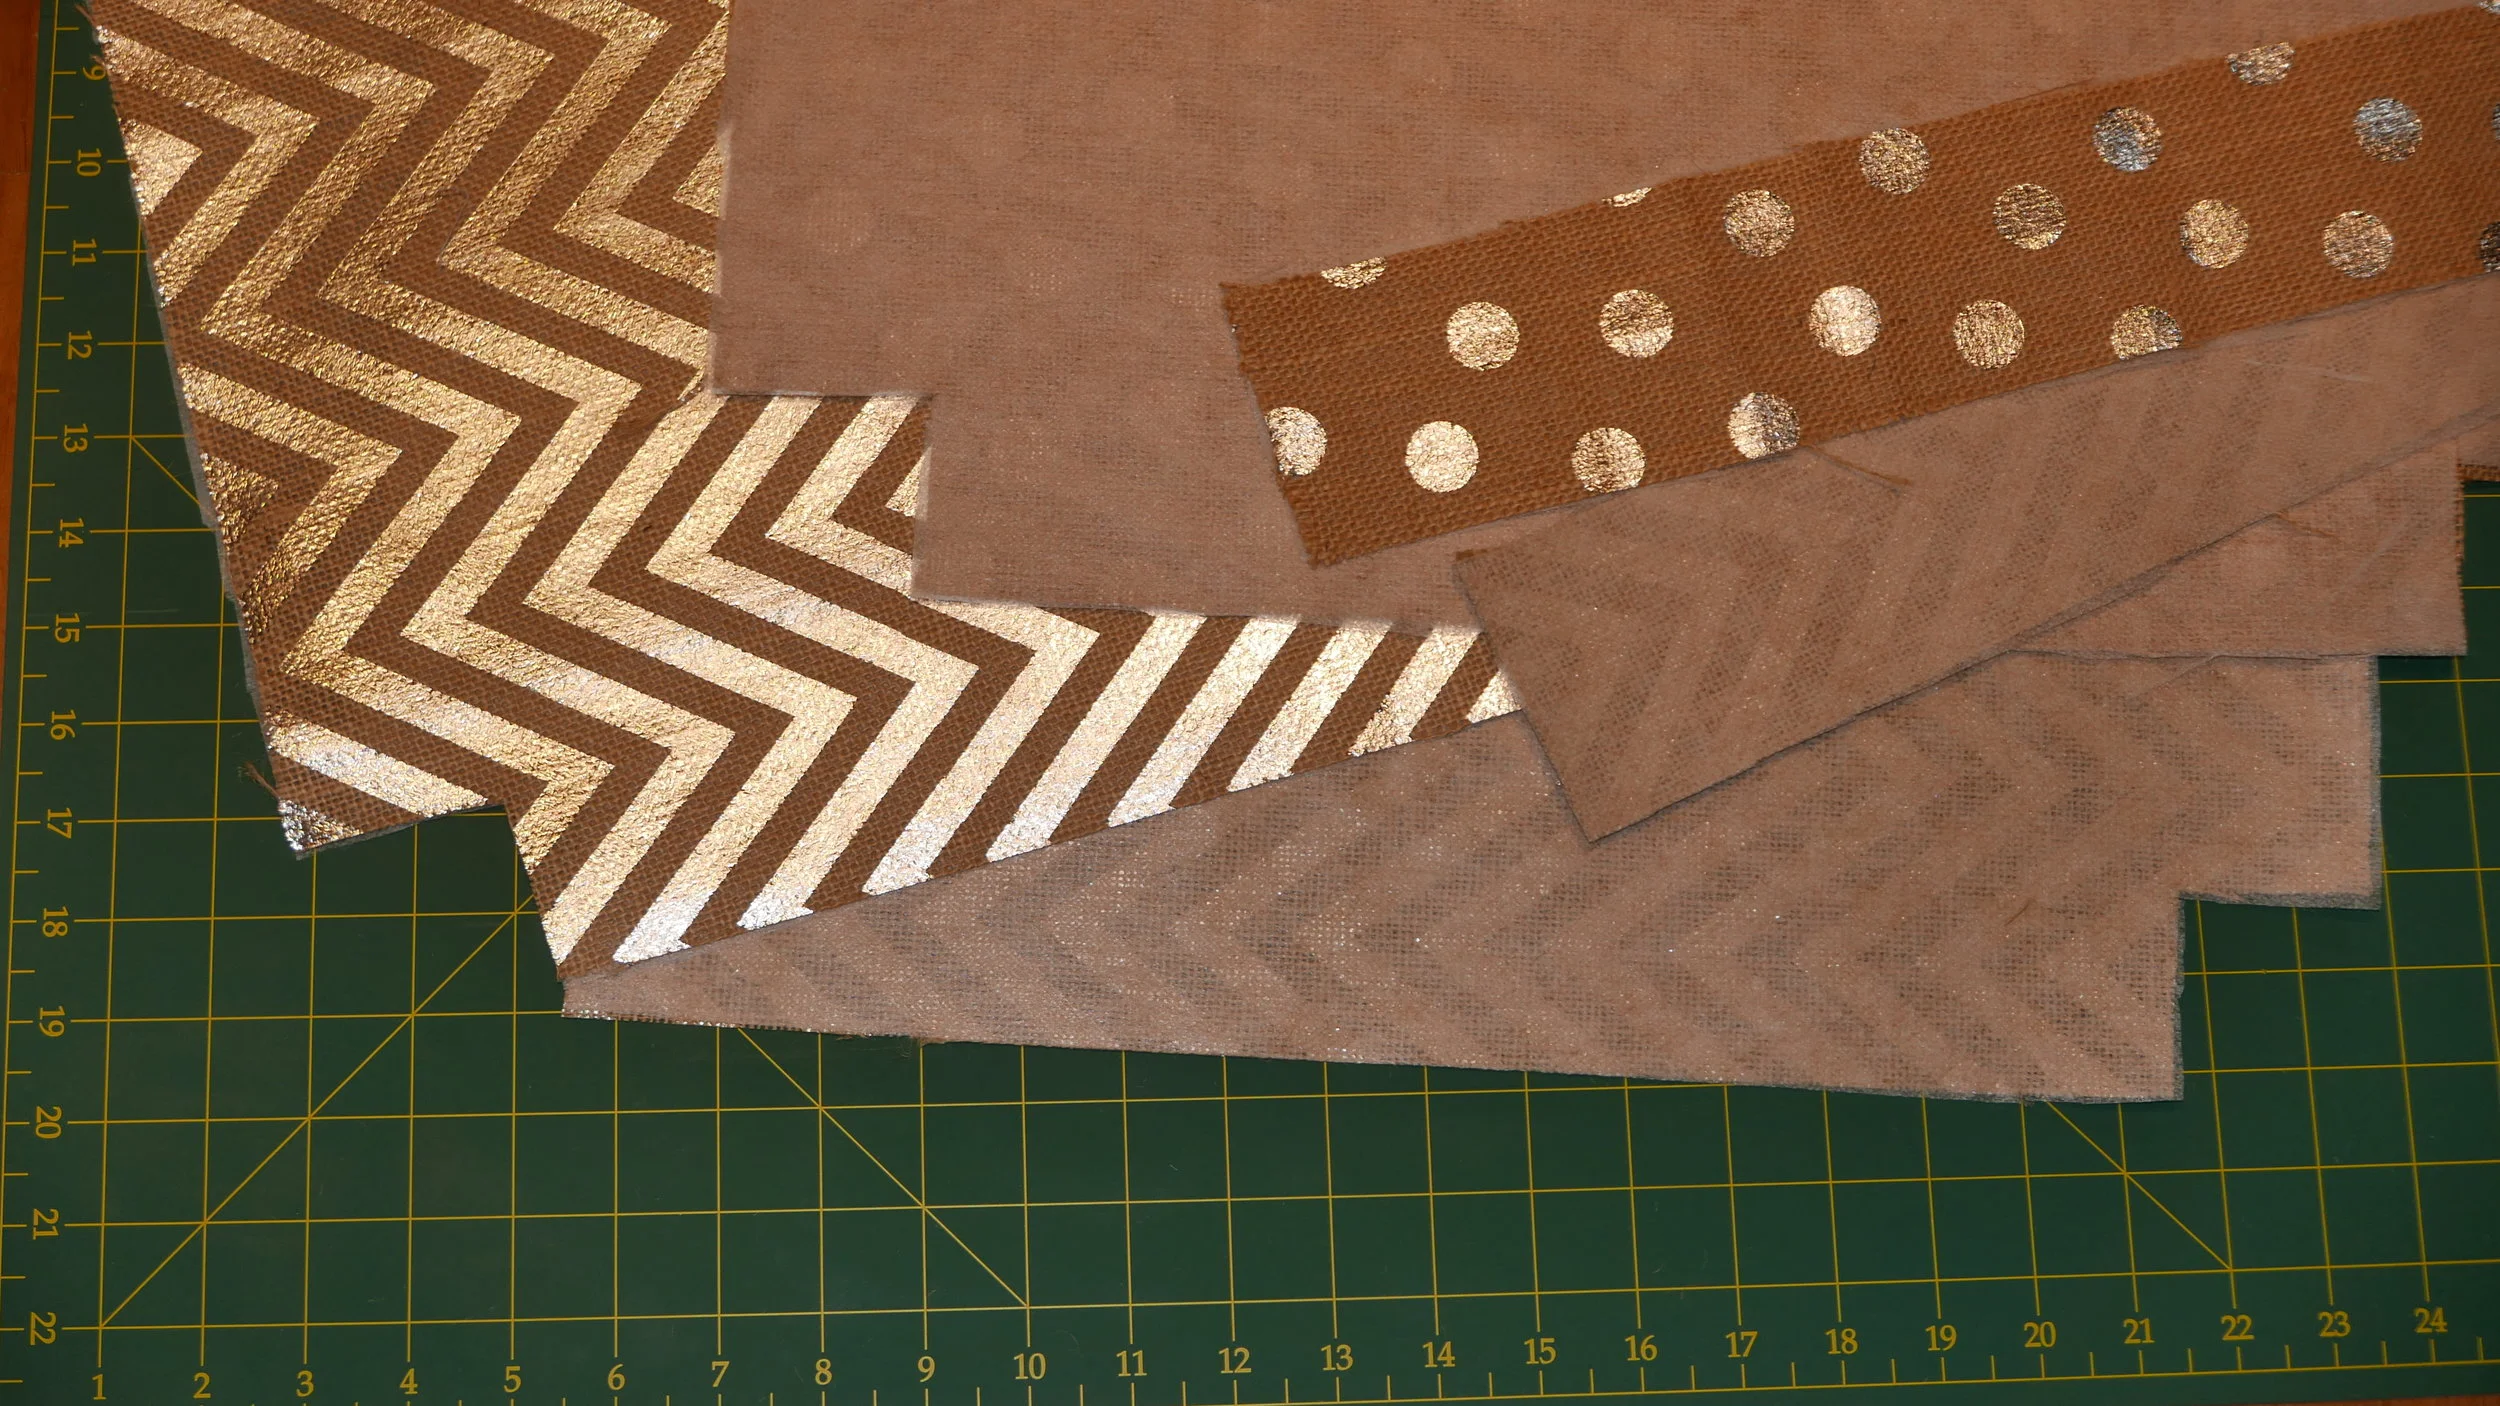
Cut out a 2 x 2 inch (5 x 5 cm) square from the bottom corners of all fabrics and interfacing as shown.
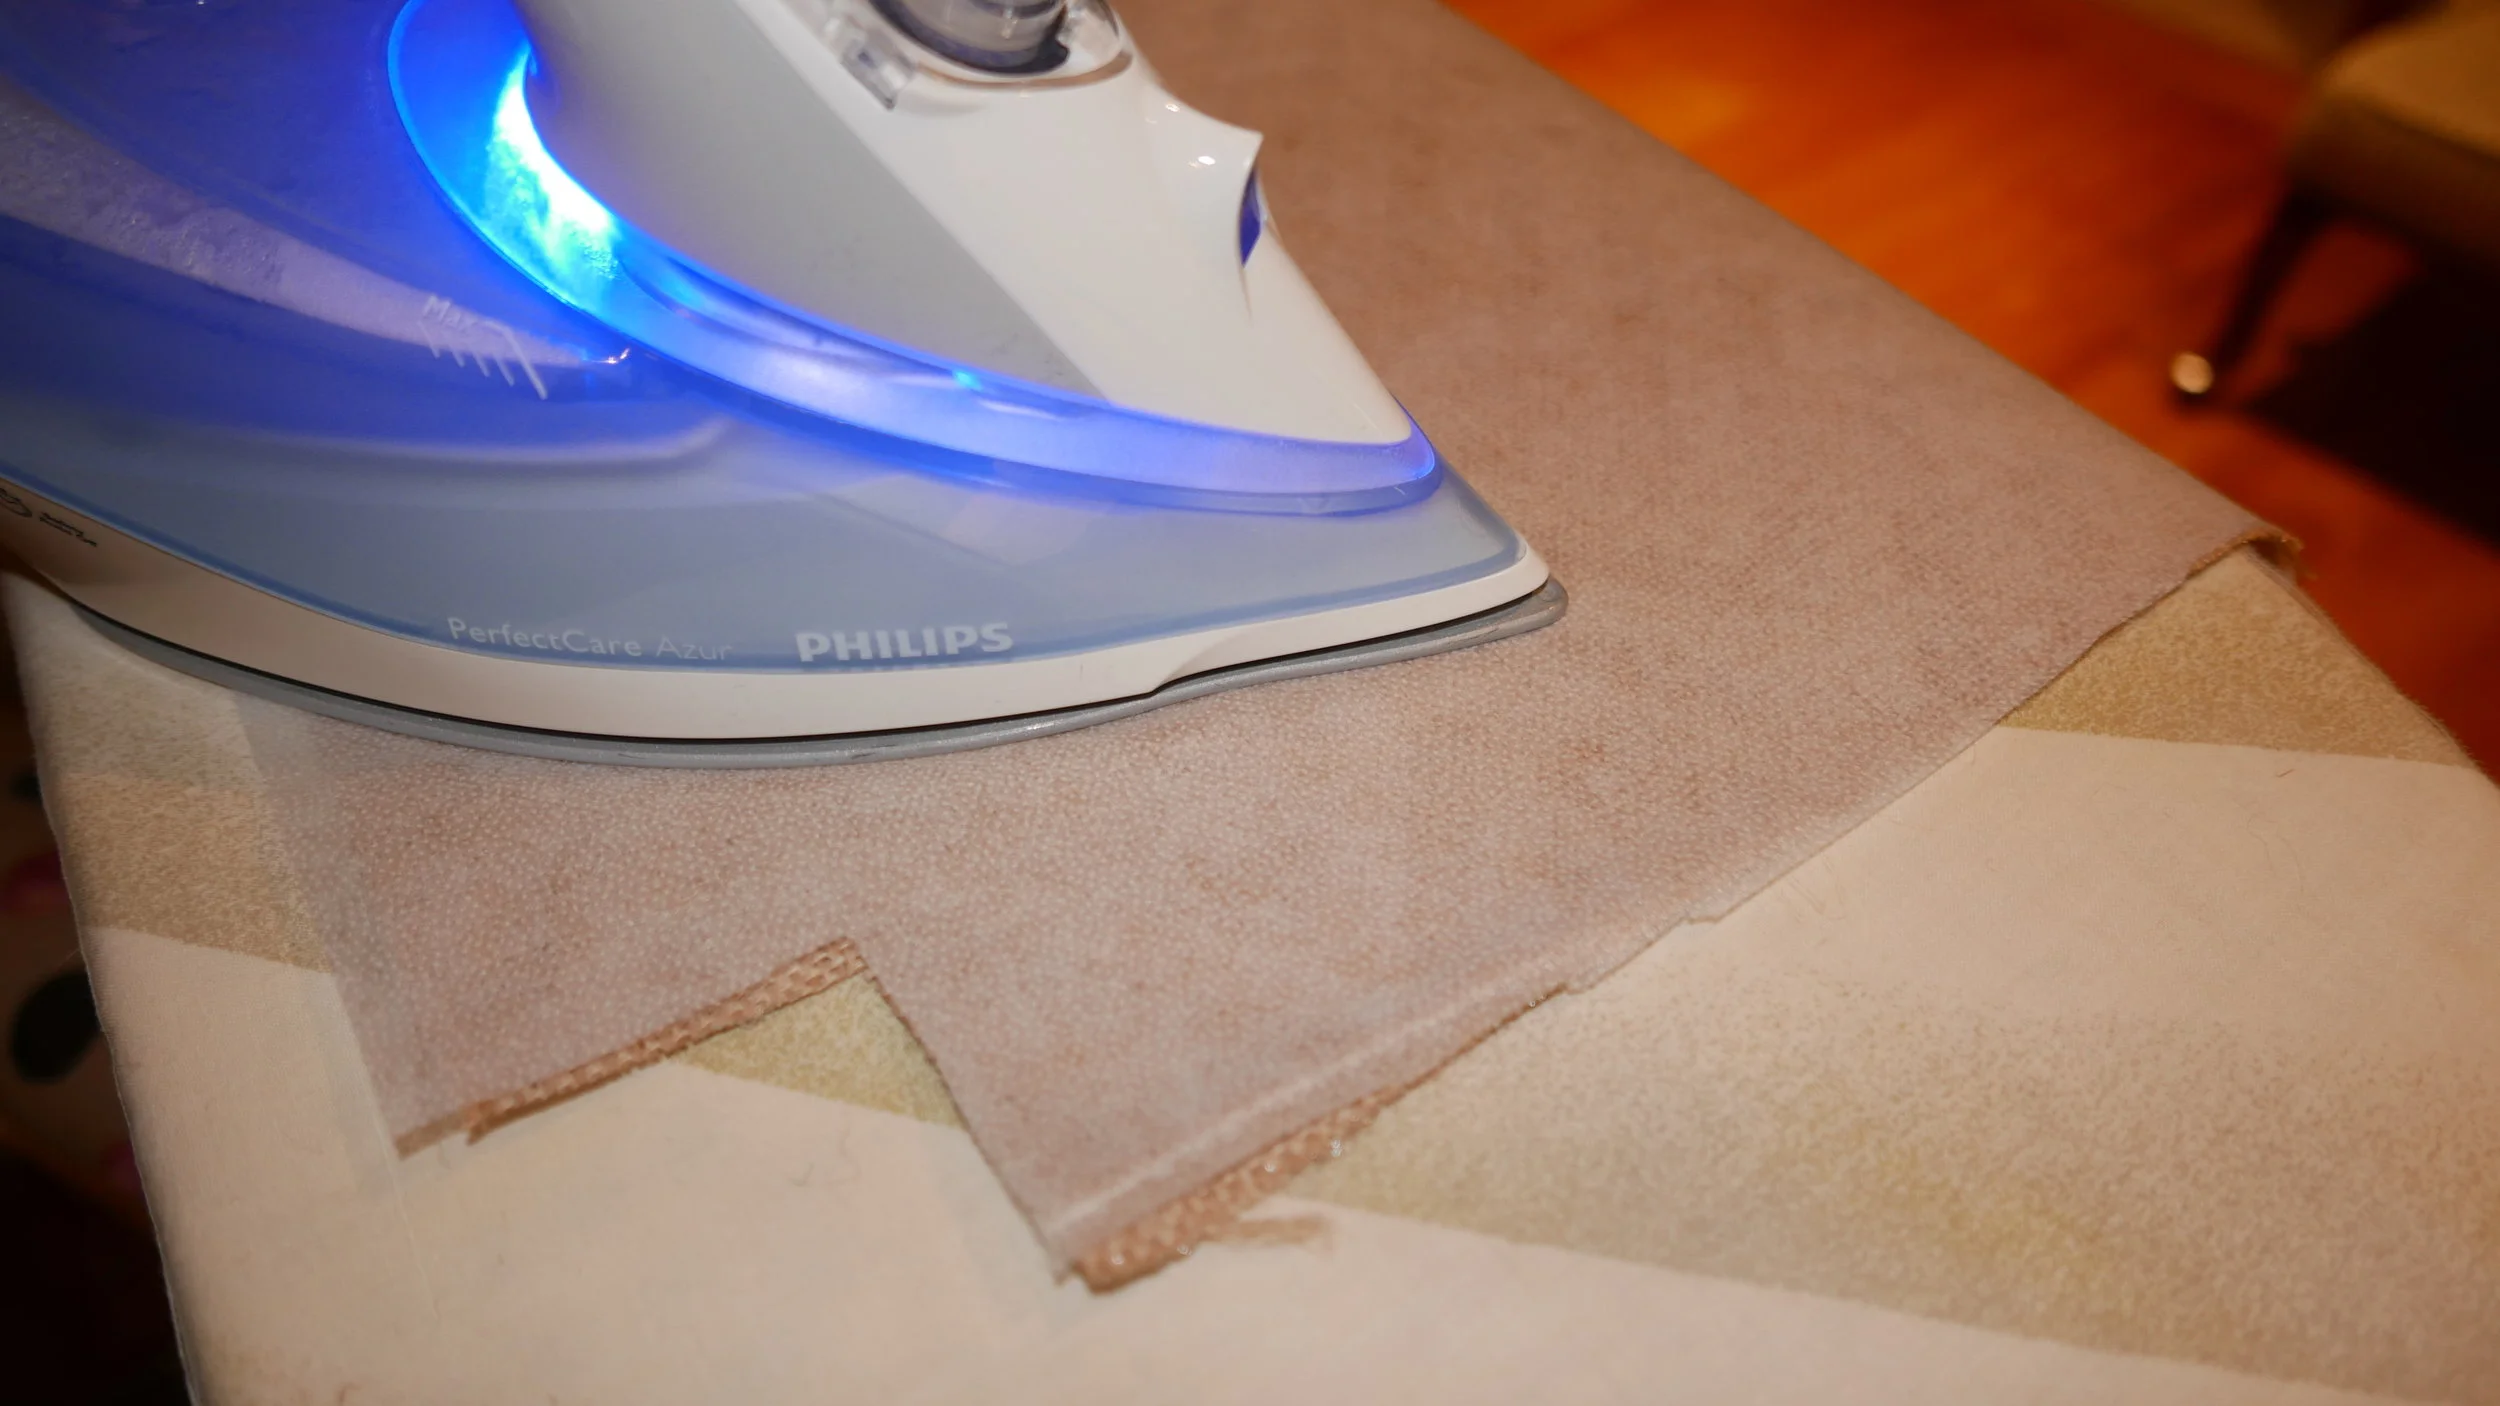
Follow the manufacturer’s instruction for using the interfacing. A quick tip is the shiny, rough side should face the wrong side of the fabric. This is where the glue is on the interfacing. Iron the interfacing to the fabrics fusing them together.
Interfacing is necessary to stabilise the bag. It also minimises the amount of fraying and keeps the fabric from stretching out of shape.
Repeat for all fabric pieces including the straps.
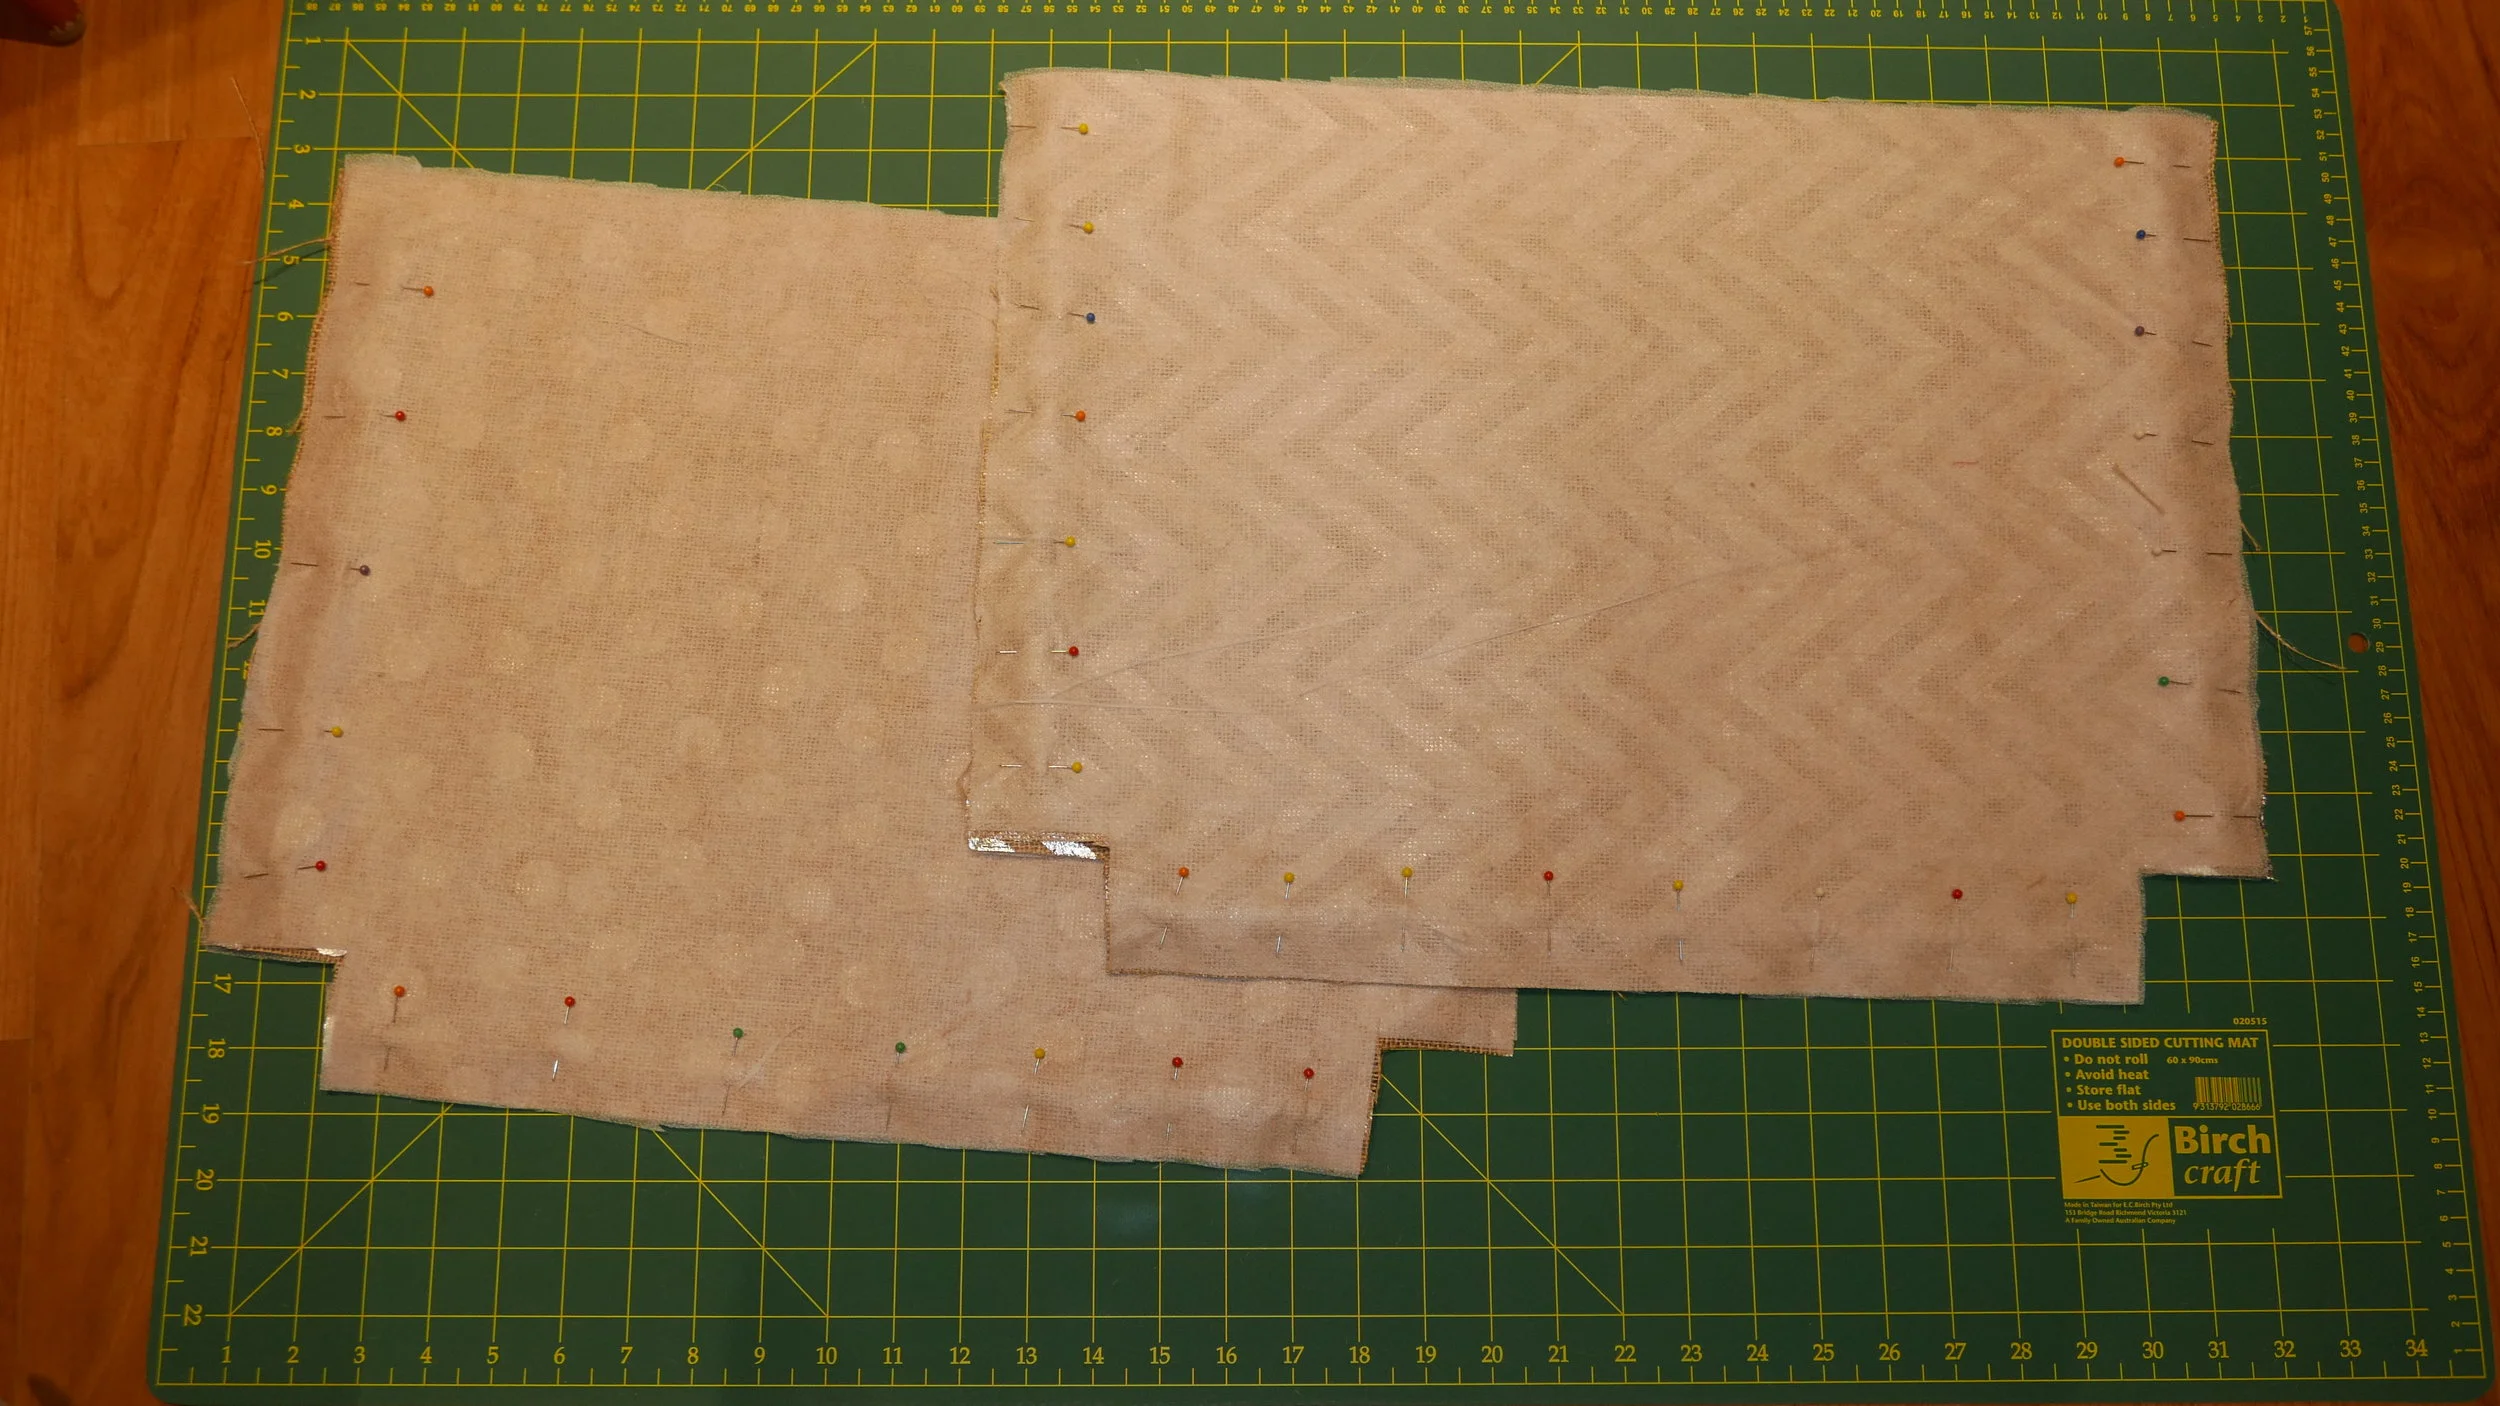
Attach the fabrics with the stripes together and the polka dots together, right sides facing each other. Pin as shown.
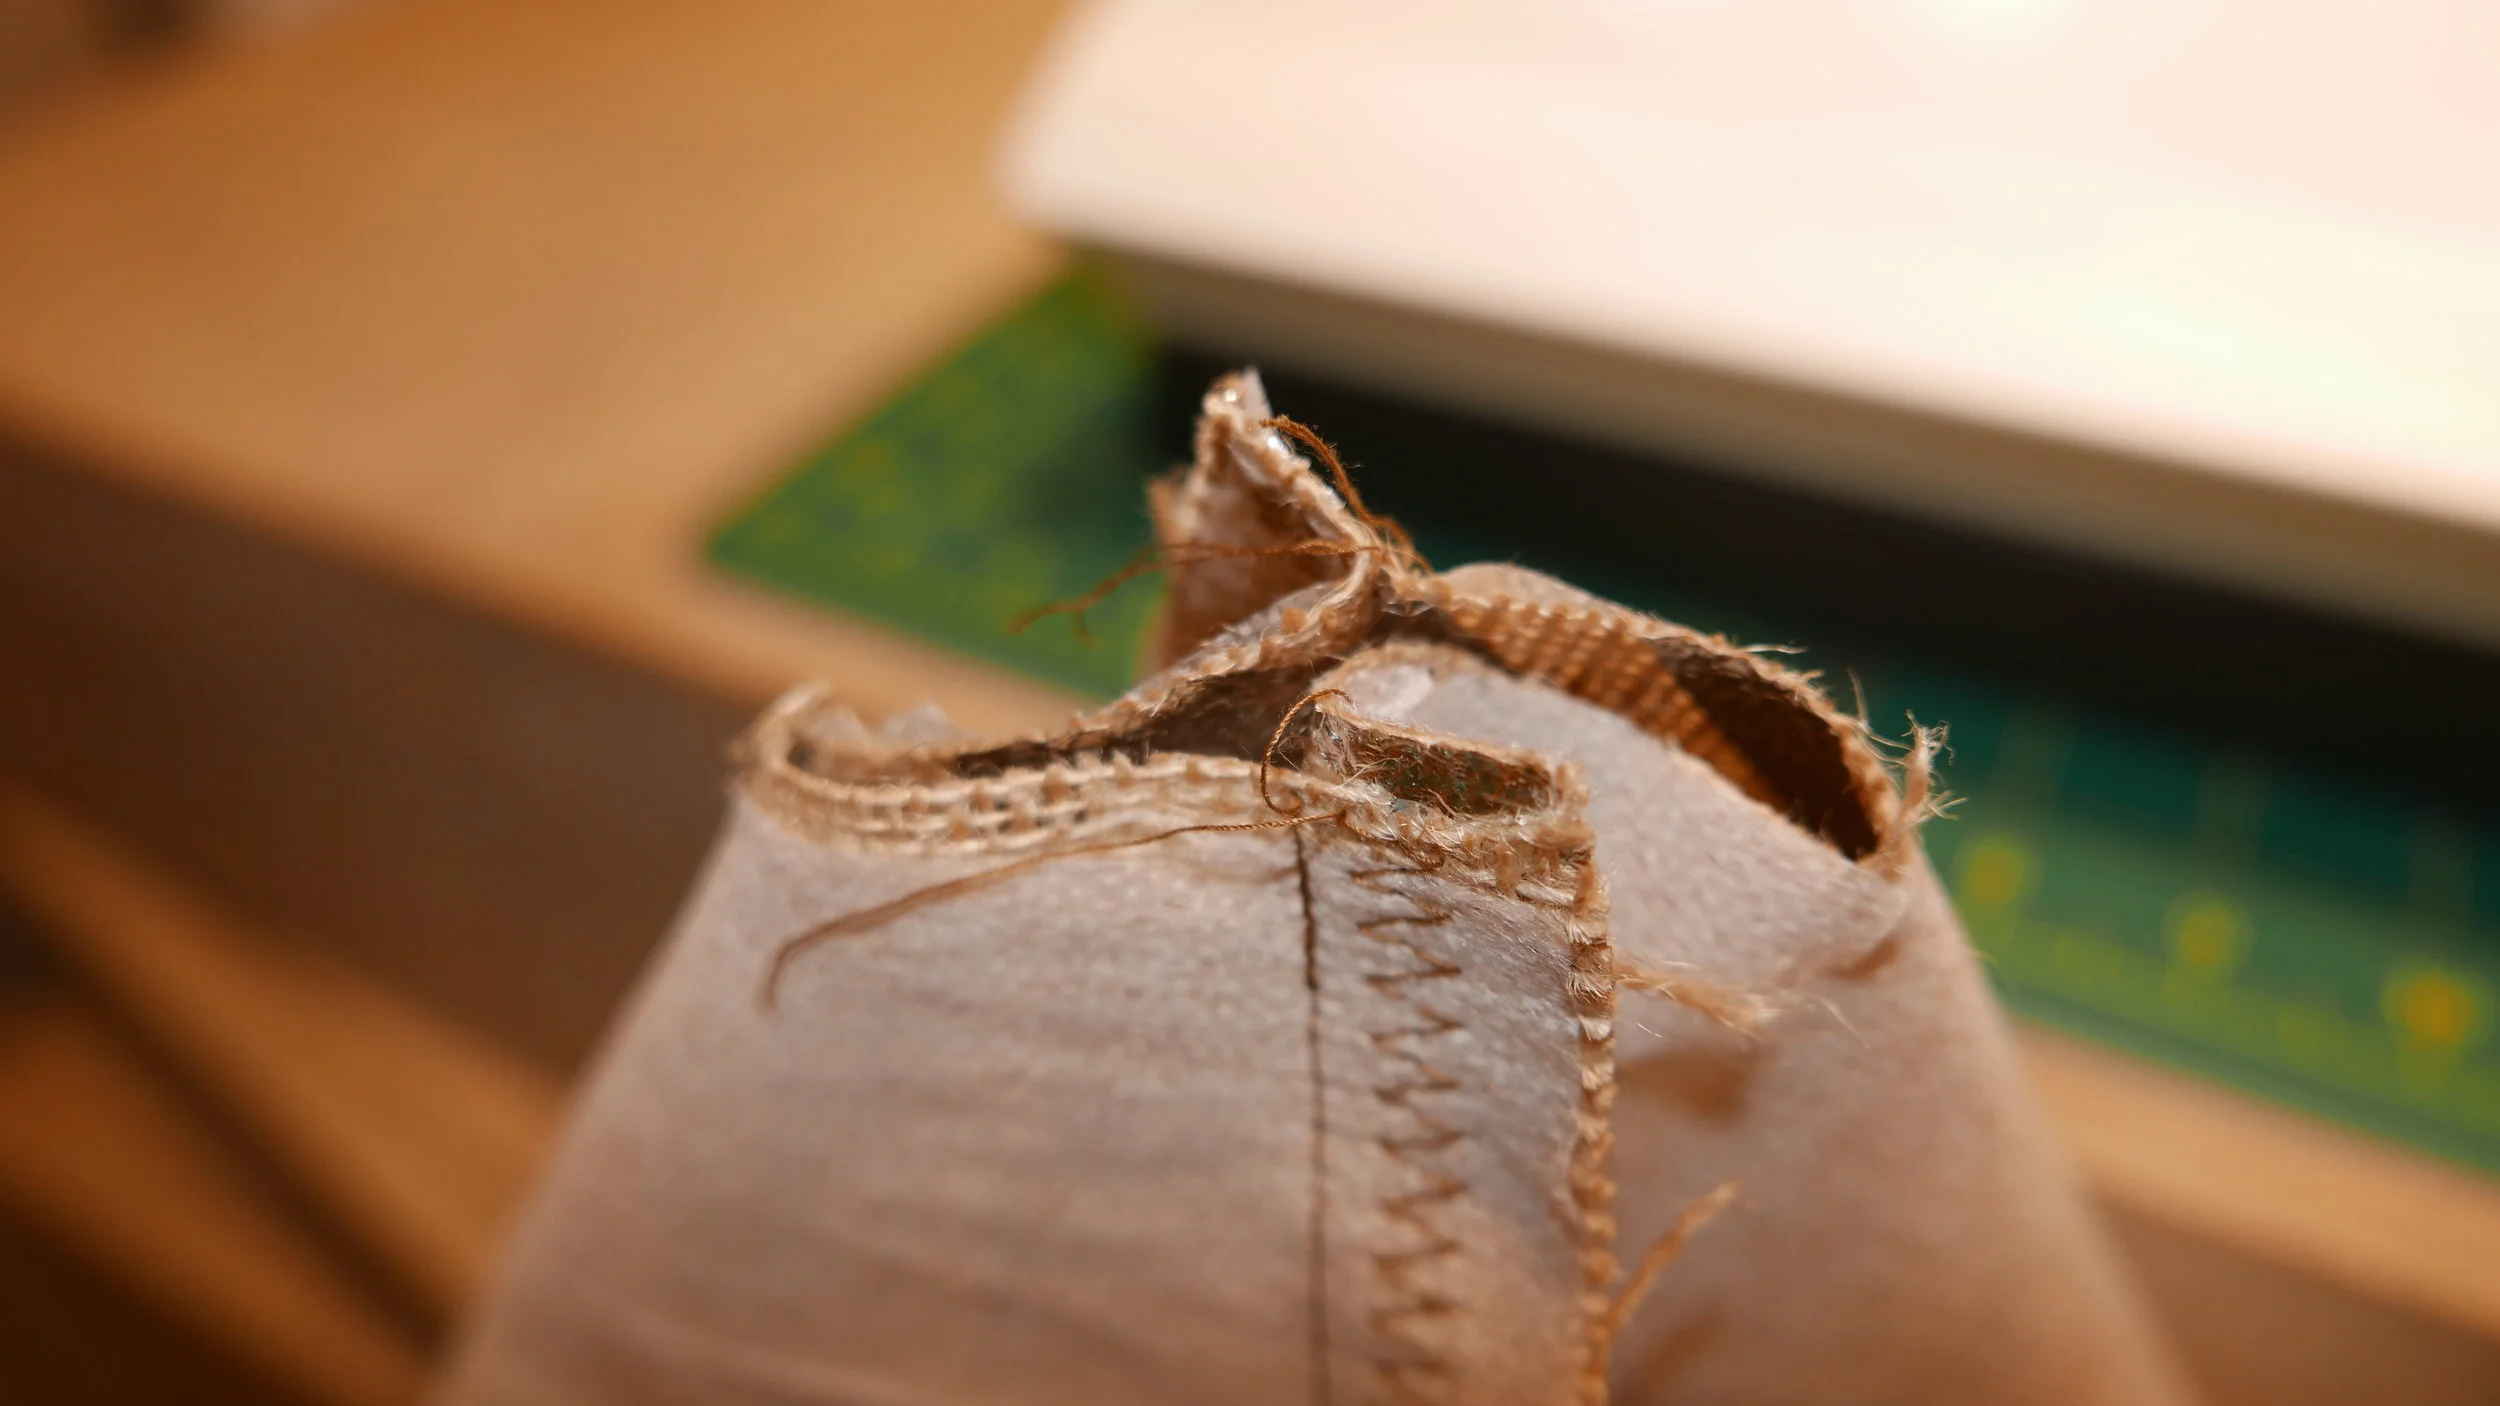
Sew a 1/2 inch (1.3 cm) seam along the sides and bottom edge . Since burlap is a loose weave fabric, (if you don’t have a serger or machine overcast option), a zigzag is going to work better than the machine’s straight stitch. However , you can still use the machine straight stitch but use the zigzag as well for for the initial seams, for a stronger finish. See photo.
Repeat for the other piece as well.
To close the bottom corners, match the side seam with the bottom seam as shown below. Pin securely, then machine sew with a 1/2 inch (1.3 cm) seam. Don’t forget to also sew with a zig zag.
Trim the edges. Repeat for the other piece.
Turn one of the bag pieces inside out as shown below. Remember to push the corners firmly out.
Insert one bag inside the other. The interfacing sides of both pieces should face each other . Please ensure that the right sides are visible . Both pieces of the bag need to be tucked in very closely to each other.
Iron on the interfacing to both straps.
Fold in 1/4 inch (0.6 cm) lengthwise and iron again on both sides of both straps.
Fold the strap in half lengthwise and pin securely. Top stitch along the edges following the pins.
Insert the 2 straps in between both bag pieces approximately 1 inch (2.5 cm) into the gap and 3 inches (8 cm) away from each side seam. Pin.
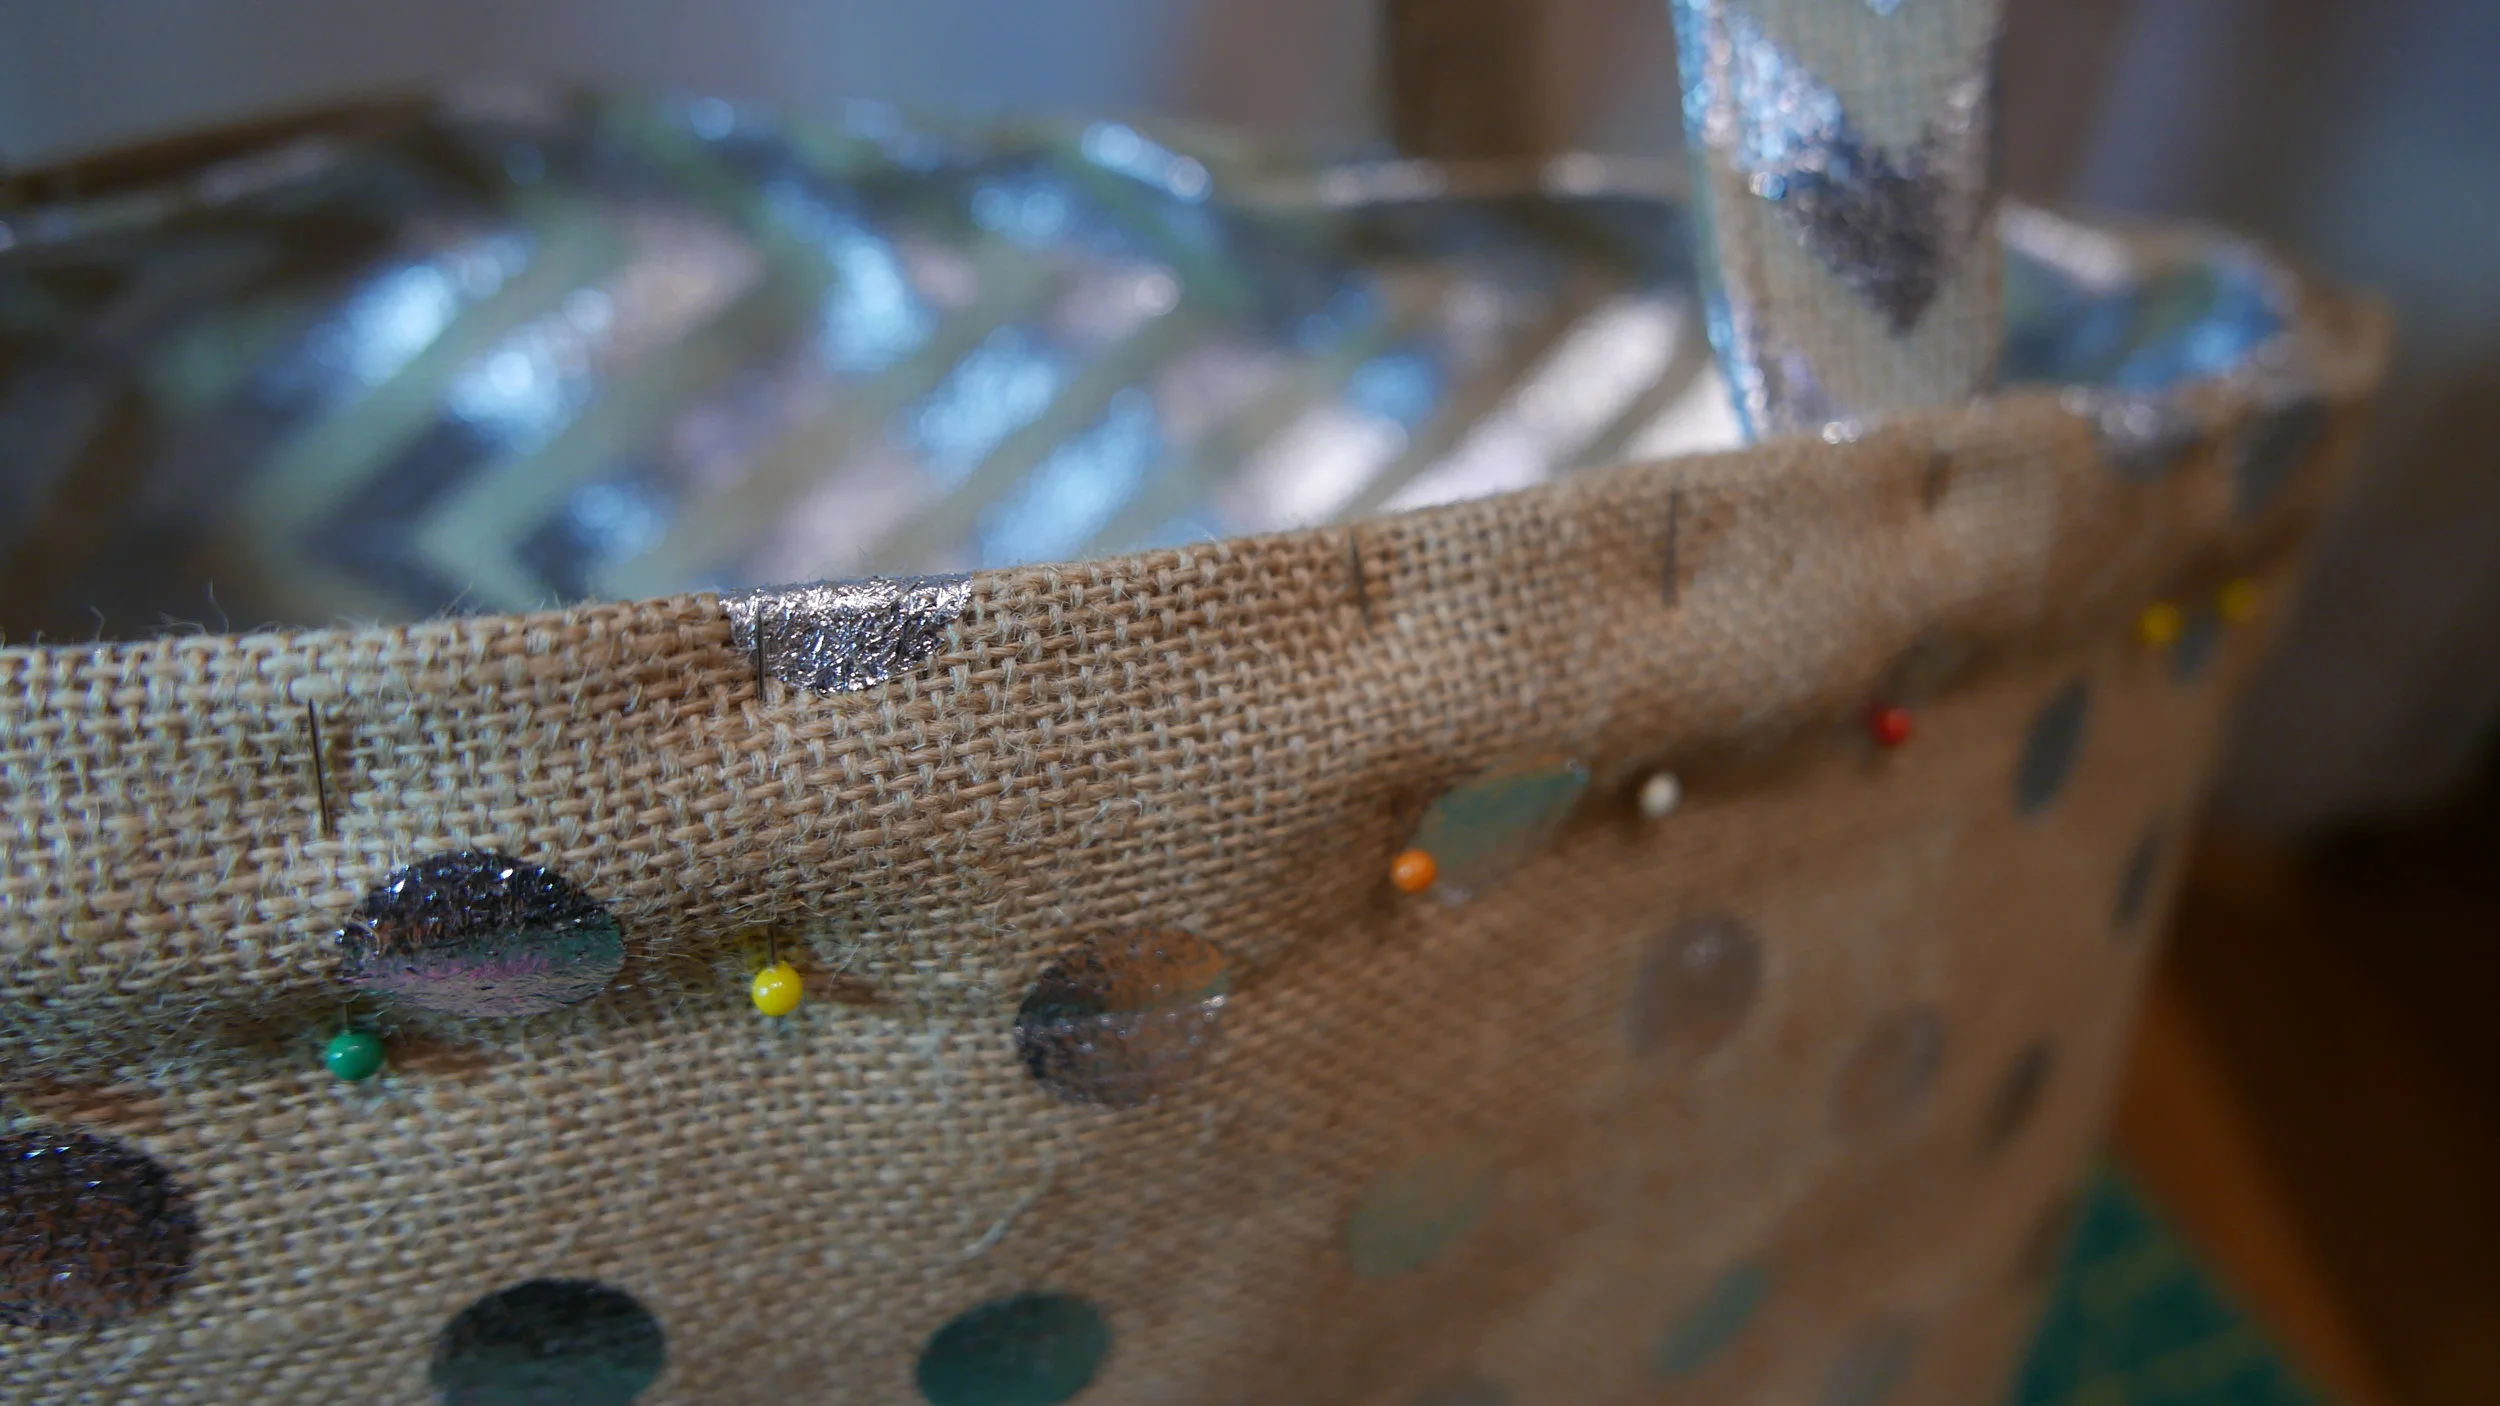
Fold in the top edge of both bag fabrics 1 inch (2.5 cm) inwards into the gap of the bag. Pin all around carefully.
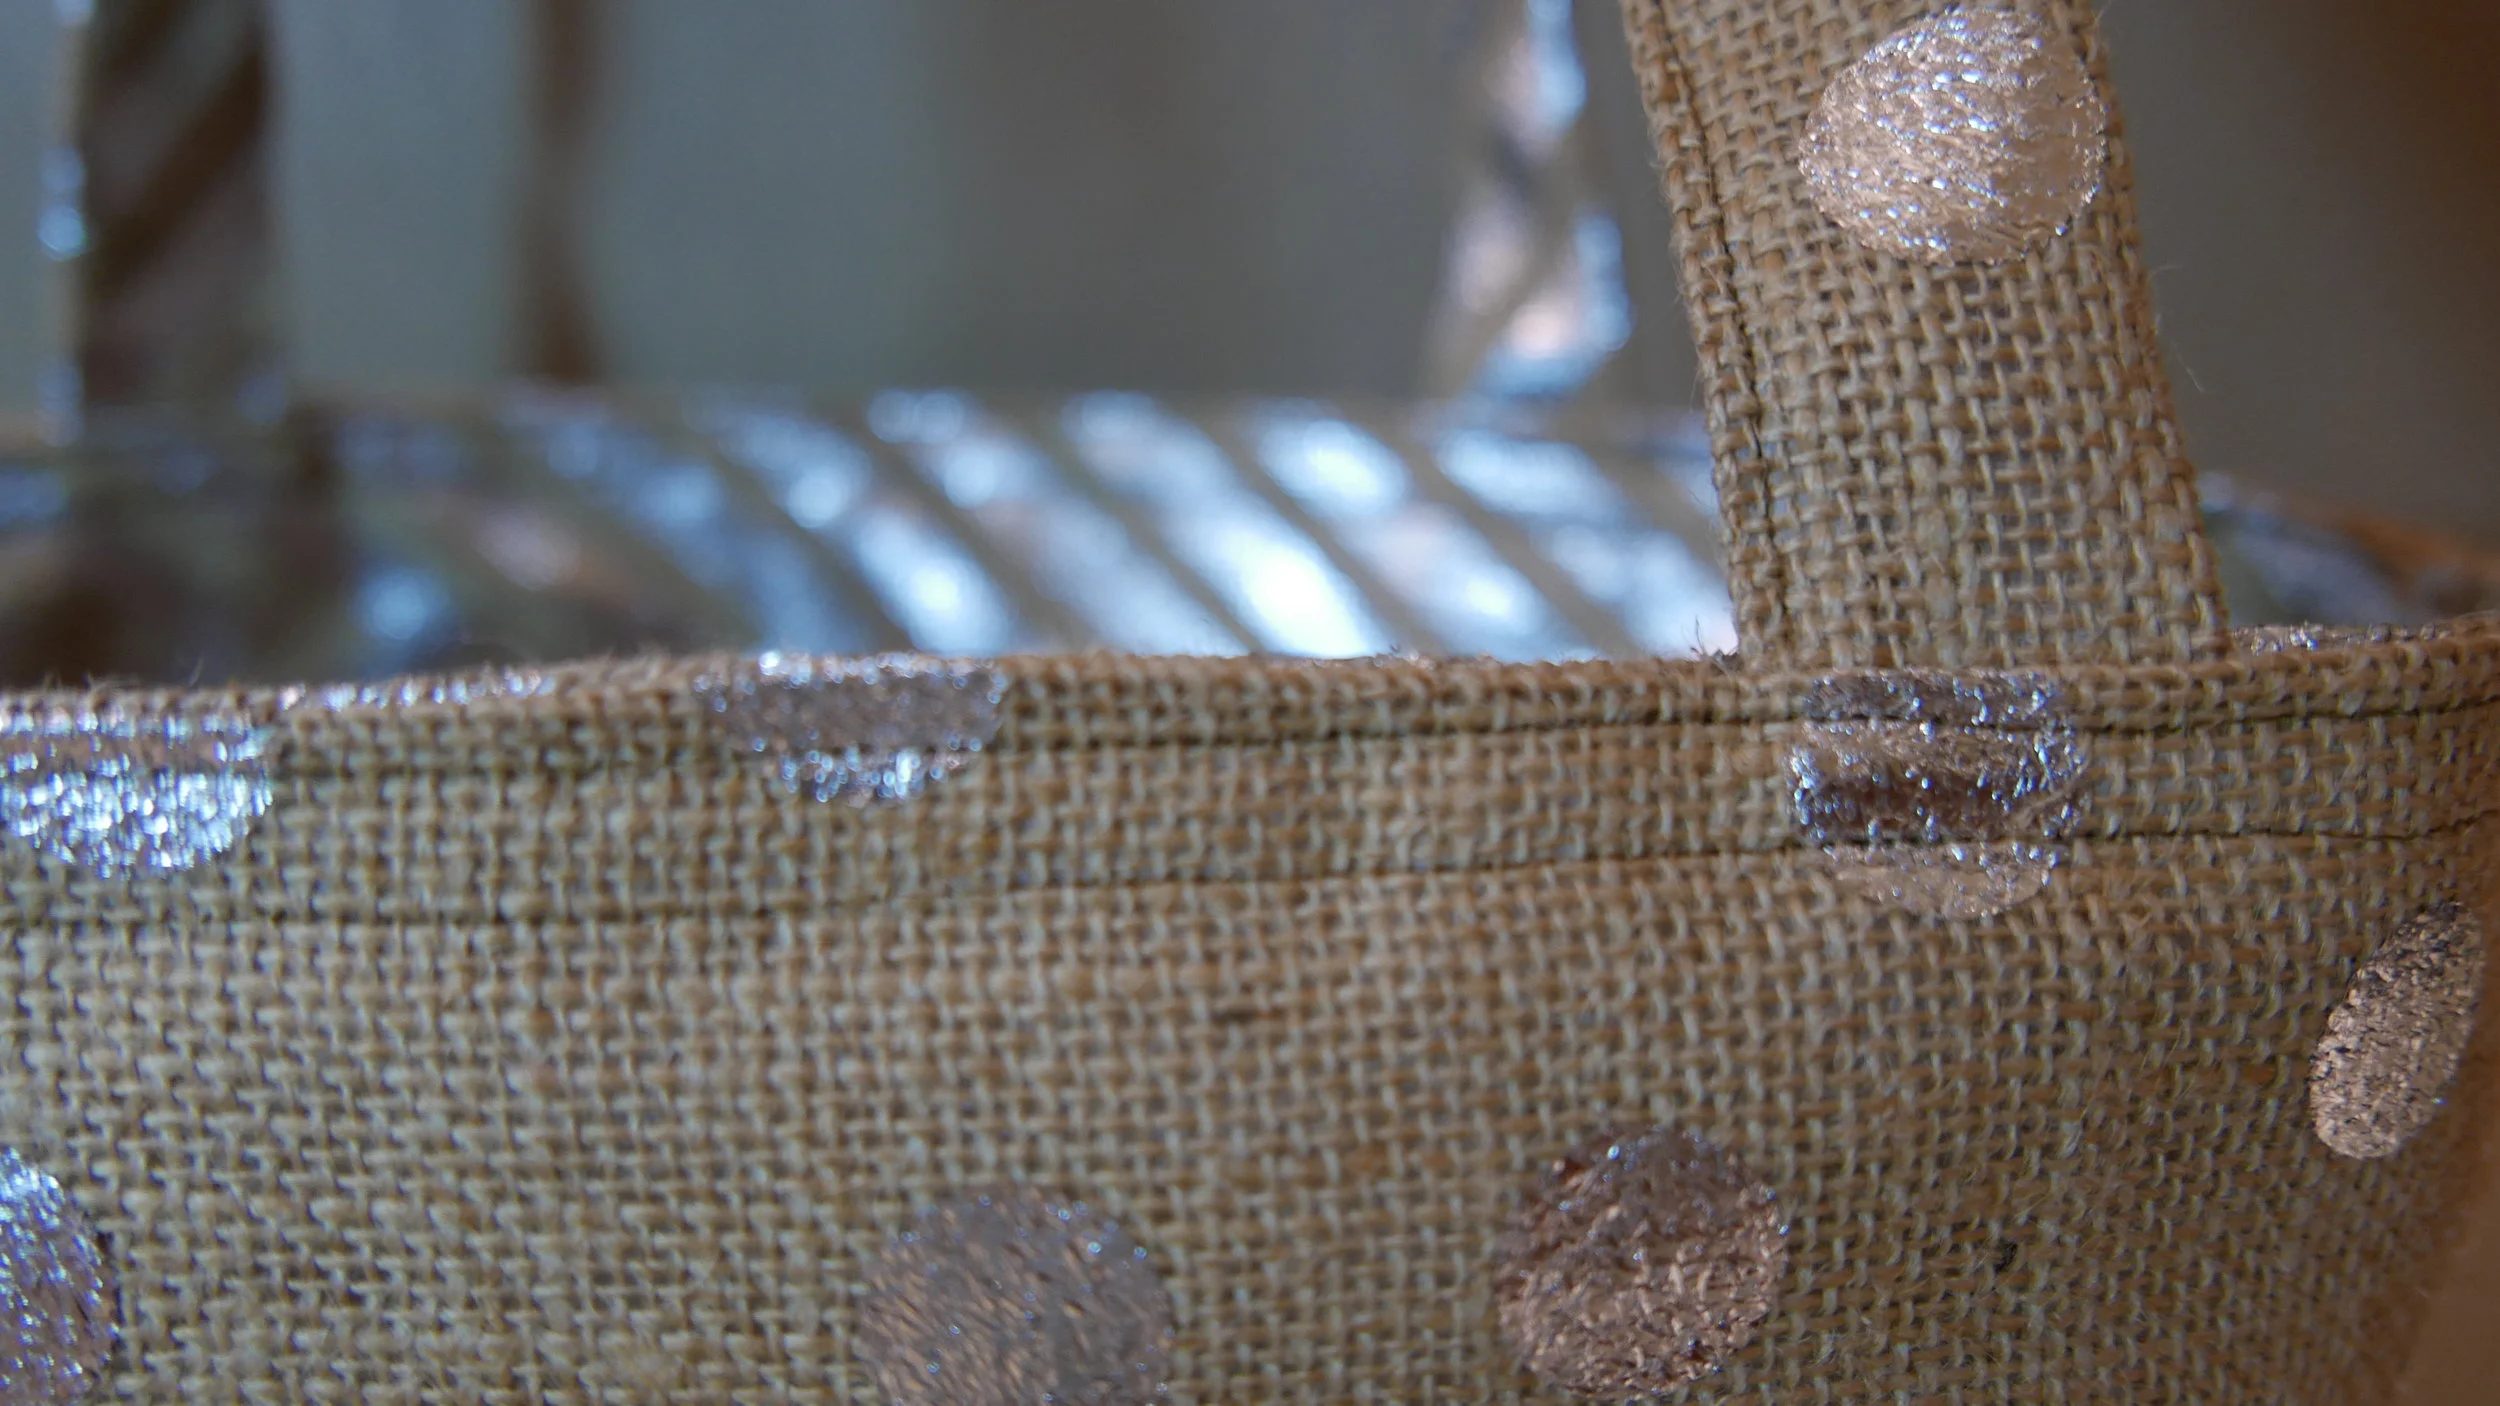
The shopping bag should look as the photos below.
It is advisable to pin vertically for easy stitching and pin removal later.
Top stitch twice along the edges 1/4 inch (0.6 cm) apart as shown below.
The reversible burlap shopping bag is now ready to be filled!
Another idea for the shopping bag is to make it longer with shorter straps as shown below. Happy shopping!
