Apron in Denim
My sister Marina is a chef, and over the years she has used various aprons for work and at home. However, there is one in particular which was her favourite. Its shape is not like a typical apron and she believes it’s designed for the shorter or petite amongst us! Which is definitely our side of the family!
I offered to make one for her in denim, using the basic shape of the apron but with my design and ideas.
Materials
60 inches (1 1/2 m )Blue Denim Fabric
40 inches (1 metre) Matching Denim Fringes - assorted
30 inches x 2 (76 cm x 2) Cotton strap at neck
31 inches x 2 (80 cm x2) Cotton strap for waist tie
Floral Fabric
4 x 6 inches (10 x 15 cm)
Denim Pockets 1 Each
8 x 10 inches (20 x 25 cm)
8 x 6 inches (20 x 15 cm )
7 x 10 inches (18 x 25 cm)
I will be tracing the shape or outline of the apron directly to the denim fabric. But below is the basic measurements of the apron .
Place the apron on the wrong side of the denim fabric. Pin to secure.
Trace all around the apron sample with a fabric marker. Mark again 1 inch (2.5 cm) away from the original mark for the seam as shown.
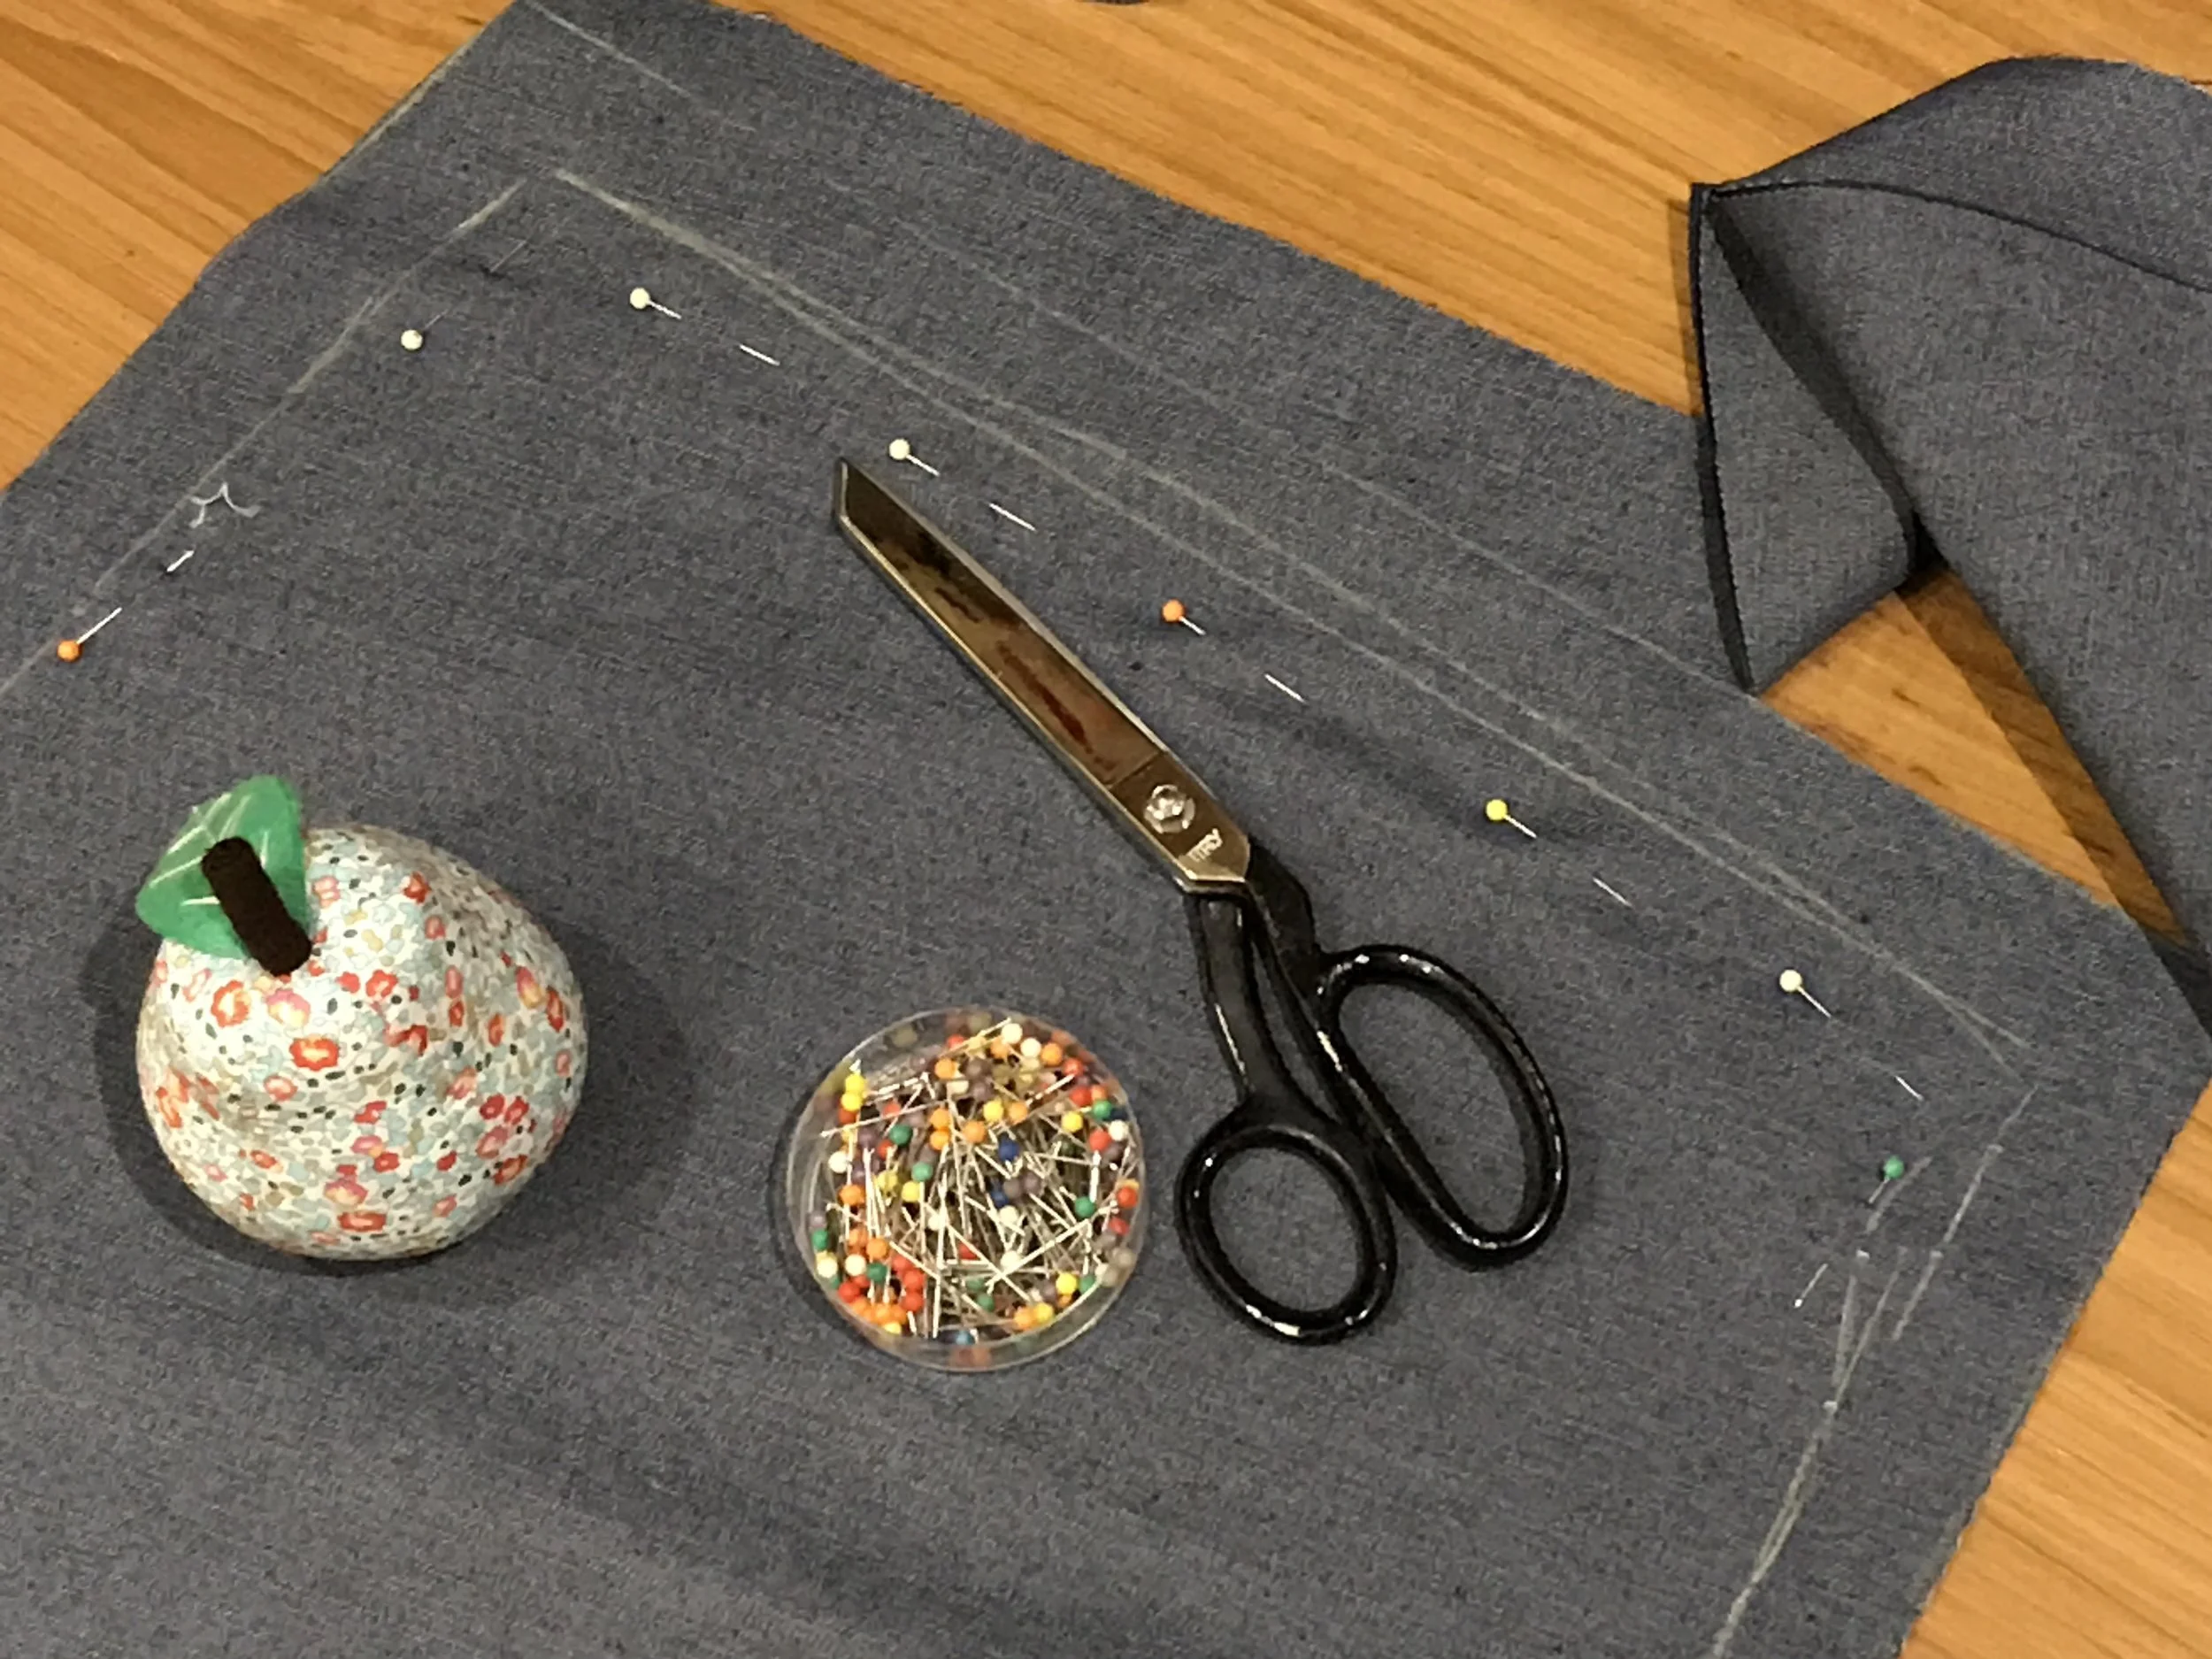
Remove the sample apron. I have put pins all around the inner part of the marked line to make it clearer for me to differentiate between the 2 lines. This is completely optional. You may also choose to use a different coloured fabric markers to mark the seam and the edge of fabric.
Cut with a sharp pair of scissors on the outer line as shown.
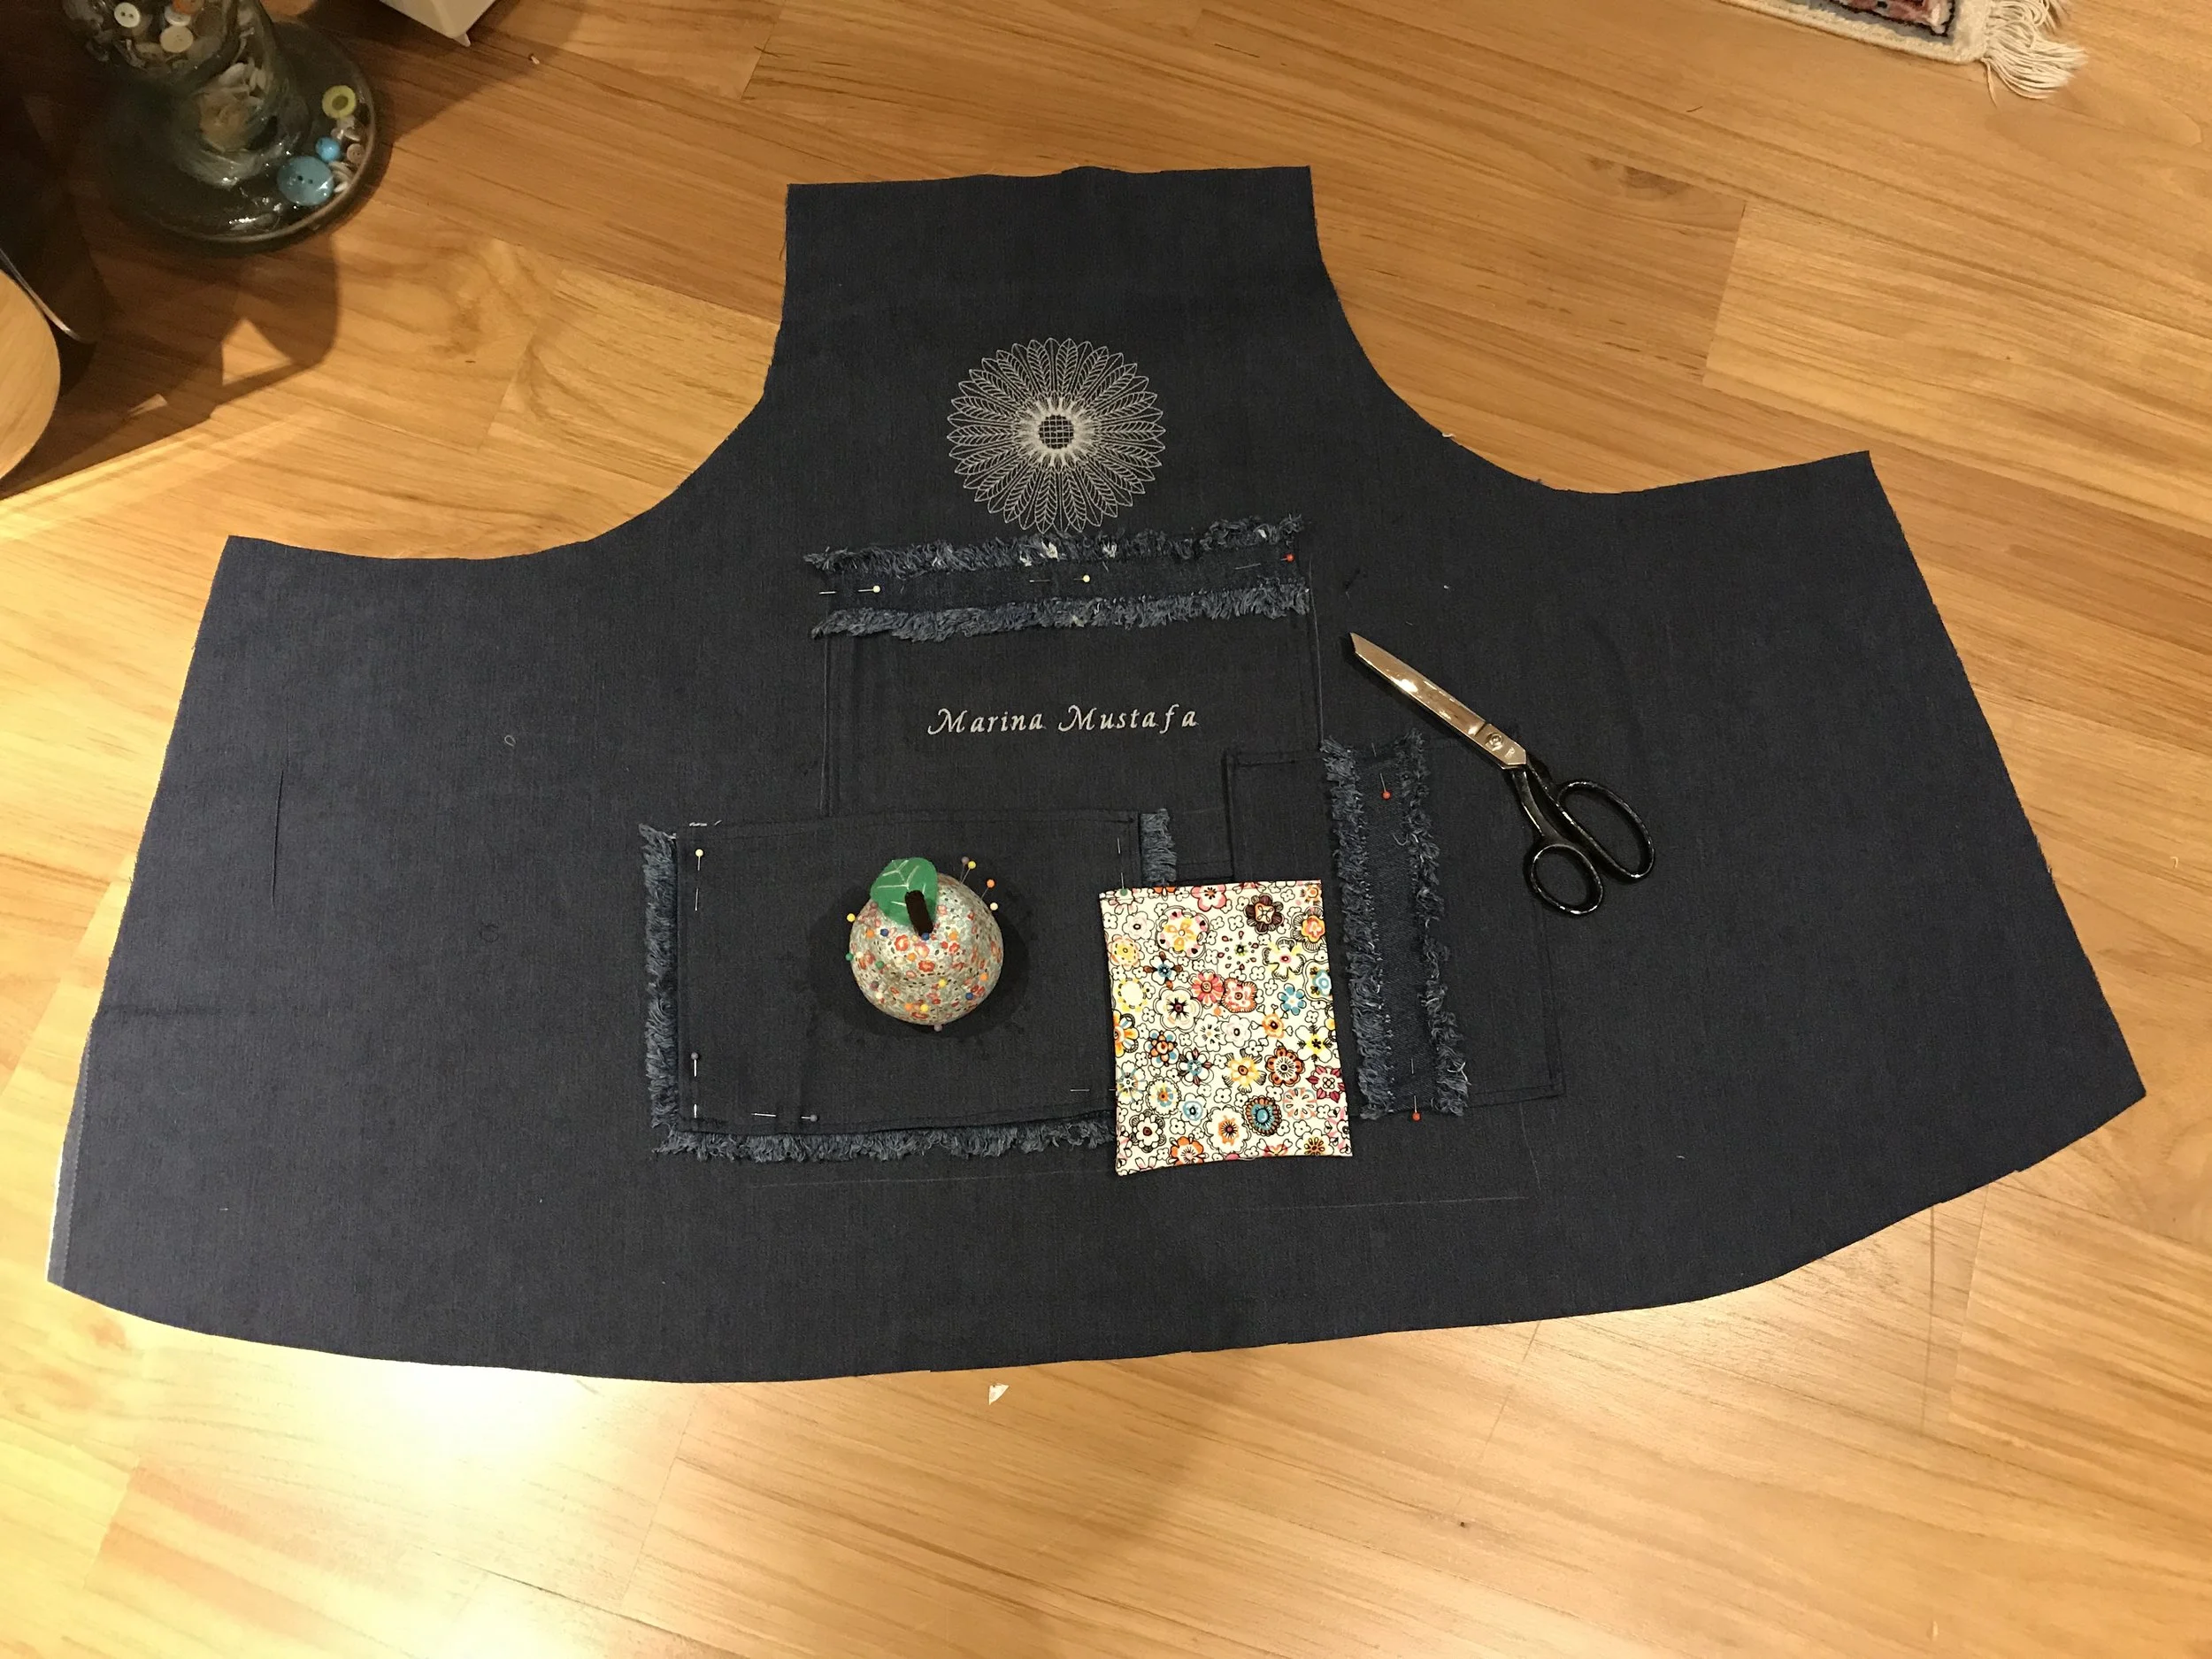
Place the 3 denim fabrics pockets as shown.
I have chosen to add a flower embroidery at the top of the apron and my sister’s name on one of the pockets. However, if your sewing machine doesn’t have this option you can bring to the store to get your preferred embroidery sewn on the apron. This part is also totally optional.
Trace the position of the pockets with a marker.
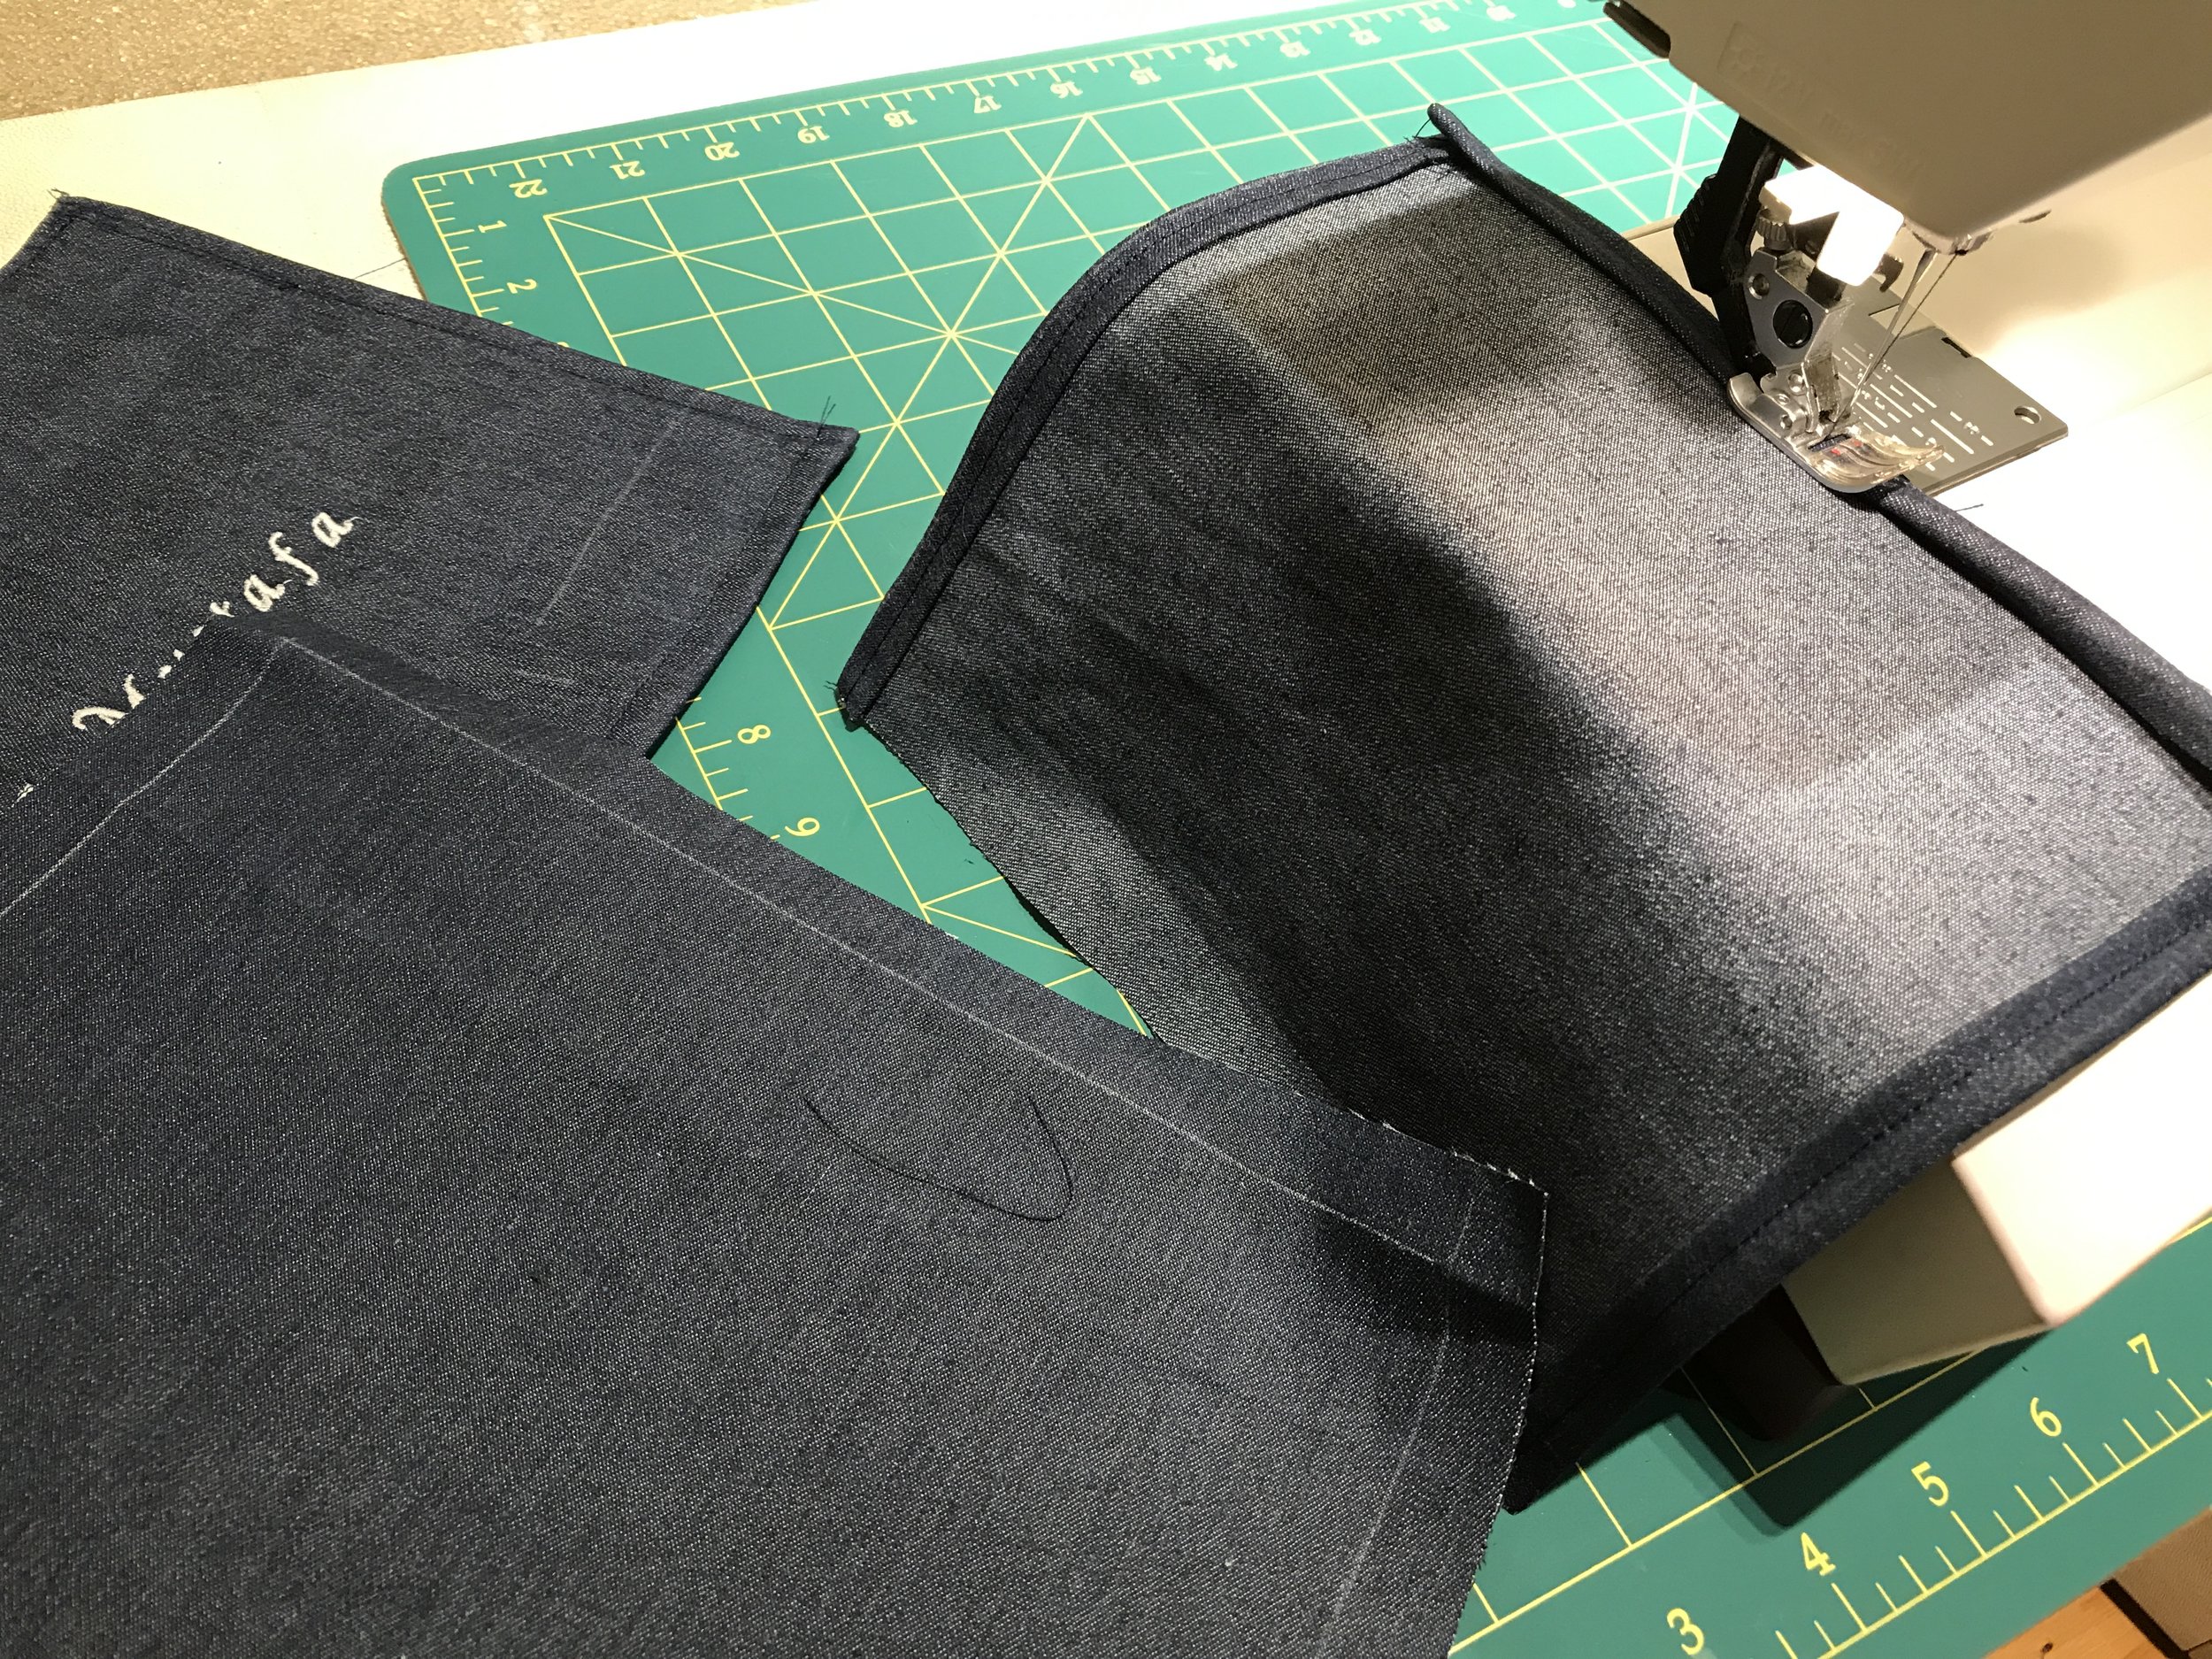
Remove the pockets from the apron. Fold 1/4 inch (0.6cm) twice all around. Machine sew as shown .
Once done place the pockets back on the marked areas. Pin to secure.
Place the denim trimming and/or fringes around the pockets as you prefer.
Once you have decided on the placing of the fringes and trimmings, place the floral fabric as shown. Pin securely.
Machine sew all the pockets to the apron. I have sewn in the middle of the far right pocket as well giving it 2 compartments.
I have also machine sew twice approximately 1 inch (2.5 cm) width for pens or pencil compartments on the larger pocket as shown below.
Place both the neck cotton straps to the top and back of the apron approximately 1 1/2 inches (4 cm) from the edge . Please ensure that the strap goes upwards as shown.
Cross the straps at the back of the apron and place the other ends of the straps 6 inches (15 cm) from both edges. Please ensure that the strap faces downwards as shown.
Now place the strap for the waist tie approximately 1 1/2 inches (4 cm) down from the edge as shown. Repeat for the other side.
Fold in 1/4 inch (0.6 cm) twice all around and pin. Your apron should look as the photo below.
When folding, please fold the straps together with the fabric ensuring that the straps faces outwards once the turns are completed, as shown below.
Machine sew all around.
My sister’s apron is now ready to use! She was very happy and it was definitely a pleasure to make it for her :-)


