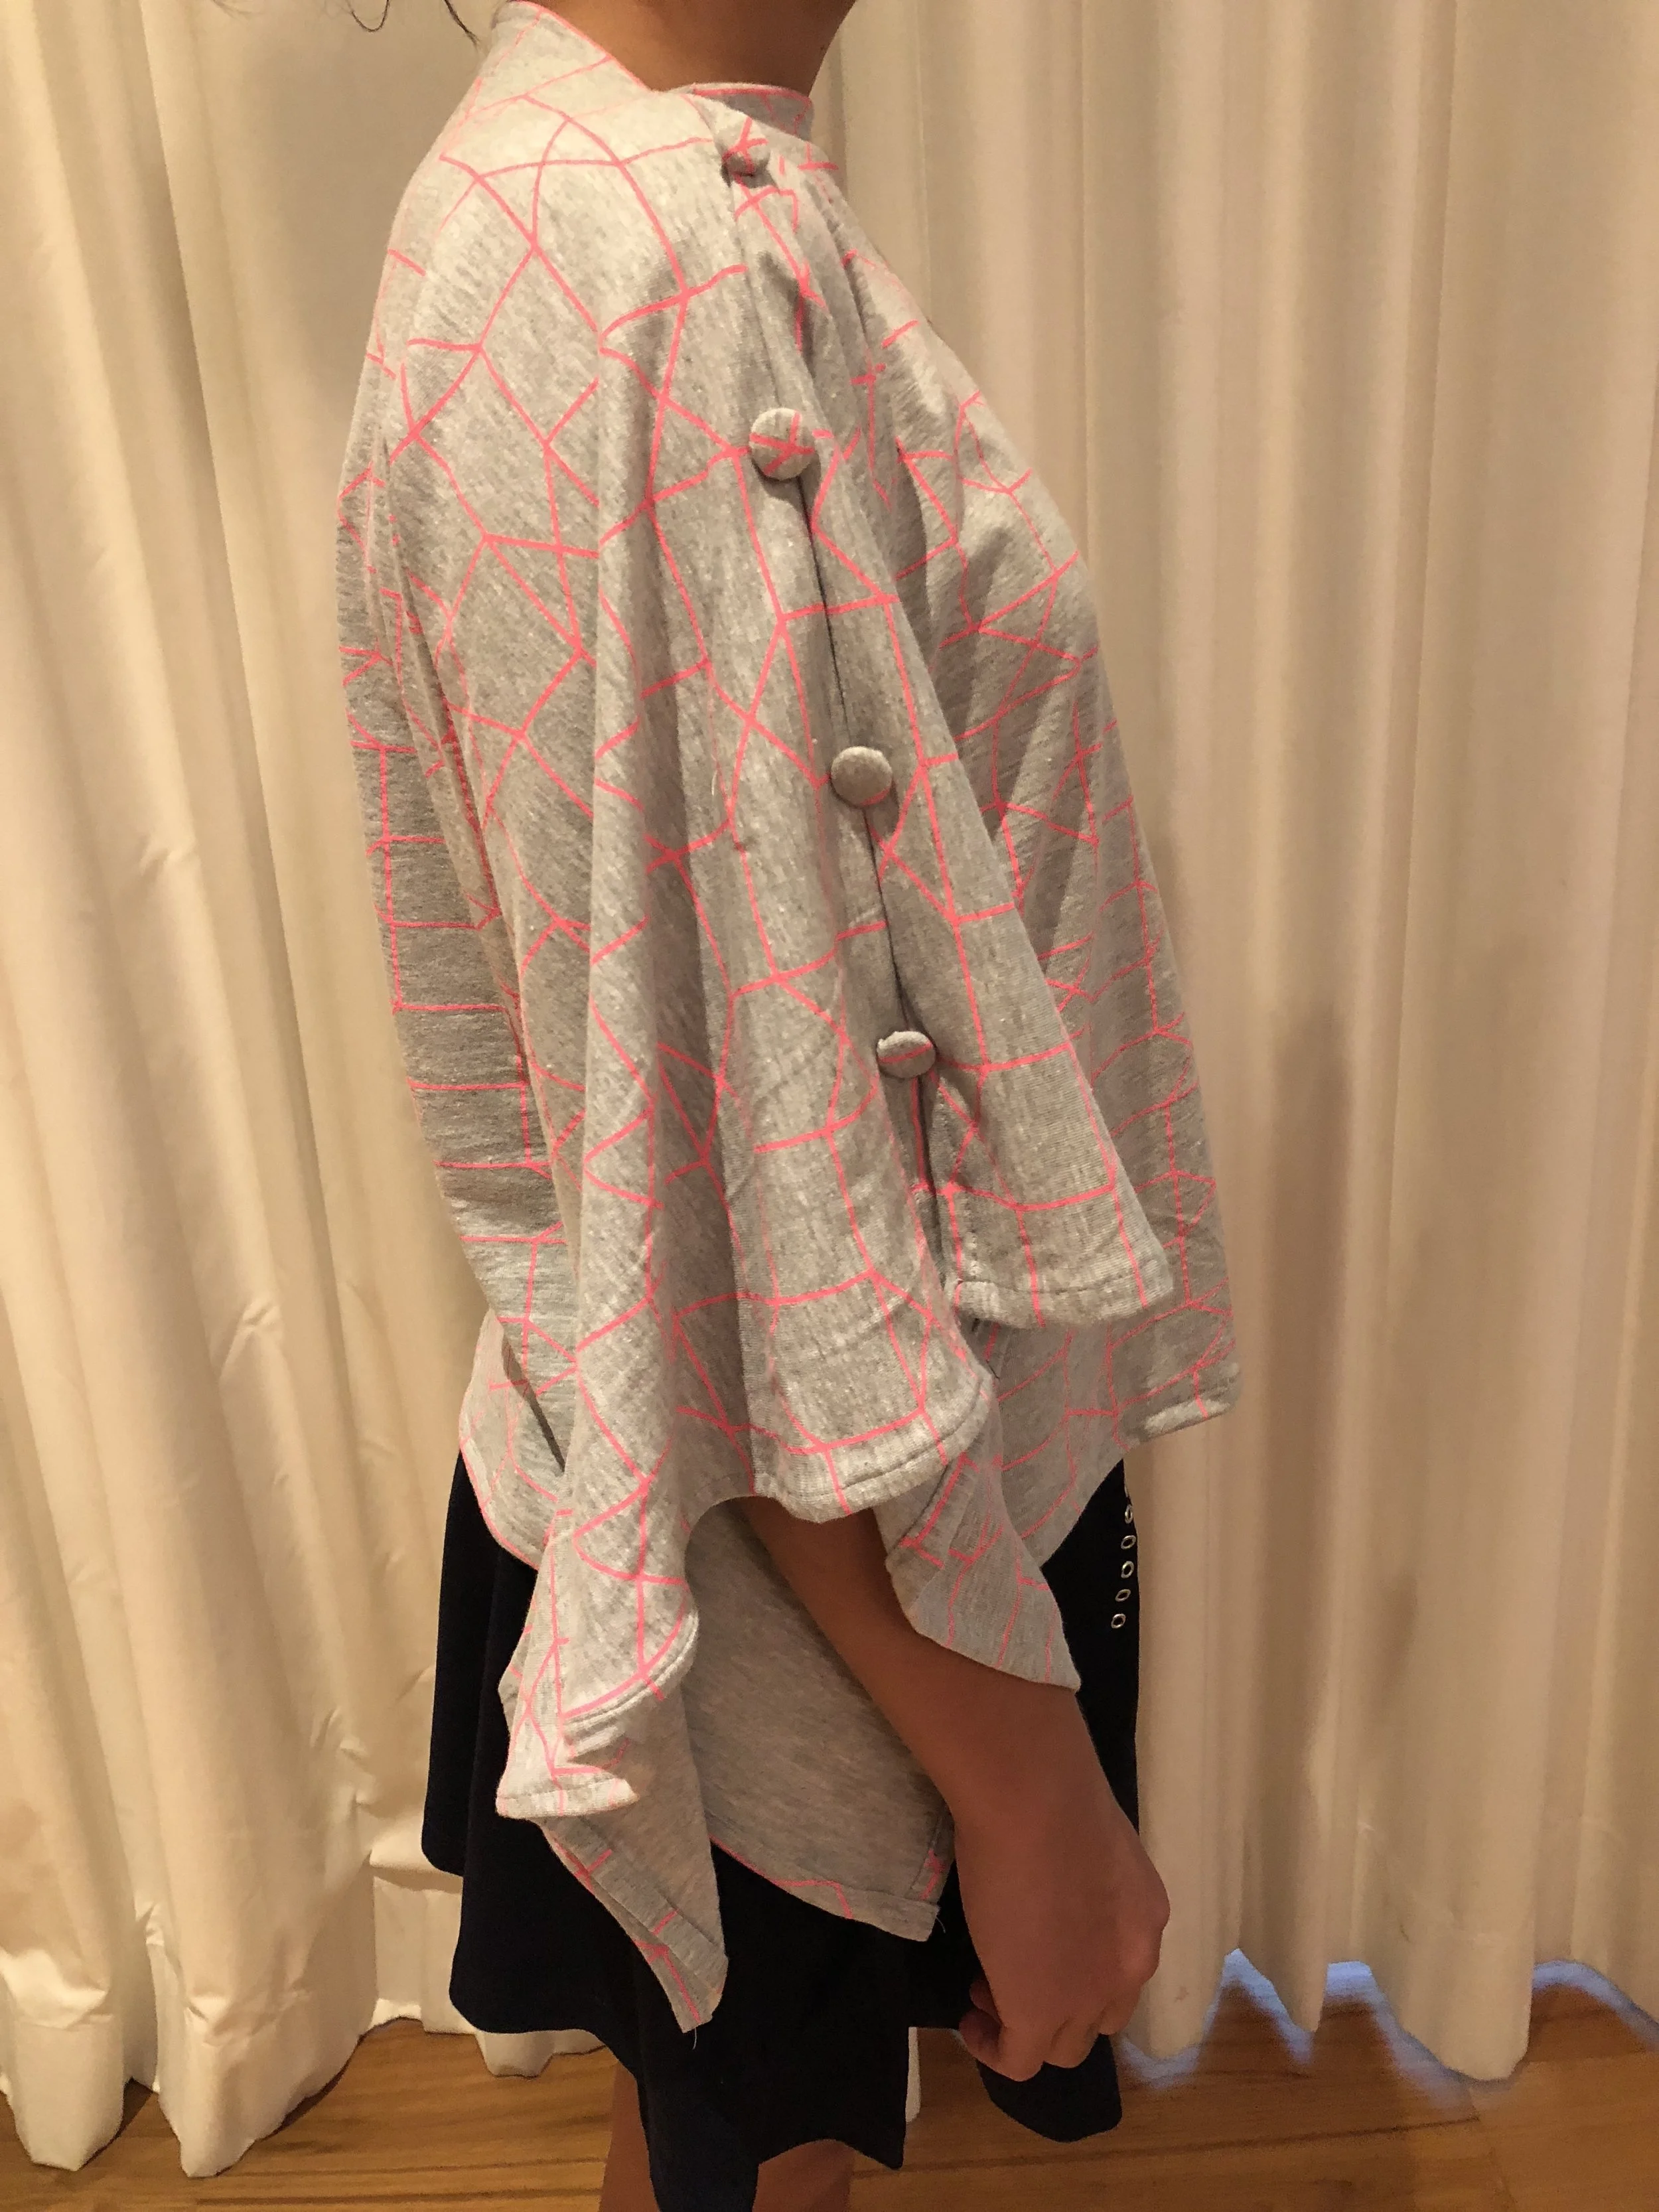
A Simple Top
My daughter and I went fabric shopping one day and she chose a fabric for herself. She informed me that she loves the “batwing”/“butterfly wing” tops I often wear and was pleading for me to make one for her. It was the first time for her to choose her own fabric and design, at 12 years old!
I must admit I was a bit nervous as the clothes I have made are only from the paper patterns you buy from the store. But I thought it's not a complicated top and I agreed to attempt to make it… to her delight!
Measurements
Top length 23 inches (58 cm)
Neckline 26 inches (66 cm) - generous measurement as I felt it will easier to reduce than increase size after fitting.
Hip 40 inches (102 cm)
Materials
2 Cotton (T-Shirt) fabric 42 x 25inches (107 x69 cm)
8 Button covers 15mm
Making the Top
Fold 1/2 inch (1.3 cm) twice and pin all around. Repeat for both fabrics.
Machine sew all around. Once completed fold both fabrics in half, right sides facing each other and mark the centre with a fabric marker or pins as shown. This is now the top centre position of your top.
Since the neckline measurement is 26 inches, each fabric should be allocated 13 inches each. That means if measuring from the centre it’s 6 1/2 inches to each side, left and right. Ensure that both fabrics are identical. Mark as shown below. When you open the fabric it should look as below. The centre pin being the position of the middle of the neck.
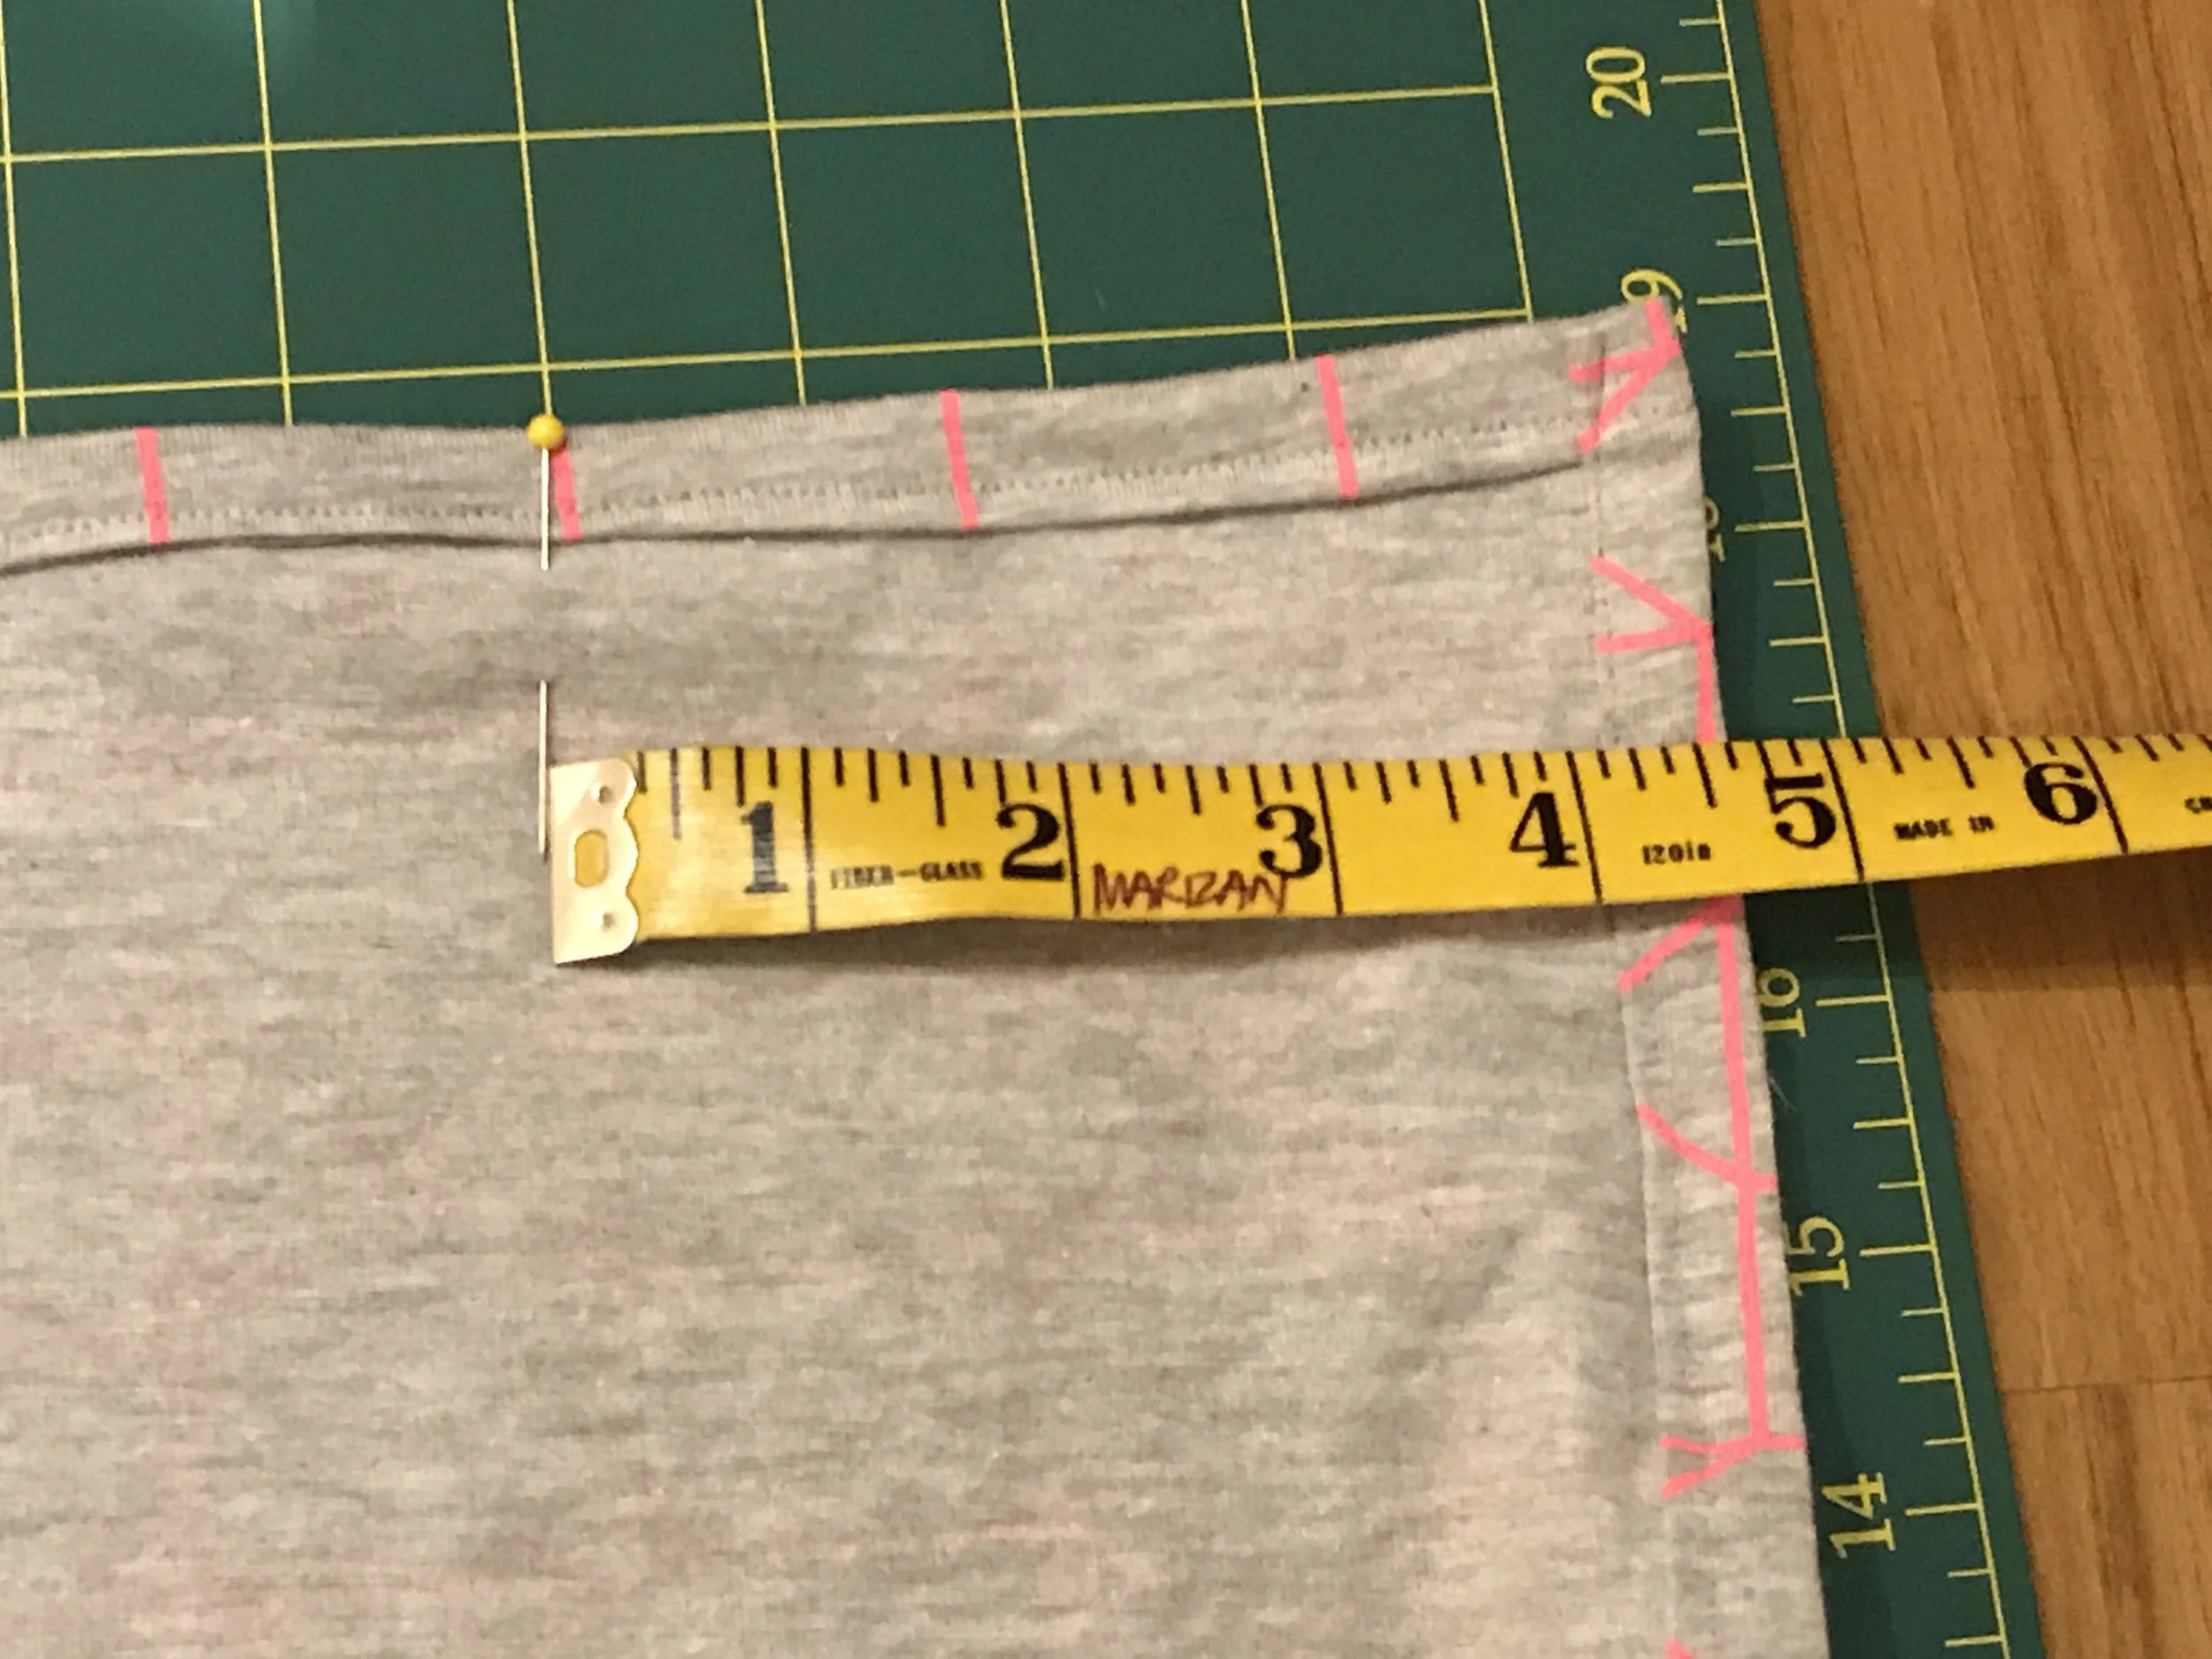
Now, for the sleeves measure 4 1/2 inches from each top edge and mark as shown. Machine sew from this pinned position to the next pinned position. Please ensure you start at the top of fabric gradually sewing along the seam line and once you reach the next pin gradually sew upwards to the edge of the fabric as shown. Repeat for the other 3 sleeves. Try for fitting . In this instance, since the fabric was quite stretchy I made the neckline smaller by sewing a further inch on each side of the top.
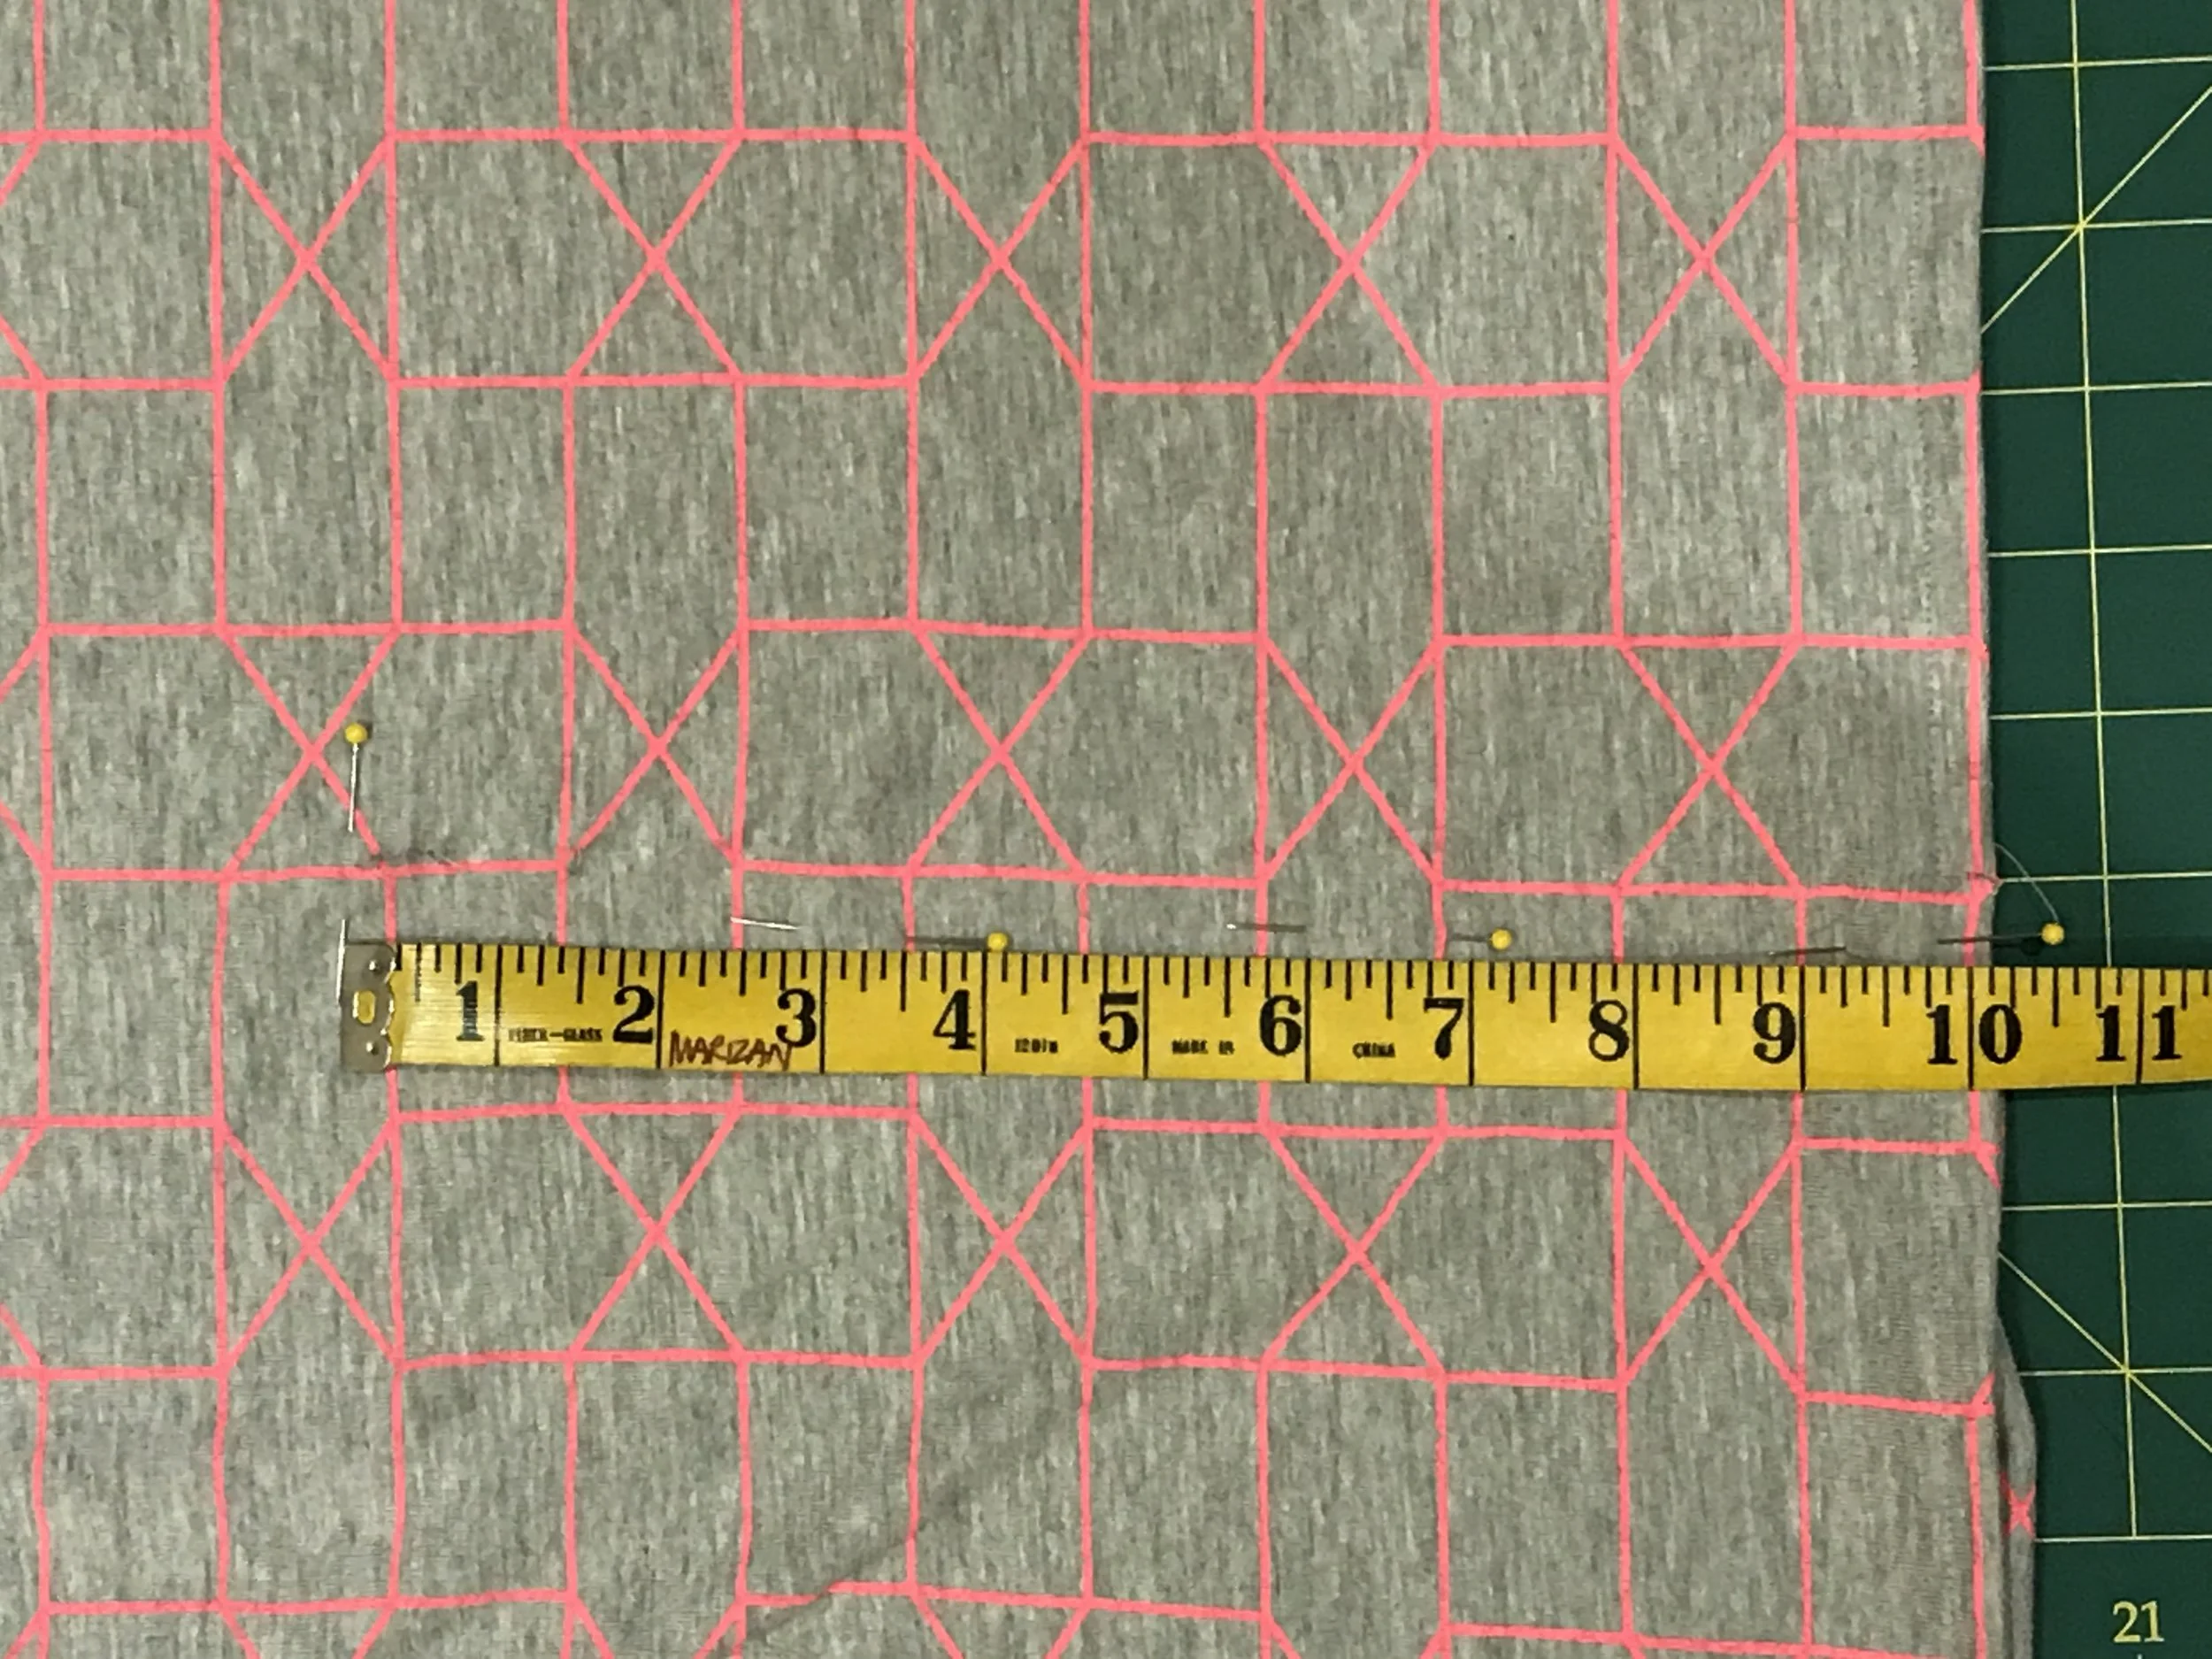
Turn the top inside out. Ensure both fabrics are aligned. Mark the centre bottom of the top. The hip measurement is 40 inches so that will be 20 inches for each side of the fabric. Half of 20 is 10 so position that in the centre and pin as shown on the 0 and 20 inches positions.
Next place your tape vertically at 0 and measure 10 inches. Pin as shown. Repeat at the 20 inches position as well.
Machine sew on the marked positions as shown. Repeat on the other side. Don’t forget to backstitch at the beginning and at the end to make the stitches more secure .
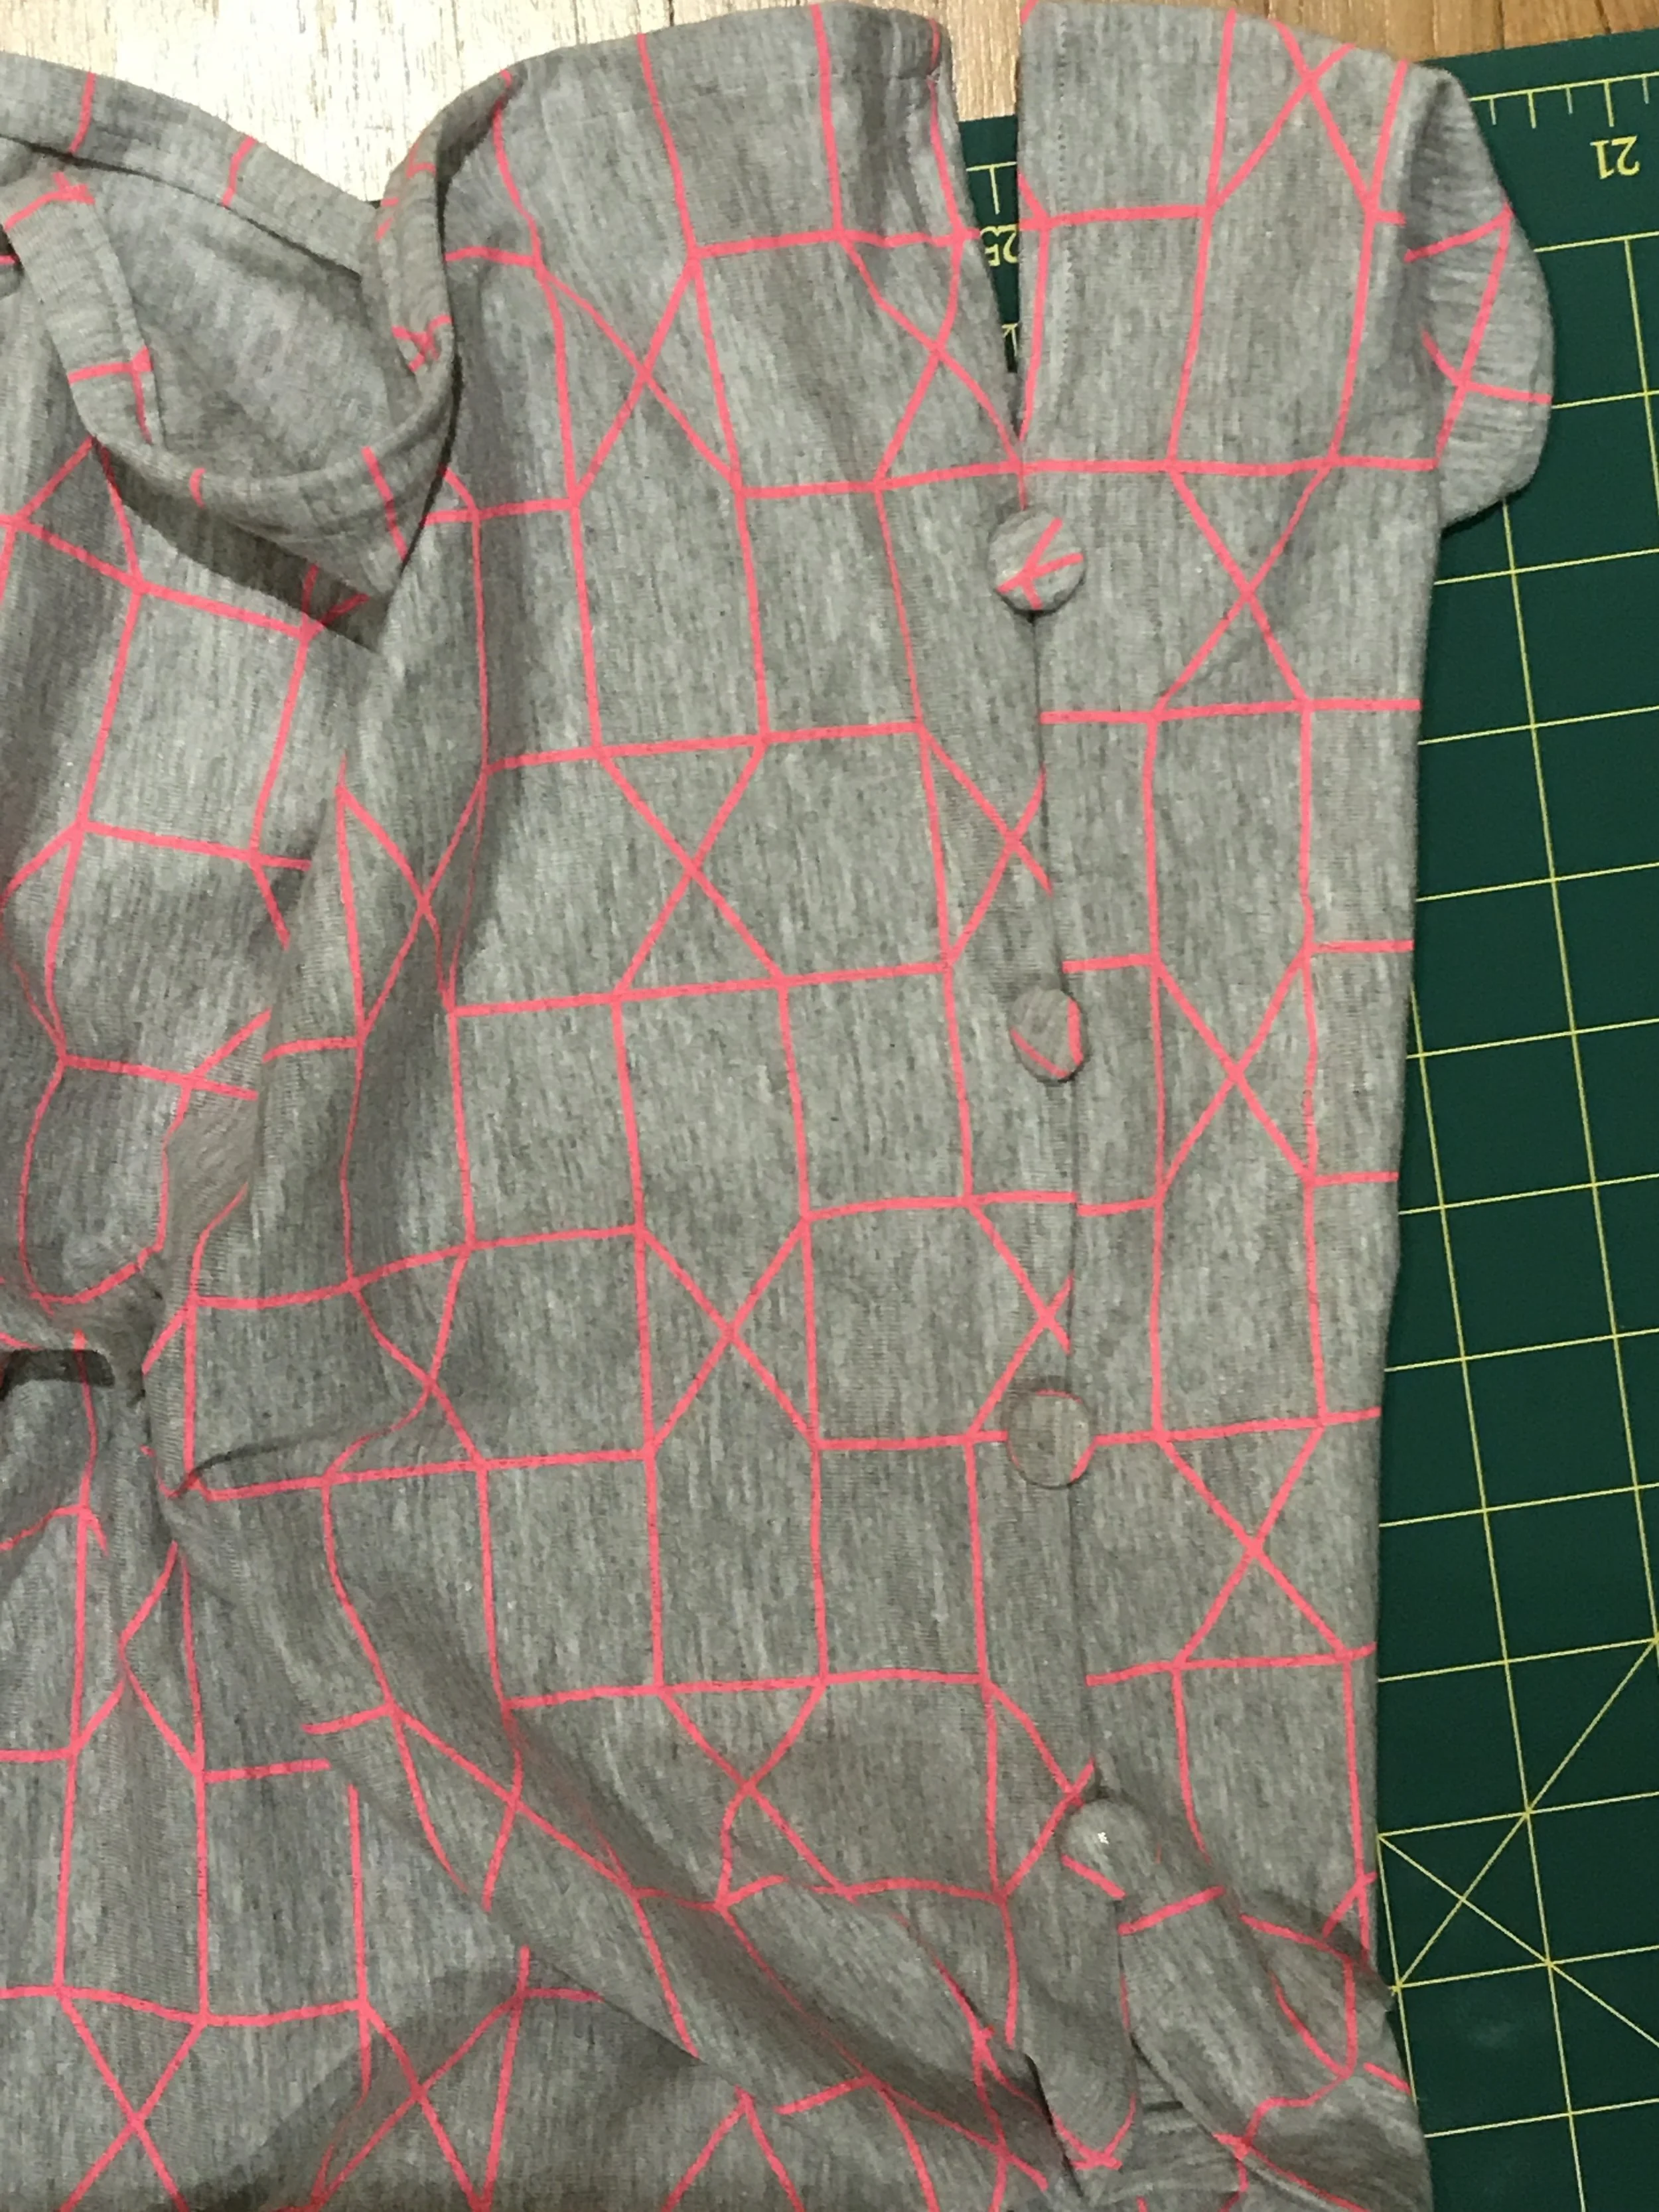
Cut 8 small pieces of the leftover fabric and use a Cover Button tool to make 8 fabric cover buttons. Hand sew 4 buttons on each sleeve as shown and you are done!
When my daughter finally came back from school, she was so happy to see it hanging at the door handle of her room! The look on her face was priceless! I was rewarded with many hugs and kisses. I didn’t realise how excited she would be. It was a precious moment.
She wore it that evening itself for dinner at a friends’ house. It was a great day :-)
